Hi and welcome to Susanality, a newsletter by Susan Spungen that celebrates seasonal cooking. If you enjoy today’s recipe, please help me spread the word by forwarding this email to friends and family who may enjoy it too! And if you would like additional weekly recipes, technique + styling tips, and video tutorials to land in your inbox, consider investing in a paid subscription. Either way—thanks for being here!
Whether you believe in and celebrate Hallmark holidays or not, it’s pretty easy to get behind the idea of a day that celebrates eating chocolate and letting those you love know that you do (love them). Even if it’s silly. And if you don't have a significant other, eating chocolate is a decent substitute. It’s scientifically proven! Or at least suggested. Some say chocolate needs to be digested before it raises your levels of feel-good brain chemicals, but I think the chocolate lovers amongst us can agree that the feel-good effect is instant—and leaves us longing for more.
Pots de crème [po də kʁɛm] is a fancy French way of saying “chocolate pudding,” but this version is baked in its serving container (the pots) rather than stirred in a large pot on the stove, making it infinitely easier. It’s also more delicate than the typical American pudding, which has flour or cornstarch in it so that you can cook it over direct heat and thicken it quickly.
For this recipe, I’ve streamlined the French process to make things a little quicker and less messy. I’ve done away with the straining step (unless you decide to steep an added flavor in the milk mixture—see “cooking notes” section below the recipe for more on that option). Using vanilla extract instead of $$$ vanilla bean makes that possible. I’ll save my vanilla beans for a dish in which I can really taste the vanilla—especially if it saves me a step and a strainer to wash.
You also don't need to get your mixer out (or dirty) unless you are against a mild arm workout to beat the eggs and sugar. You’re going to be whisking hot liquids into the mixture anyway, so it doesn’t need to be so fluffy.
I’ve amped up the flavor here by adding some cocoa powder to the mix as well as dark chocolate, and tipped the milk/cream ratio in favor of milk to make these just a little less rich. But feel free to use as much cream as you’d like; that is a ratio you can play with.
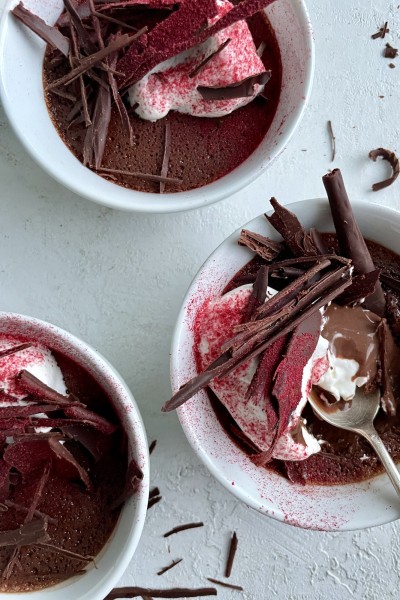
The fun thing about these is that you can bake them in almost anything. Because the heat is gentle (only 300 degrees) and the cooking time short (35 to 45 minutes), whatever vessels you use will be protected by the water bath. You can use your favorite teacups, small bowls (as I used), or even glass tumblers (like I tried in the version below!). You can also use glass yogurt containers if you save them. Of course traditional ramekins work, if you’ve got them, but you don't need them to make this recipe! I guarantee you have four things in your cupboard, whether they match or not, that you can make these in. (Here’s the link to the “snack bowls” I used! FYI, the picture isn’t populating correctly, but the dimensions are correct!)
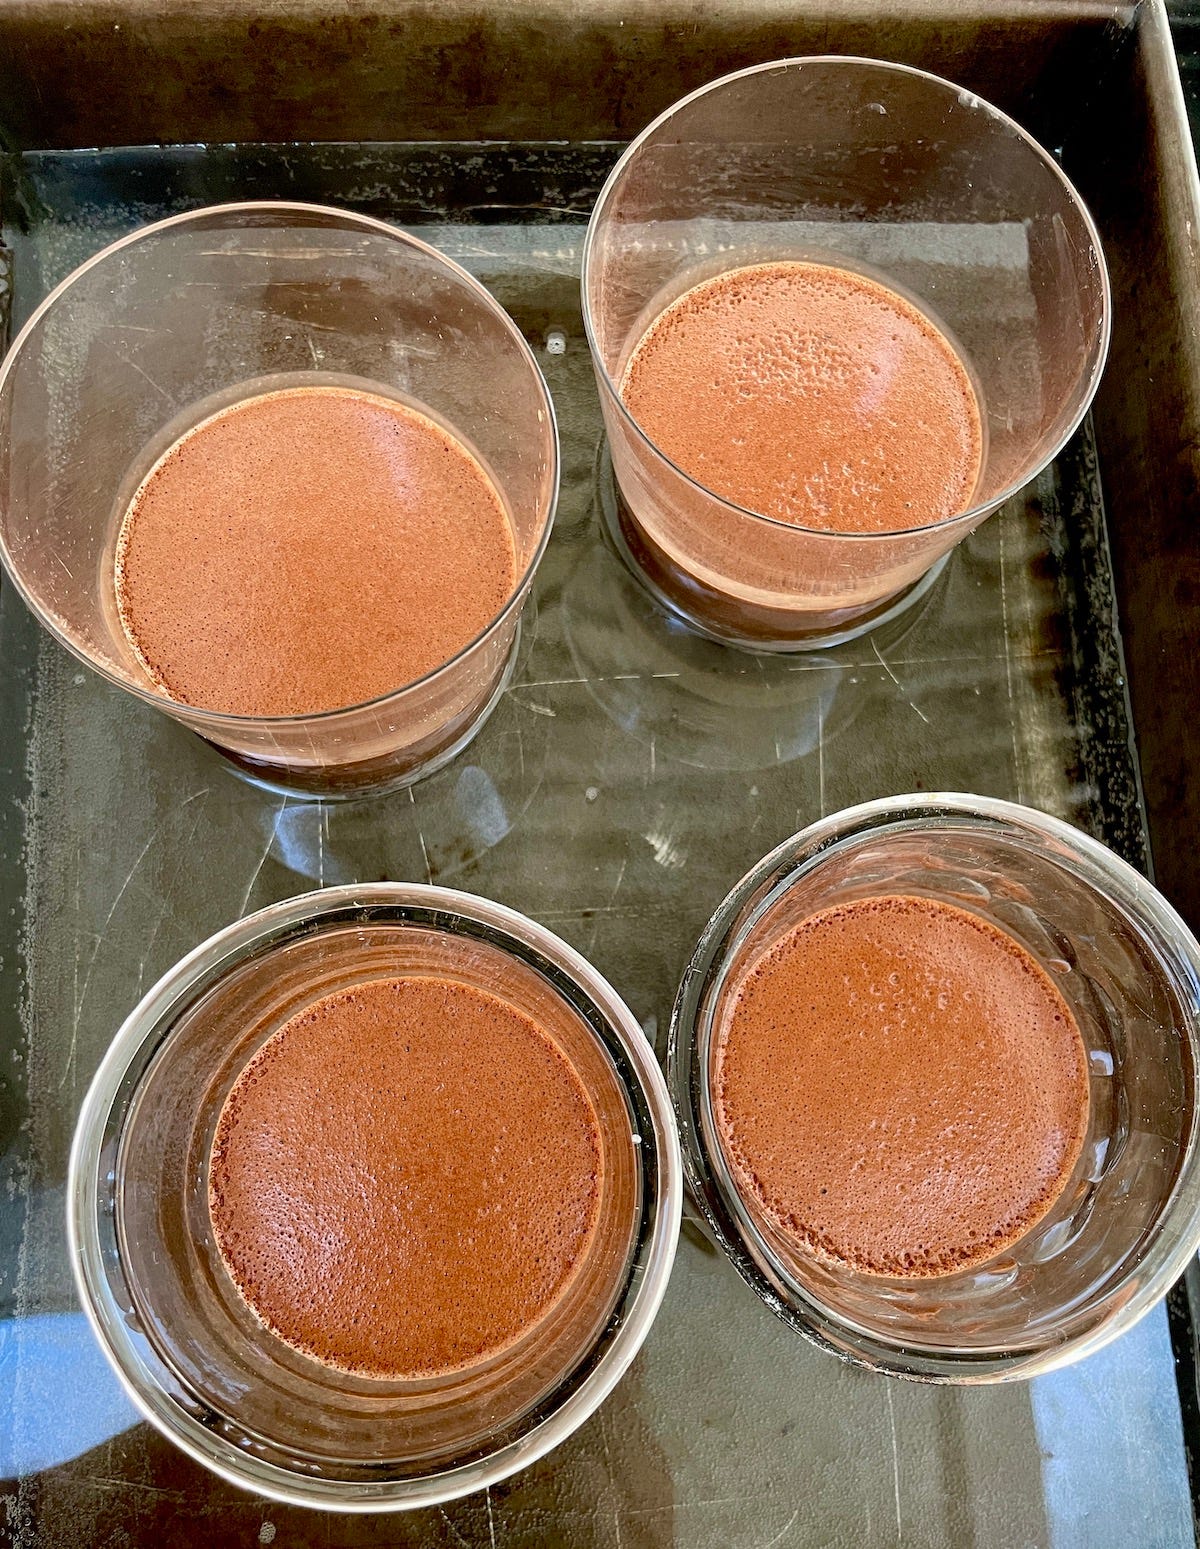
Just keep in mind that the cooking time might vary depending on the depth of the liquid and the thickness of your vessel. Take a peek after 35 minutes. While the pan is still in the oven, give it a very gentle shake (be careful not to slosh the water out of the roasting pan). The centers should still be a bit jiggly, but not completely liquid. If you’re not sure whether they’re done, let them cook another 5 or 10 minutes, keeping in mind they will continue to set up as they cool, and even more when they’re chilled.
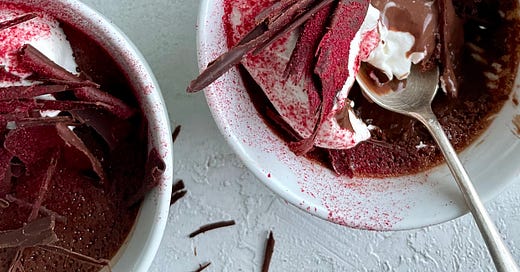
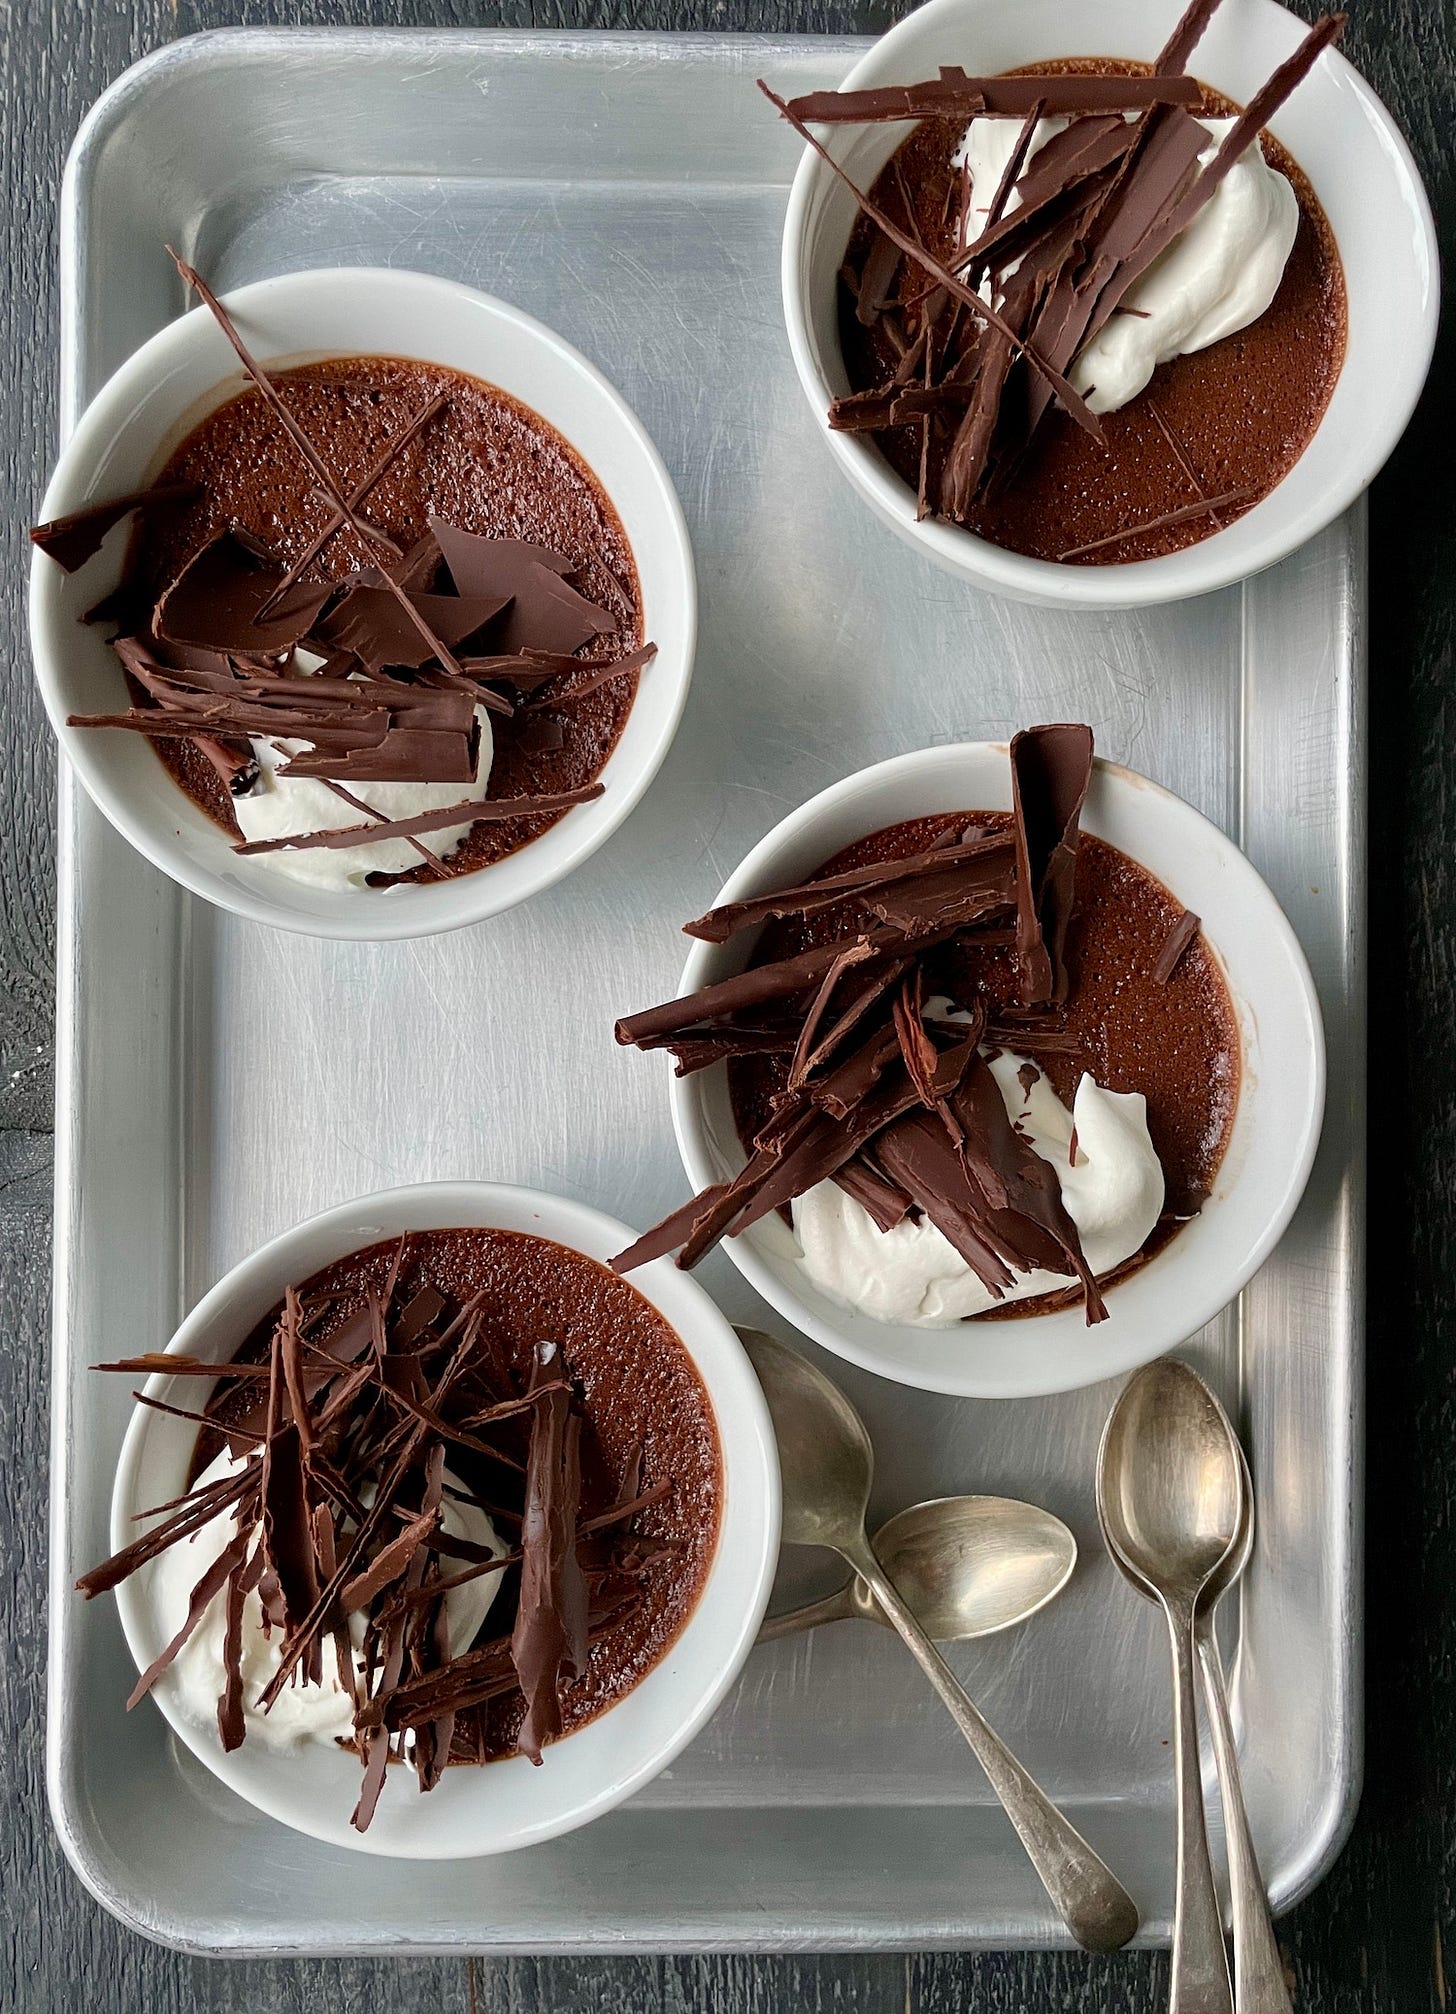
Did I mention this is the perfect make-ahead dessert? And the chocolate curls (or maybe more like shreds in this case) make it kind of fancy. But those are totally optional. You can even use a vegetable peeler to make similar shavings from a chocolate bar. The pink stuff pictured up top? Also not compulsory. I had some freeze-dried raspberries in the pantry leftover from a job, so I ground them up and sifted some over the top for a pop of pink and a hint of tart fruit flavor, because, after all, it’s Valentine’s Day.
A Guide to Soup
Before we get to the chocolate, let’s talk vegetables! Last week, paid subscribers received my thorough no-recipe recipe for homemade vegetable soup, which can be made more substantial with meatballs, like pictured here, shredded chicken, a poached egg, or whatever you may have on hand. It’s a formula that lets you create a delicious homemade soup using up whatever produce bits and bobs your fridge—or farmer’s market—may hold. I make a big pot of soup for lunches each week using this formula, and I hope it will help some of you do the same!
Chocolate Pots de Crème
Serves 4
3/4 cup whole milk
1/2 cup heavy cream
3 ounces/85g (60%) bittersweet chocolate, chopped
2 tablespoons Dutch-process cocoa powder
1 teaspoon vanilla extract
3 large egg yolks
1/4 teaspoon salt
3 tablespoons granulated sugar
For serving:
1/3 cup heavy cream
2 ounces/57g (60%) bittersweet chocolate, chopped (for chocolate curls; see bottom of this newsletter for recipe + instructions)
A few freeze-dried raspberries, ground and sifted (optional), for colorful garnish
Preheat oven to 300ºF. Combine milk and cream in a small saucepan over medium-low heat. Bring just to a simmer. You’ll see steam rising and little bubbles all around the edges. Add chocolate and cocoa powder, remove saucepan from heat, and let stand 5 minutes. Add vanilla extract and whisk mixture gently until all is melted and smooth.
In a large bowl, whisk egg yolks, salt, and sugar until thickened and lightened in color. Whisk chocolate mixture gradually into the egg mixture. Once combined, pour mixture into a spouted bowl or a large spouted measuring cup.
Pour into 4 ramekins, small bowls, glasses, or teacups, dividing the mixture evenly. Place them in a small roasting pan and pour hot tap water into the pan—the water should reach halfway up the sides of the vessels. Cover the roasting pan tightly with foil and poke multiple holes in the foil to vent.
Bake until nearly set but still a bit wobbly in the centers, 35 to 45 minutes. Remove the foil and let the puddings cool slightly while still in the water bath. When cool enough to handle (about 5 minutes), transfer to a cooling rack. Once fairly cool, transfer to the refrigerator to chill, each vessel covered tightly in plastic wrap, for at least 2 hours and up to 2 days ahead of time.
When ready to serve, whip the remaining cream until soft peaks form. Garnish each pudding with a dollop of whipped cream and chocolate curls or shavings (see below for how to).
Cooking Notes:
Skip to the bottom of this newsletter for how to make chocolate curls. You could use that method as written—melting the chocolate in a microwave or double boiler—OR, to avoid dirtying another dish, simply spread the chopped chocolate on the sheet pan you’re going to use and pop it in the warm oven after you take out the pots de crème. Keep it in the oven for about a minute, just long enough for the chocolate to melt. Use your bench scraper to scrape it back and forth until the last bits are melted.
You can follow this recipe as is—using only vanilla extract, which always intensifies the flavor of chocolate. Alternatively, for slight flavor riffs, you could add half a vanilla bean, split lengthwise and scraped; a cardamom pod or two broken open; a couple wide strips of orange peel; or a cinnamon stick to the milk mixture. You’ll want to steep the liquid, covered, for about 15 minutes, and bring it back to scalding before proceeding. You can strain the liquid or just fish out the flavorings with a slotted spoon.
You don't really need to boil water for the water bath that the puddings will be baking in; just use your hottest tap water.
When I whip a small amount of cream, like what we need for these pots de crème, I do it by hand; but, of course, feel free to use an electric mixer. If whisking by hand, putting a metal bowl and whisk in the freezer beforehand helps speed up the process.
Another Option for Valentine’s Sweets!
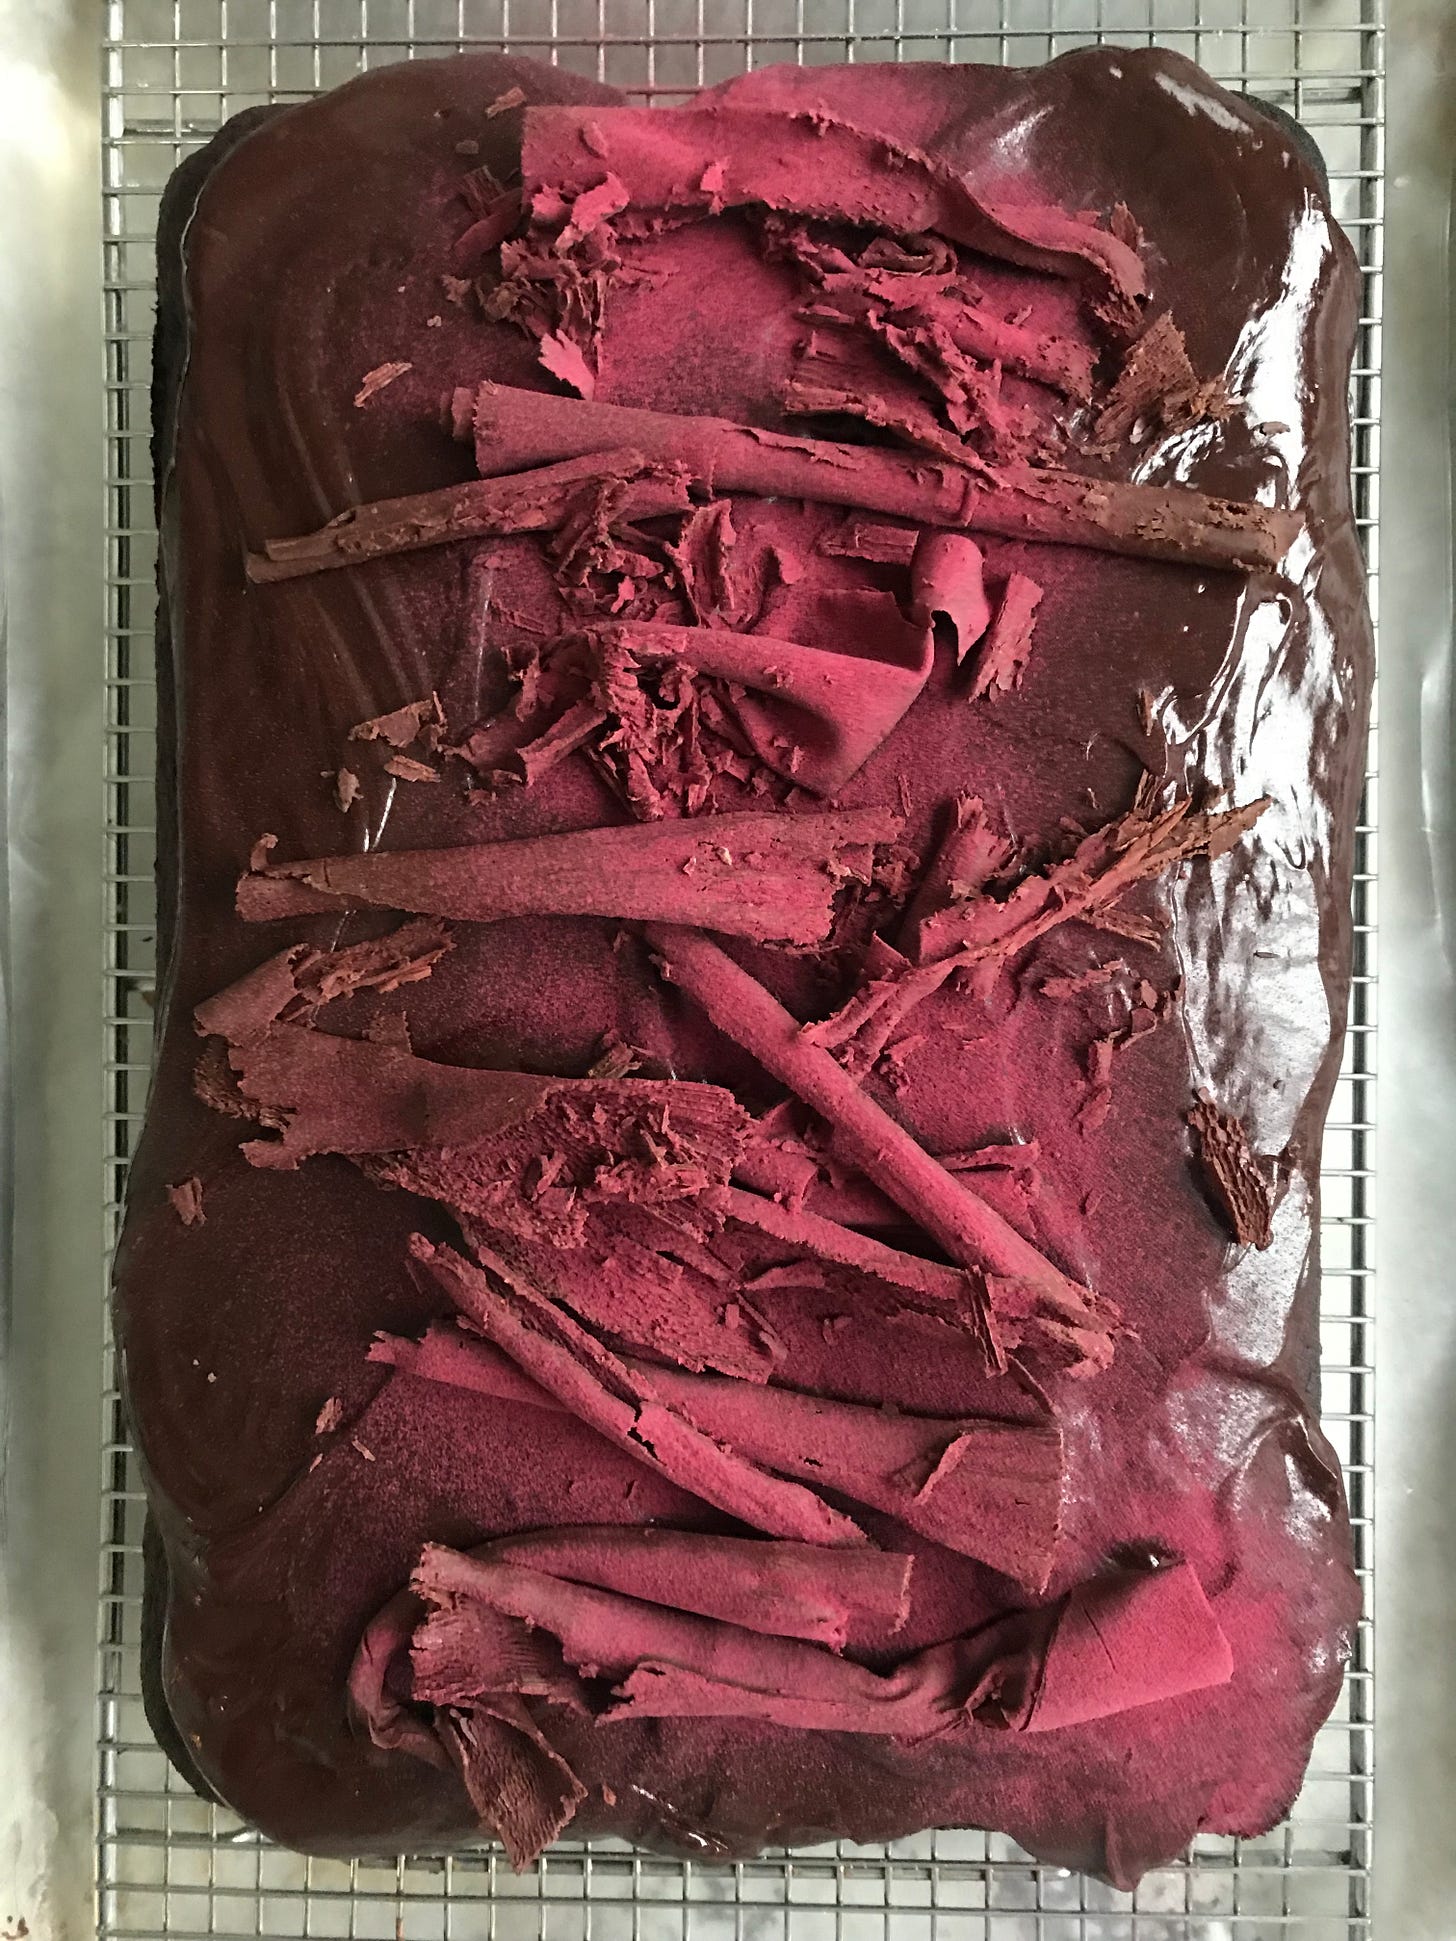
If you own my latest book, Open Kitchen, then you already have the recipe for my Chocolate Beet Sheet Cake with Ganache (page 313). Unfortunately, it contains the one major printing error in my whole book. It’s hard to avoid these kinds of errors, despite—or perhaps because—so many people are proofing the text.
When I turned in the manuscript, I called for “1 cup” of butter for the cake. Somewhere along the editorial line, someone added the (incorrect) amount in sticks. It should have read “2 sticks,” but got printed as “1/2 stick” instead.
If you have my book, take out a pen, cross out “1/2 stick,” and write in “2 sticks.” Lots of people have made this recipe and some of them have DMed me to ask which measurement is correct, since the two amounts don't match up. Thankfully it made them pause and wonder—and alert me of the mistake!
If you don’t have my cookbook, here’s the recipe with the revision included!
Chocolate Beet Sheet Cake with Ganache
Serves a crowd
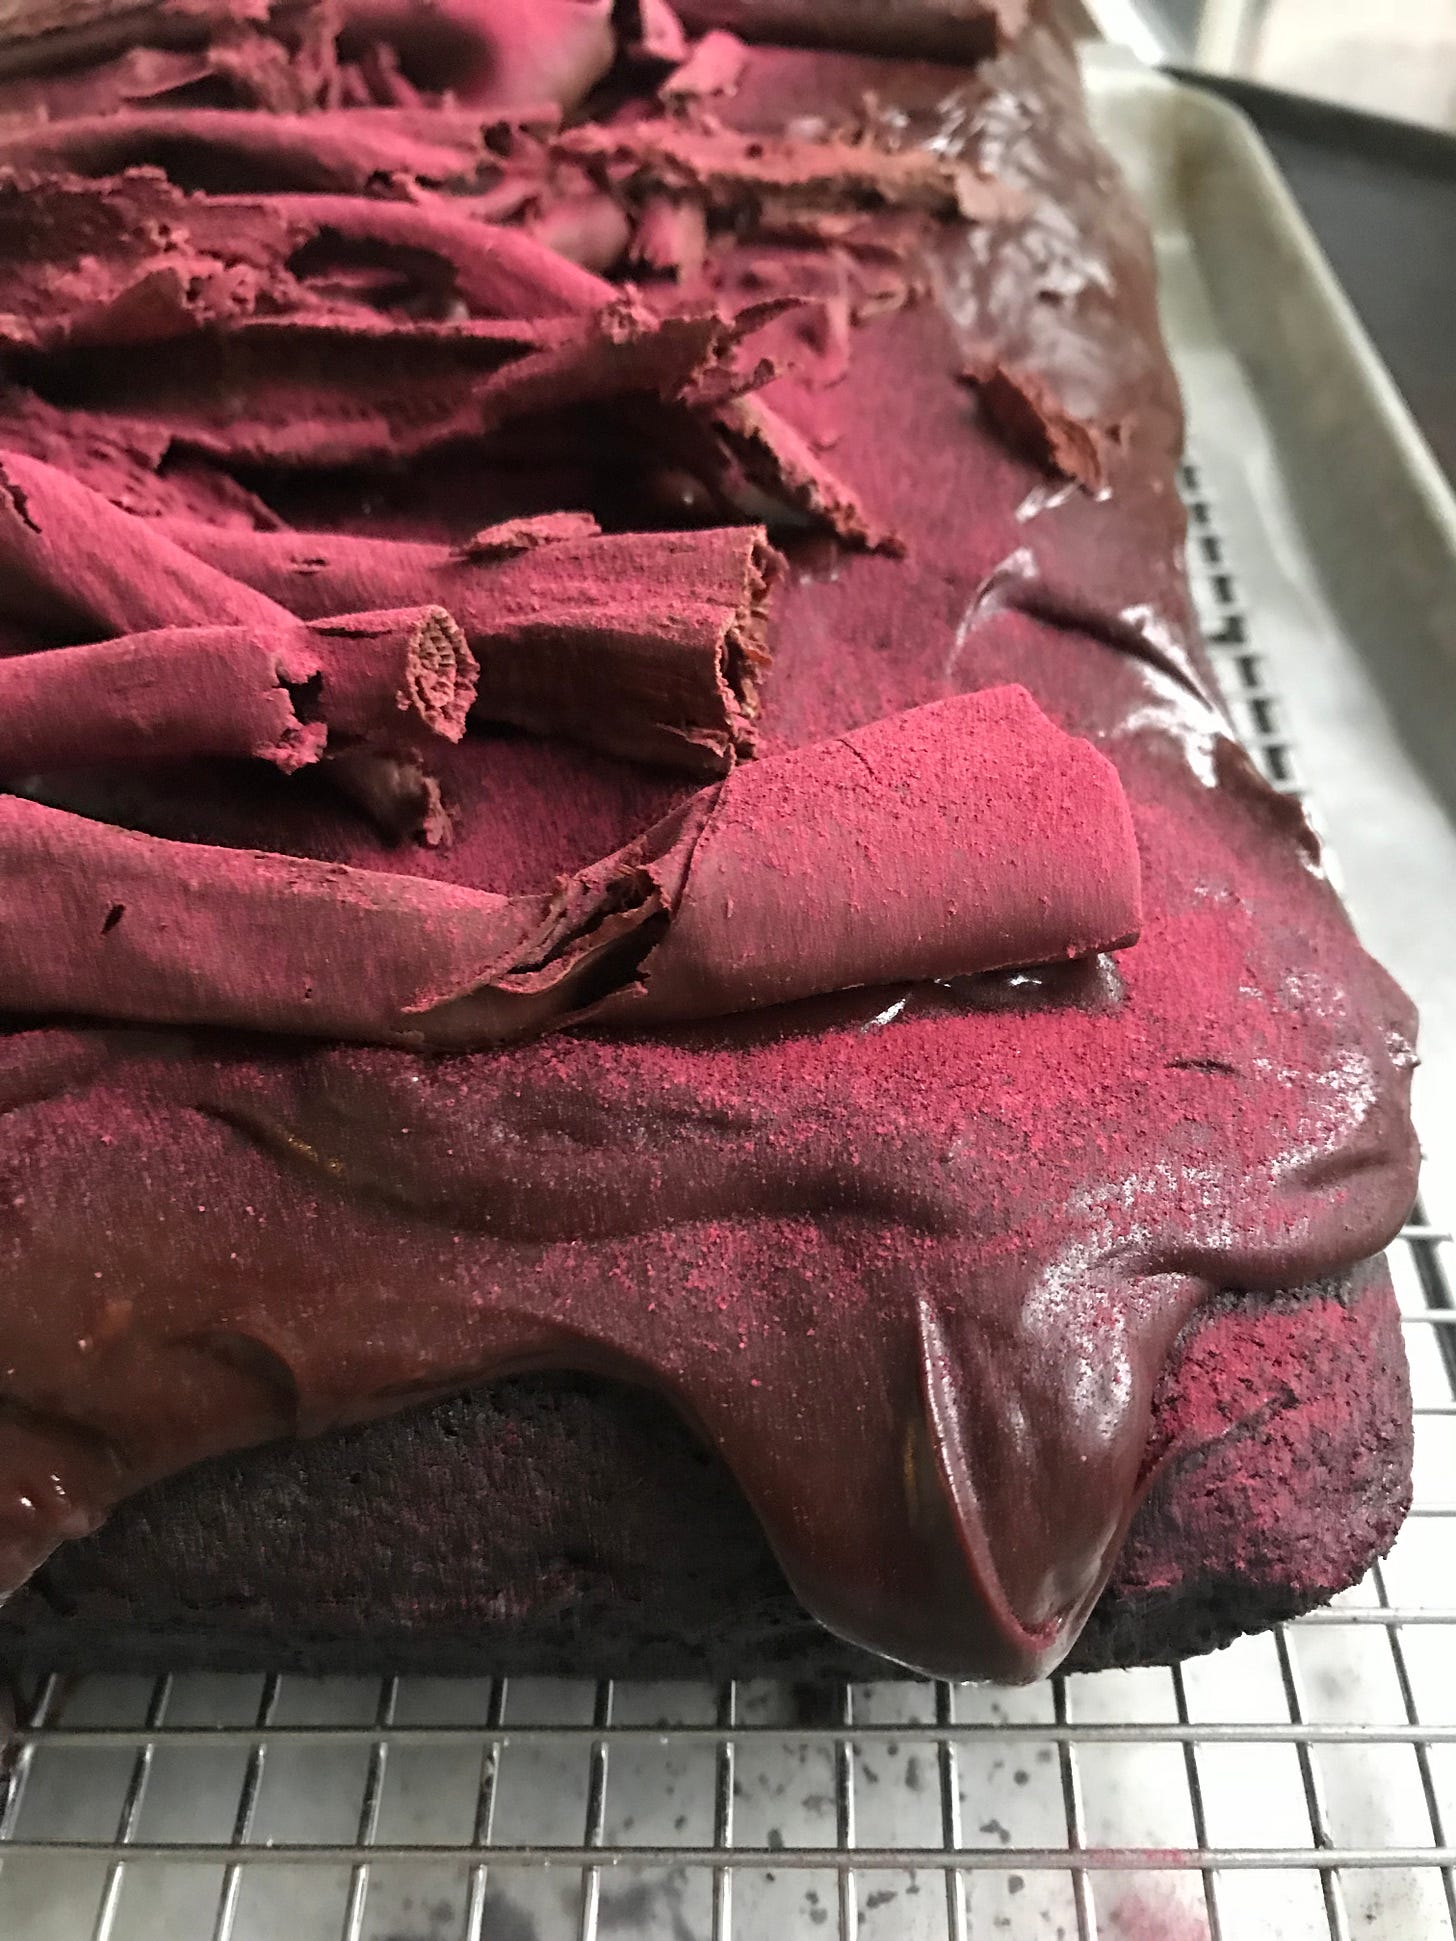
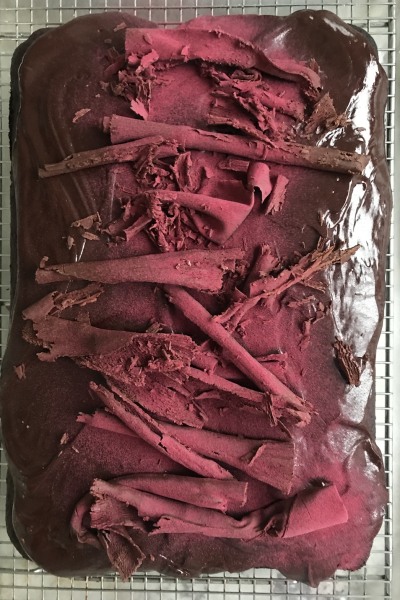
This cake is a real showstopper, with a light dusting of beet powder gracing the top. You can order the beet powder from Kalustyan’s, but I recently saw it being sold at CVS in the nutritional supplement aisle, and you can get it here on Amazon! It still looks pretty spectacular without it too. The beets in the batter keep the sweetness in check, add a note of earthiness, and keep the cake moist. If you want to make this cake for a smaller crowd, bake the whole cake, cut it in half, and freeze half. Halve the ganache recipe for the top.
For the cake:
2 sticks (1 cup) unsalted butter, softened, plus more for the pan
3 large (baseball-size) red beets (about 1 ½ pounds trimmed, to make 2 cups puree)
1/4 teaspoon salt, plus more for cooking the beets
2 ¼ cups/452g granulated sugar
4 large eggs, at room temperature
1/2 cup sour cream
1 teaspoon vanilla extract
3/4 cup/71g unsweetened Dutch-process cocoa powder
2 ½ cups/320g all-purpose flour
2 teaspoons baking soda
For the ganache:
1 cup heavy cream
6 ounces/170g bittersweet chocolate, chopped
1 tablespoon unsalted butter
2 tablespoons corn syrup
To decorate:
Chocolate curls (procedure below)
Beet powder (optional)
Set an oven rack to the center rack and preheat the oven to 350ºF. Butter a 9x13-inch cake pan, line with parchment paper, then grease the bottom of the paper with butter.
In a large saucepan, cover the beets with water, lightly salt it, and bring to a boil over high heat. Reduce the heat to maintain a brisk simmer and cook until a paring knife easily slips into a beet, 30 to 50 minutes (or longer if necessary), depending on size and freshness of beets. Let rest in the hot water for 10 minutes, drain, and cover with cold water. When cool enough to handle, slip the skins off the beets under the water (which will lessen any hand staining) and cut into chunks. Place in a food processor and process until very smooth. Measure out 2 cups of the puree and set aside until cooled. Discard any excess.
In a stand mixer, cream the butter and sugar until fluffy. Beat in the eggs one at a time, then beat in the sour cream. Add the beet puree and vanilla and mix well. It will look curdled and very pink at this point. Don’t worry!
In a large bowl, sift together the cocoa, flour, baking soda, and salt. Add the dry mixture to the wet ingredients in the mixer in two additions and beat on low speed until combined and smooth. Remove the bowl from the mixer and fold a few times to make sure it is thoroughly mixed.
Spread evenly in the prepared pan and bake for 35 to 40 minutes, rotating halfway through the baking time, until a toothpick inserted in the center comes out clean. Cool in the pan for 10 minutes, then invert onto a cooling rack and cool completely. Peel off the paper and invert onto a serving platter.
To make the ganache: Heat the cream in a small saucepan over medium heat until steaming and bubbling around the edges. Place the chocolate in a small bowl and pour the hot cream over it. Add the butter and corn syrup. Wait 5 minutes, then stir until smooth and glossy. Stir occasionally until it has cooled to a good spreading consistency, then spread over the top of the cake, not quite to the edges.
Immediately top with chocolate curls (see below for how-to) and use a small sieve to lightly dust with beet powder (if using).
How to Make Chocolate Curls
Makes enough to decorate a full Chocolate Beet Sheet Cake
Chop 3 ounces/85g bittersweet chocolate and transfer all but a few pieces to a bone-dry microwave-able bowl. (You also could melt the chocolate over a double boiler.) Microwave on high for 1 minute, stir, and microwave in additional 10-second bursts until it is almost melted.
Add the reserved pieces of chocolate and stir constantly with a rubber spatula until melted and smooth. Transfer the chocolate to a clean, flat, uncoated baking sheet and use a bench scraper to smooth the chocolate out. Scrape it up again and smooth it out a few times until the chocolate is cool.
At this point, it should start to harden and dry before your eyes. When it looks almost dry and firm, push the baking sheet against the wall for leverage and scrape the chocolate away from you in small sections to form curls and shards.
Chocolate Curl Cooking Notes:
If the chocolate doesn’t harden and still looks wet, pop it in the freezer until almost hardened. Remove it and proceed as described above.
If it is too hard, run your hand on the bottom of the sheet to warm it slightly and try again. The chocolate does have to be at the perfect temperature to work well, so there is a bit of trial and error involved. But funky shapes look great, so don’t worry too much about it! You can always melt it and try again.
Use a level, clean quarter sheet pan. If you only have a larger sheet pan, that’s OK too, just cover about half the area of the pan with the chocolate so it’s not spread too thin.
You need a bench scraper to push the chocolate into curls. There’s no wrong way to do this. Put the pan against the wall for leverage so you can push. If the chocolate gets too soft, pop it back in the freezer for a minute.
A quick cheater’s version is to spread the chocolate, freeze until hard, and then let soften until it’s JUST RIGHT. If it’s too cold, run your hand along the underside of the pan to help warm it up.
SAVE TIME: If all of this sounds like too much for you, you can just shave a block of chocolate using a vegetable peeler for a still-pretty if less dramatic look. (Try warming the chocolate with your hand before shaving for larger curls.)
Timing Tips for the Beet Sheet Cake:
Up to 2 days ahead: Cook the beets and make the puree.
Up to 1 day ahead: Bake the cake; make the chocolate curls and store in the freezer.
About 1 hour before serving: Make the ganache, frost the cake, and decorate with the curls.
Just before serving: Dust with the beet powder.



oh, what little dreamboats.
I saw the red powder and remembered how your NYT Chocolate Brushstroke cookies used dragonfruit which I promptly bought also getting intro'ed to Nuts.com! Freeze dried raspberries sound great with the pot de creme.