Welcome to issue #38 of Susanality, my free weekly newsletter. Thank you for being here and welcome to all the new sign-ups. If you enjoy this newsletter, please help spread the word! (And if you’re wondering about that email you got earlier in the week… keep reading!)
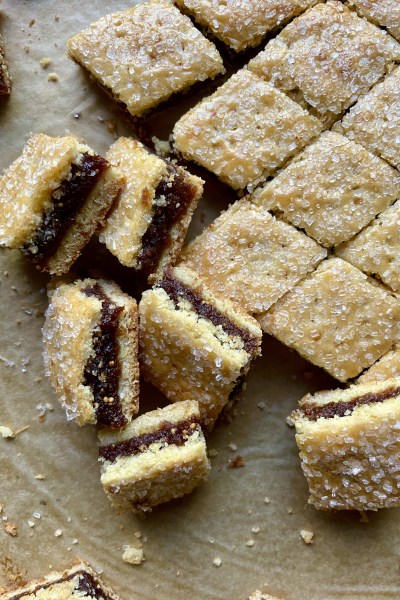
Meet the next cookie in this month’s tour de sweets: my Figgy Cornmeal Cookies. These fig bars are not really trying to be a Fig Newton (but if you like those you’ll love these). They’re more inspired by Italian cookies, which I used to make a lot of back in my professional pastry chef days at an Italian restaurant. Cookie plates were always on the menu, and though I didn’t actually make this exact cookie back then, I used to make a fig mixture very similar to this one that I used in various ways, including as a flavor for ice cream!
They are also “sort of” inspired by a cookie my mother used to buy when I was a kid. I’m guessing they may have been made by a regional bakery that has long since been put out of business by the big guys. They were very similar to the rendition I’m sharing today, but with a smooth raisin filling encased in a crumbly but rich dough. They came in long rectangles, with perforation lines that made it easy to break the cookies off into chewy pieces. I haven’t seen them for many years, but they hold a special place in my heart, and this is an attempt to capture some of the delight of that commercial but still homemade-tasting treat. Does anybody else remember them?!
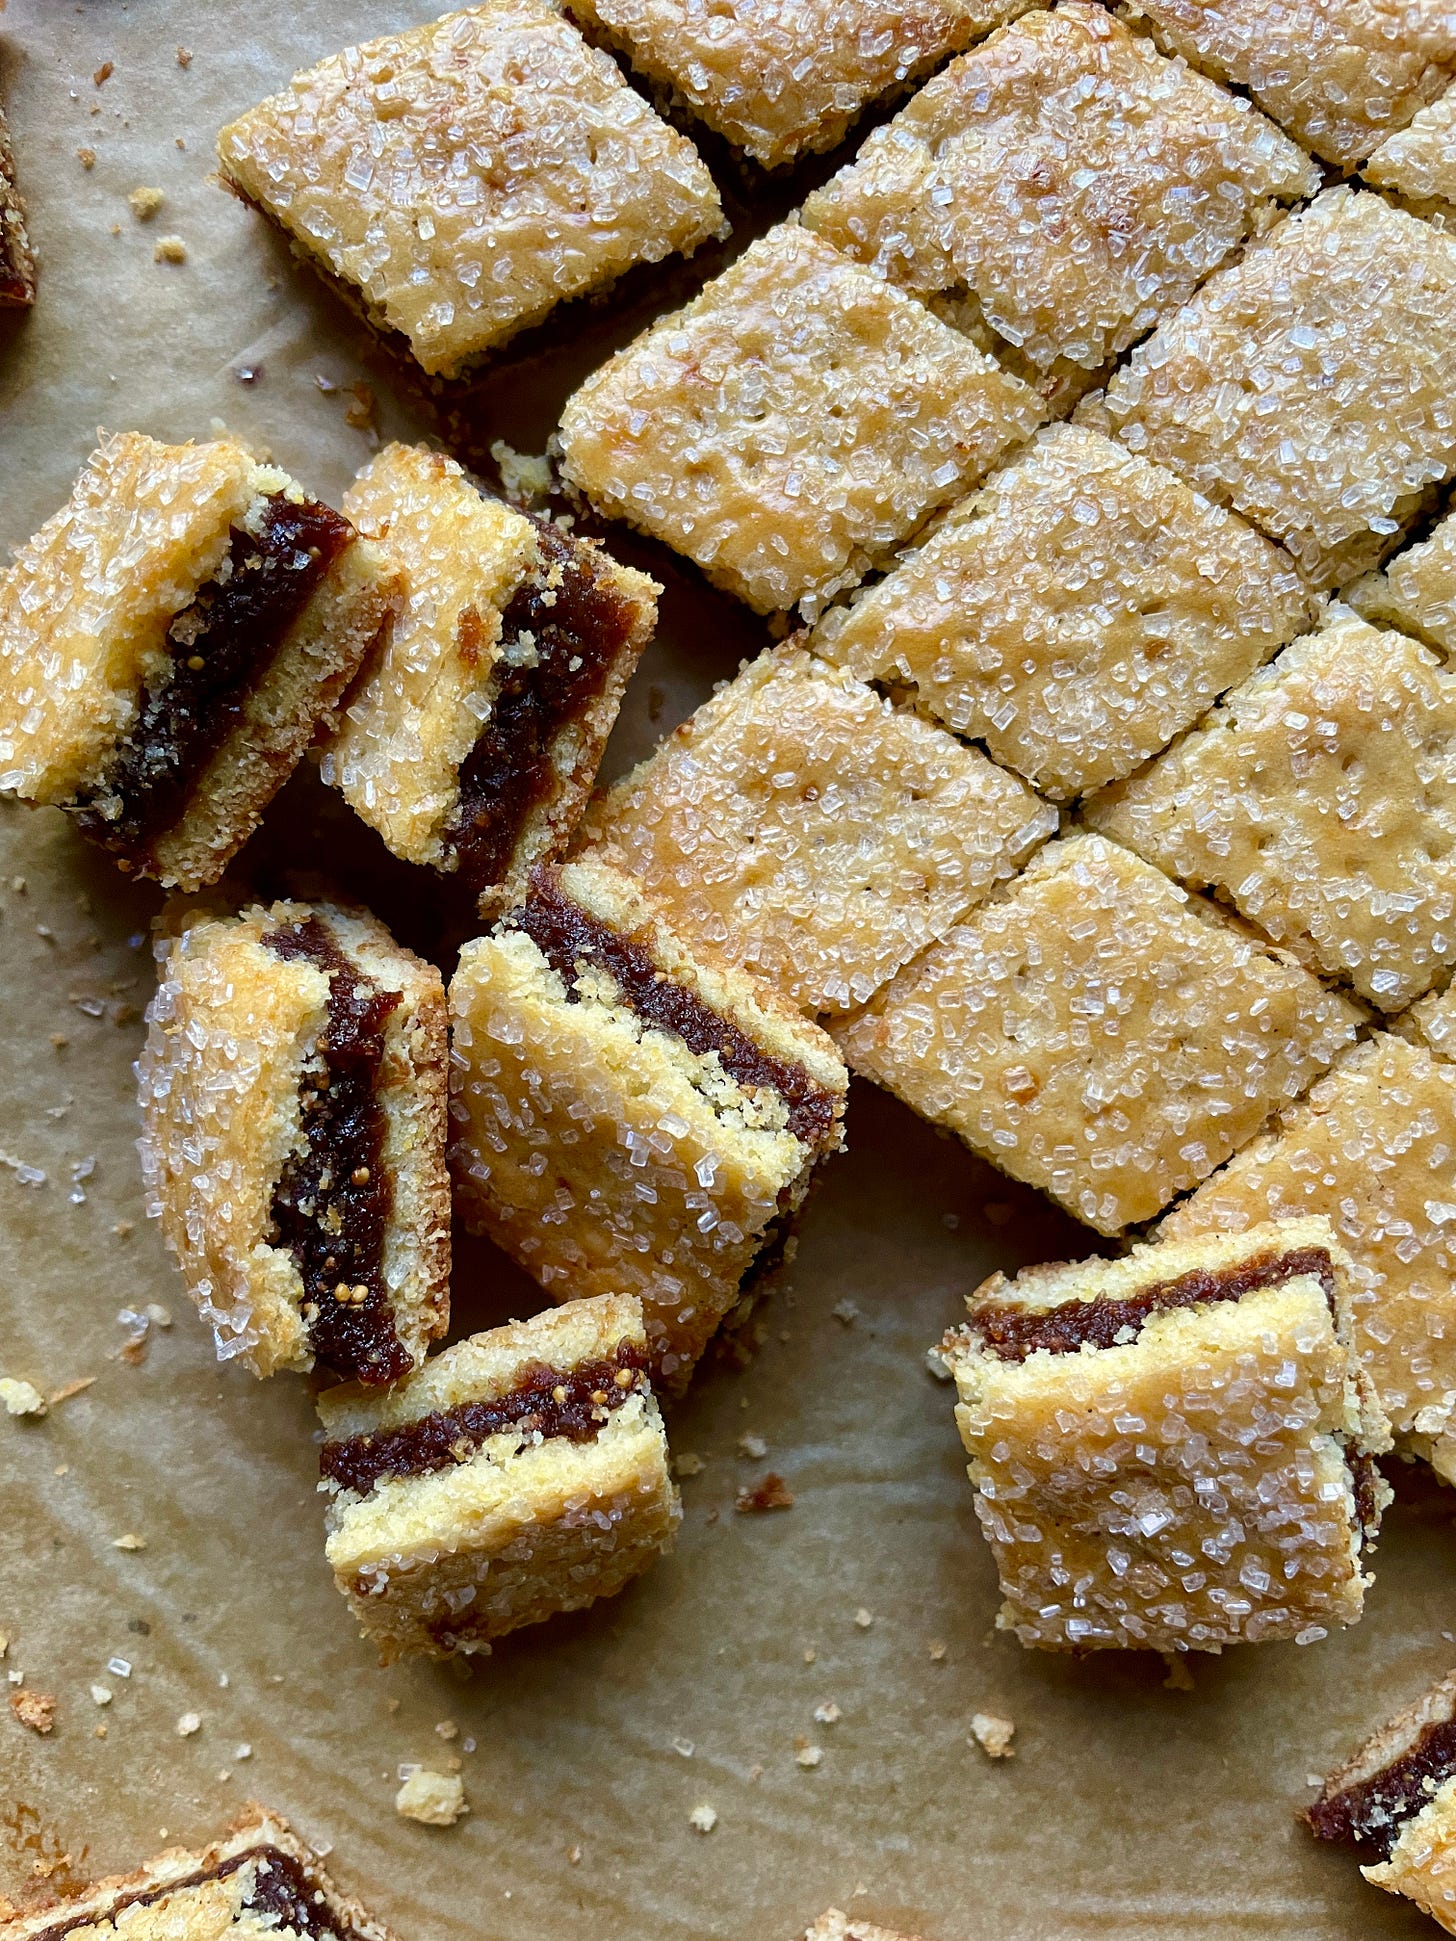
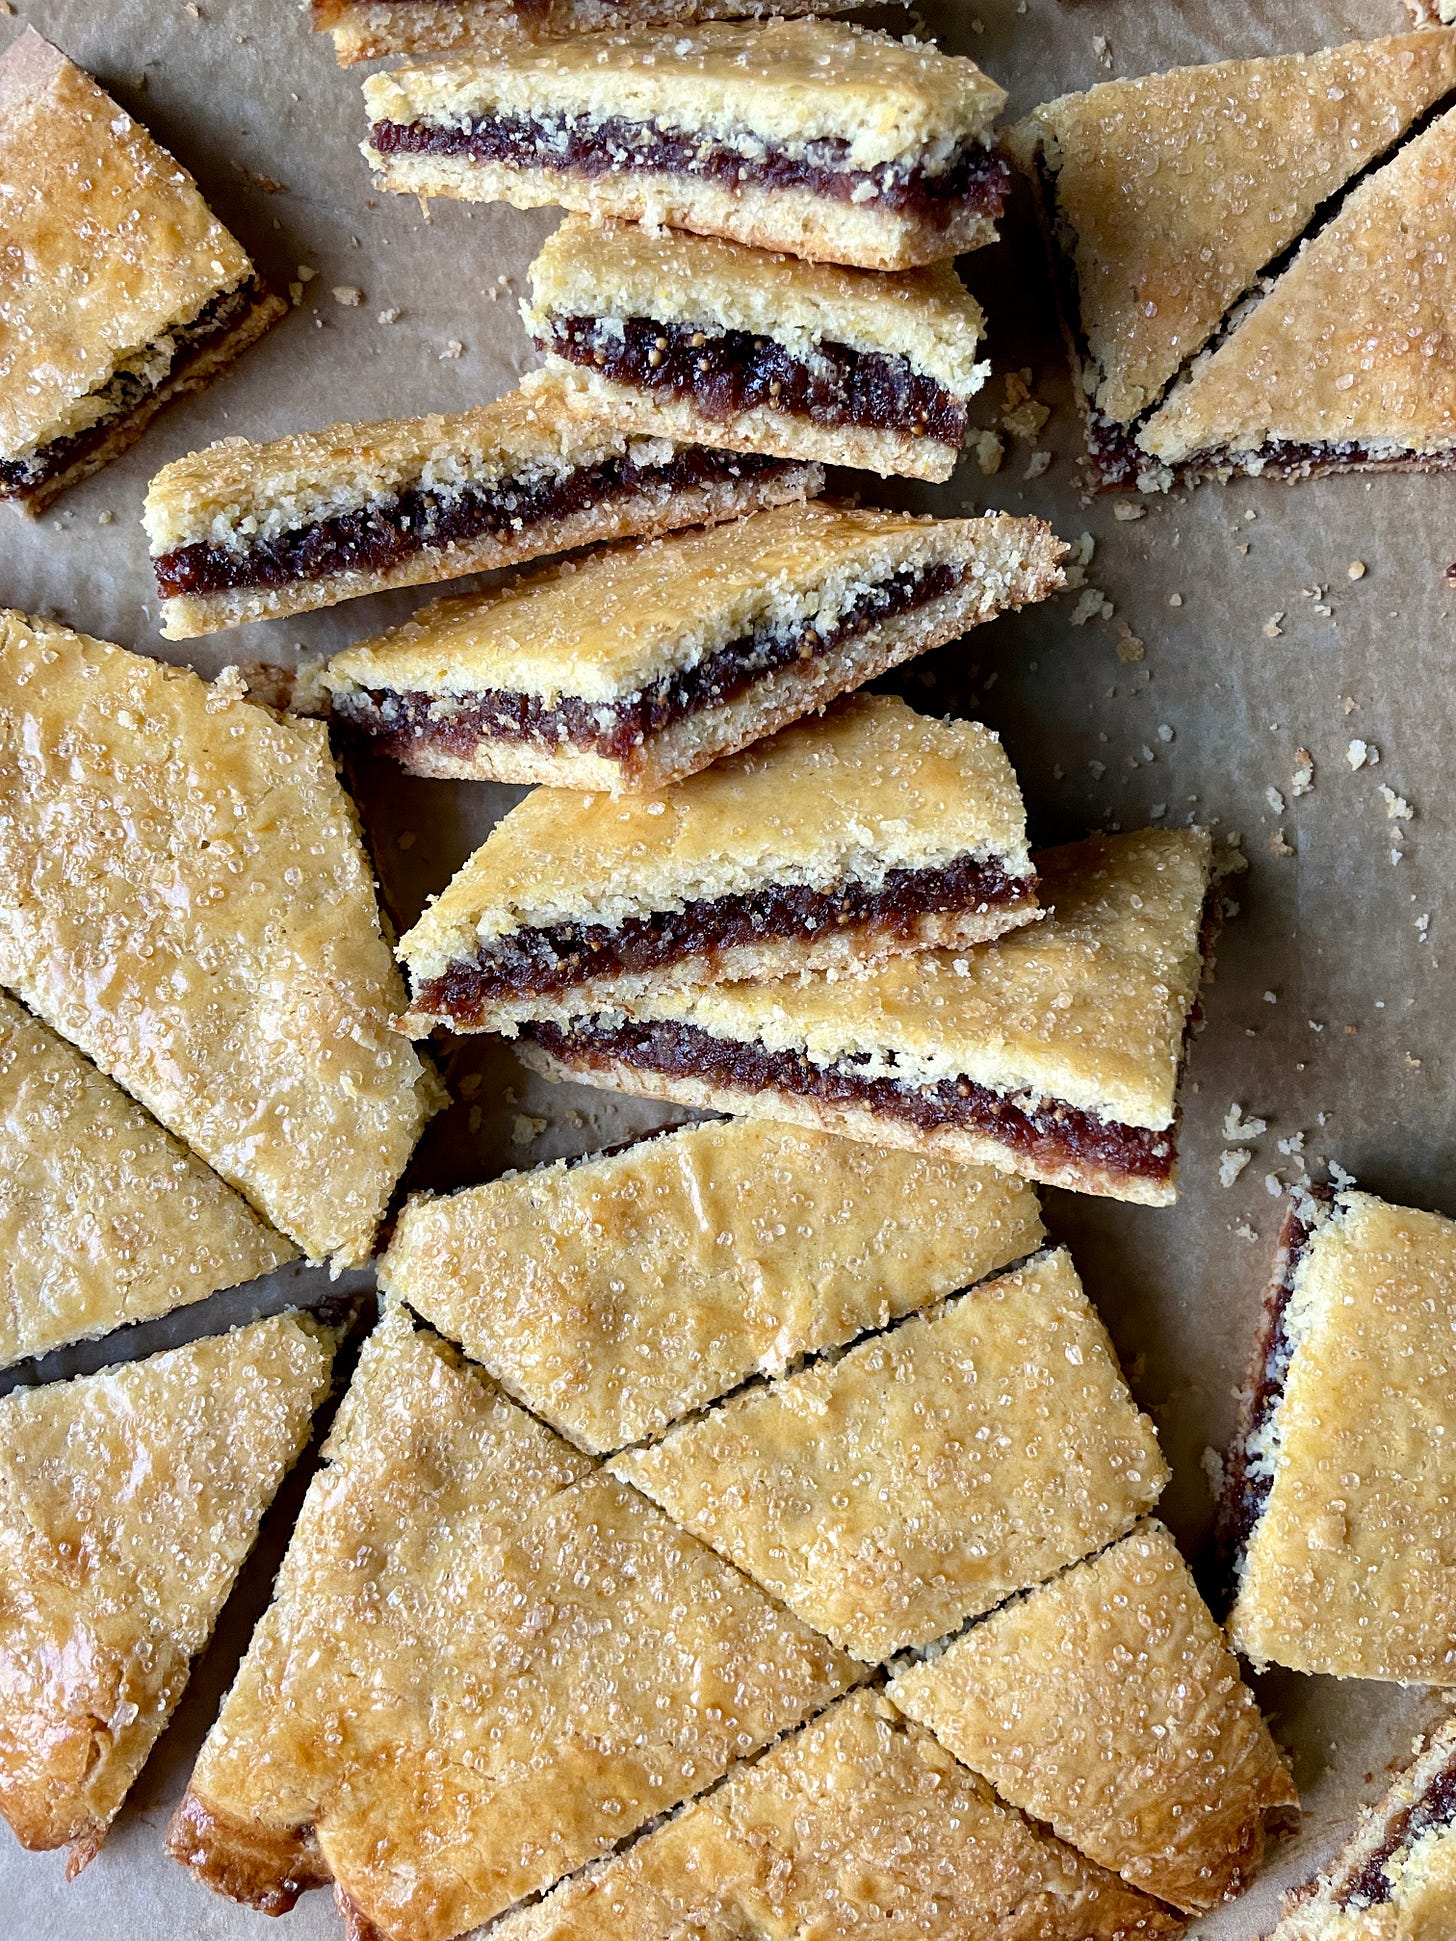
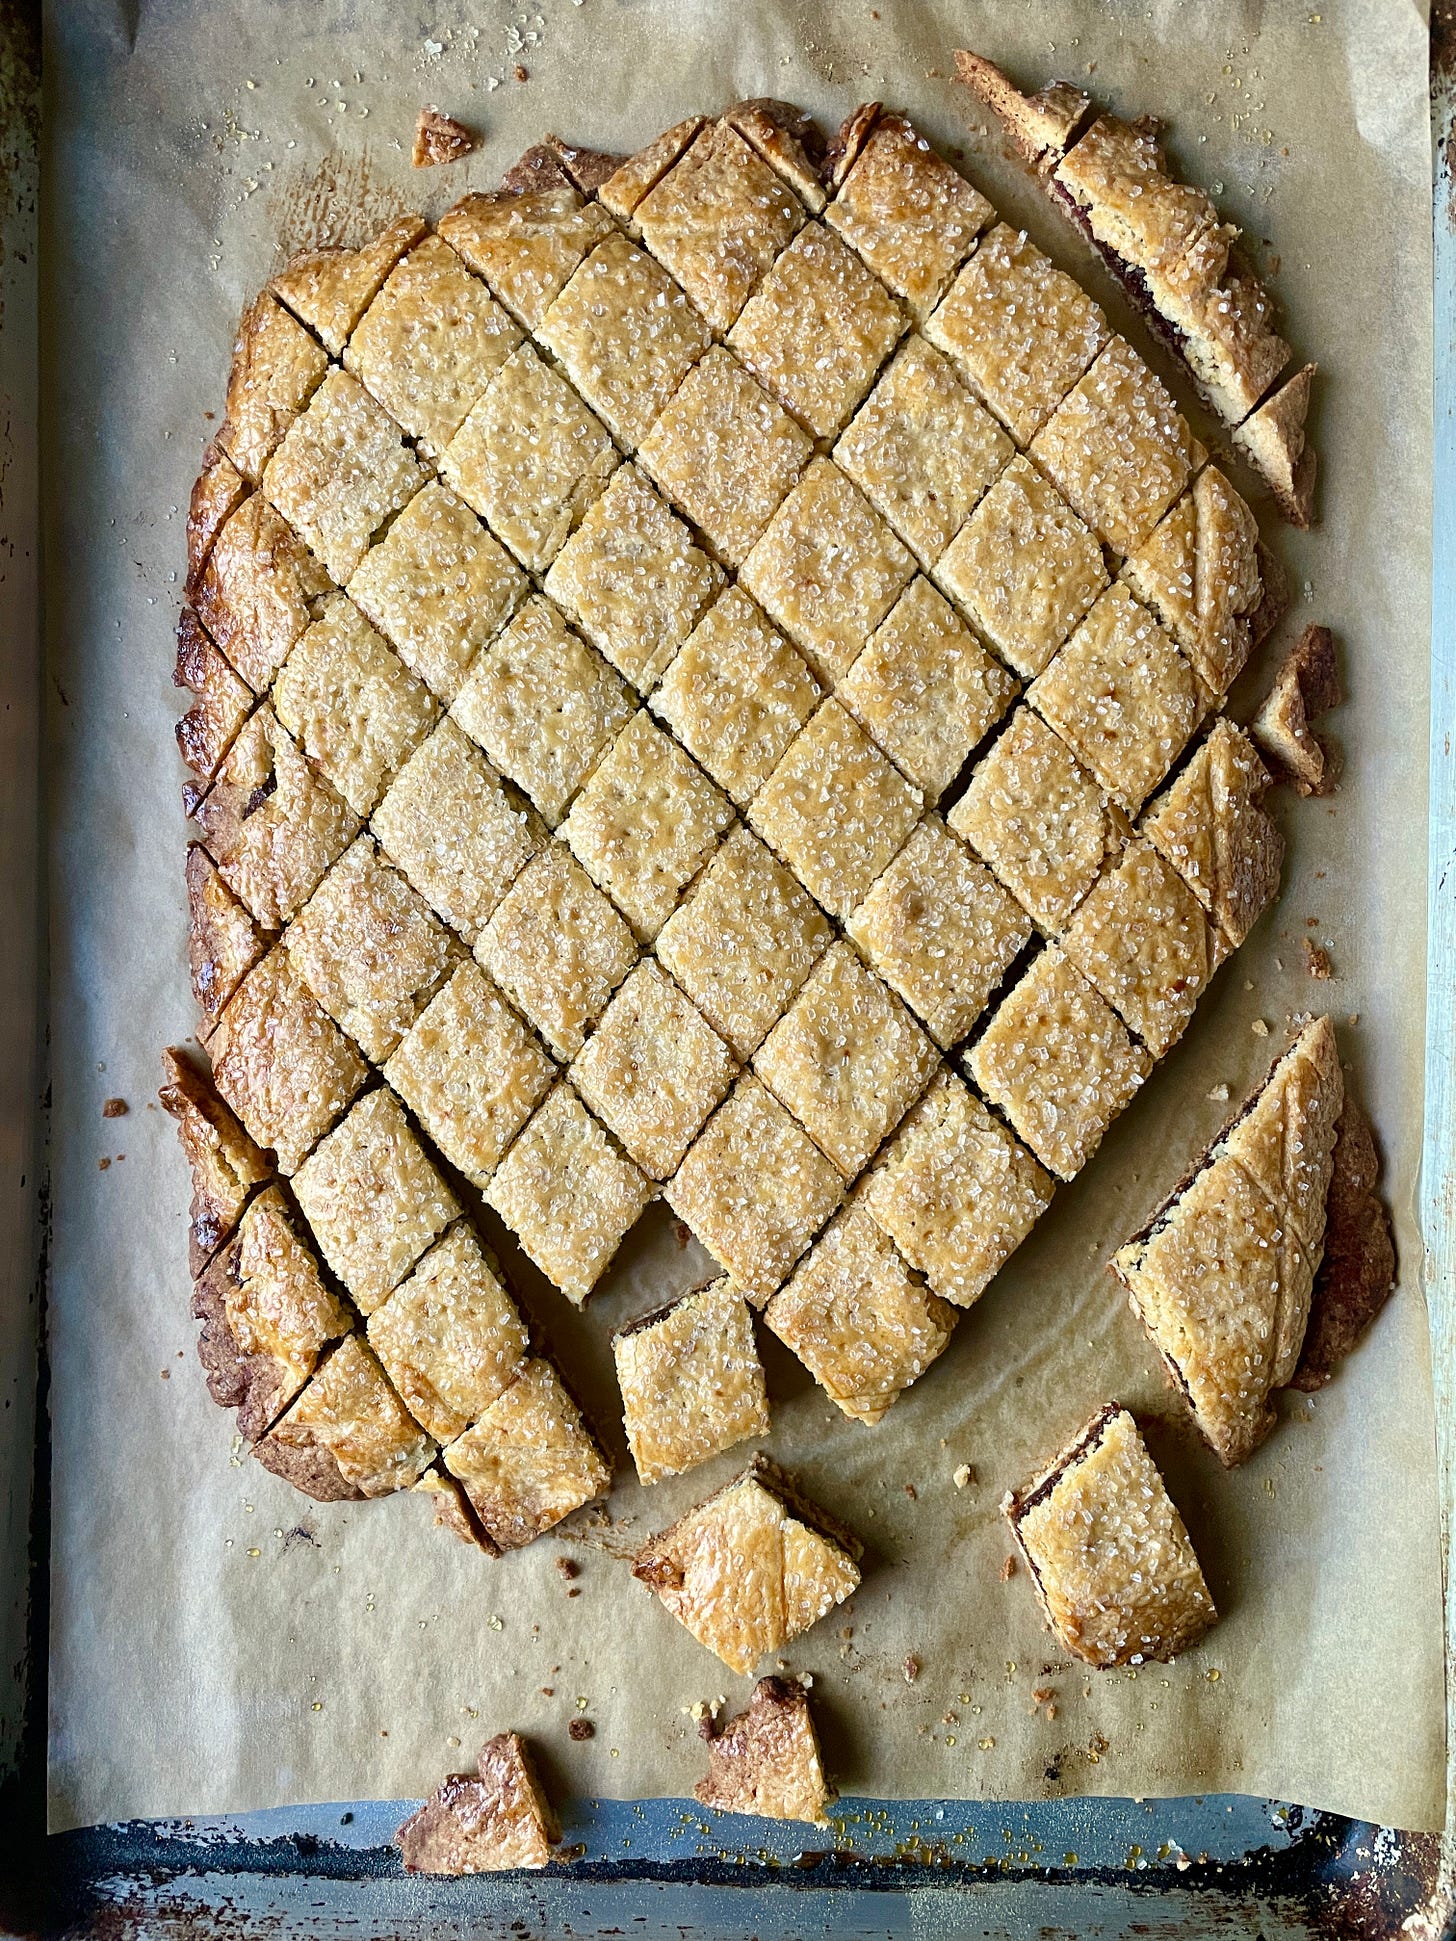
I know these cookies don’t look like much, but believe me when I tell you: They are irresistible! Especially when cut into the one-inch diamonds, they are so easy to pop into your mouth, and make a great addition to any cookie box or cookie plate. But you can have fun with this one and cut them any way you’d like!
I hope you are enjoying this cookie series as much as I am (taste-testing cookies is NOT a bad gig). If you make a recipe, be sure to tag me on Instagram! You can also always reply to this email or leave a comment or question. I’ll get back to you as soon as I’m able!
The story behind that email (and these cookies!)
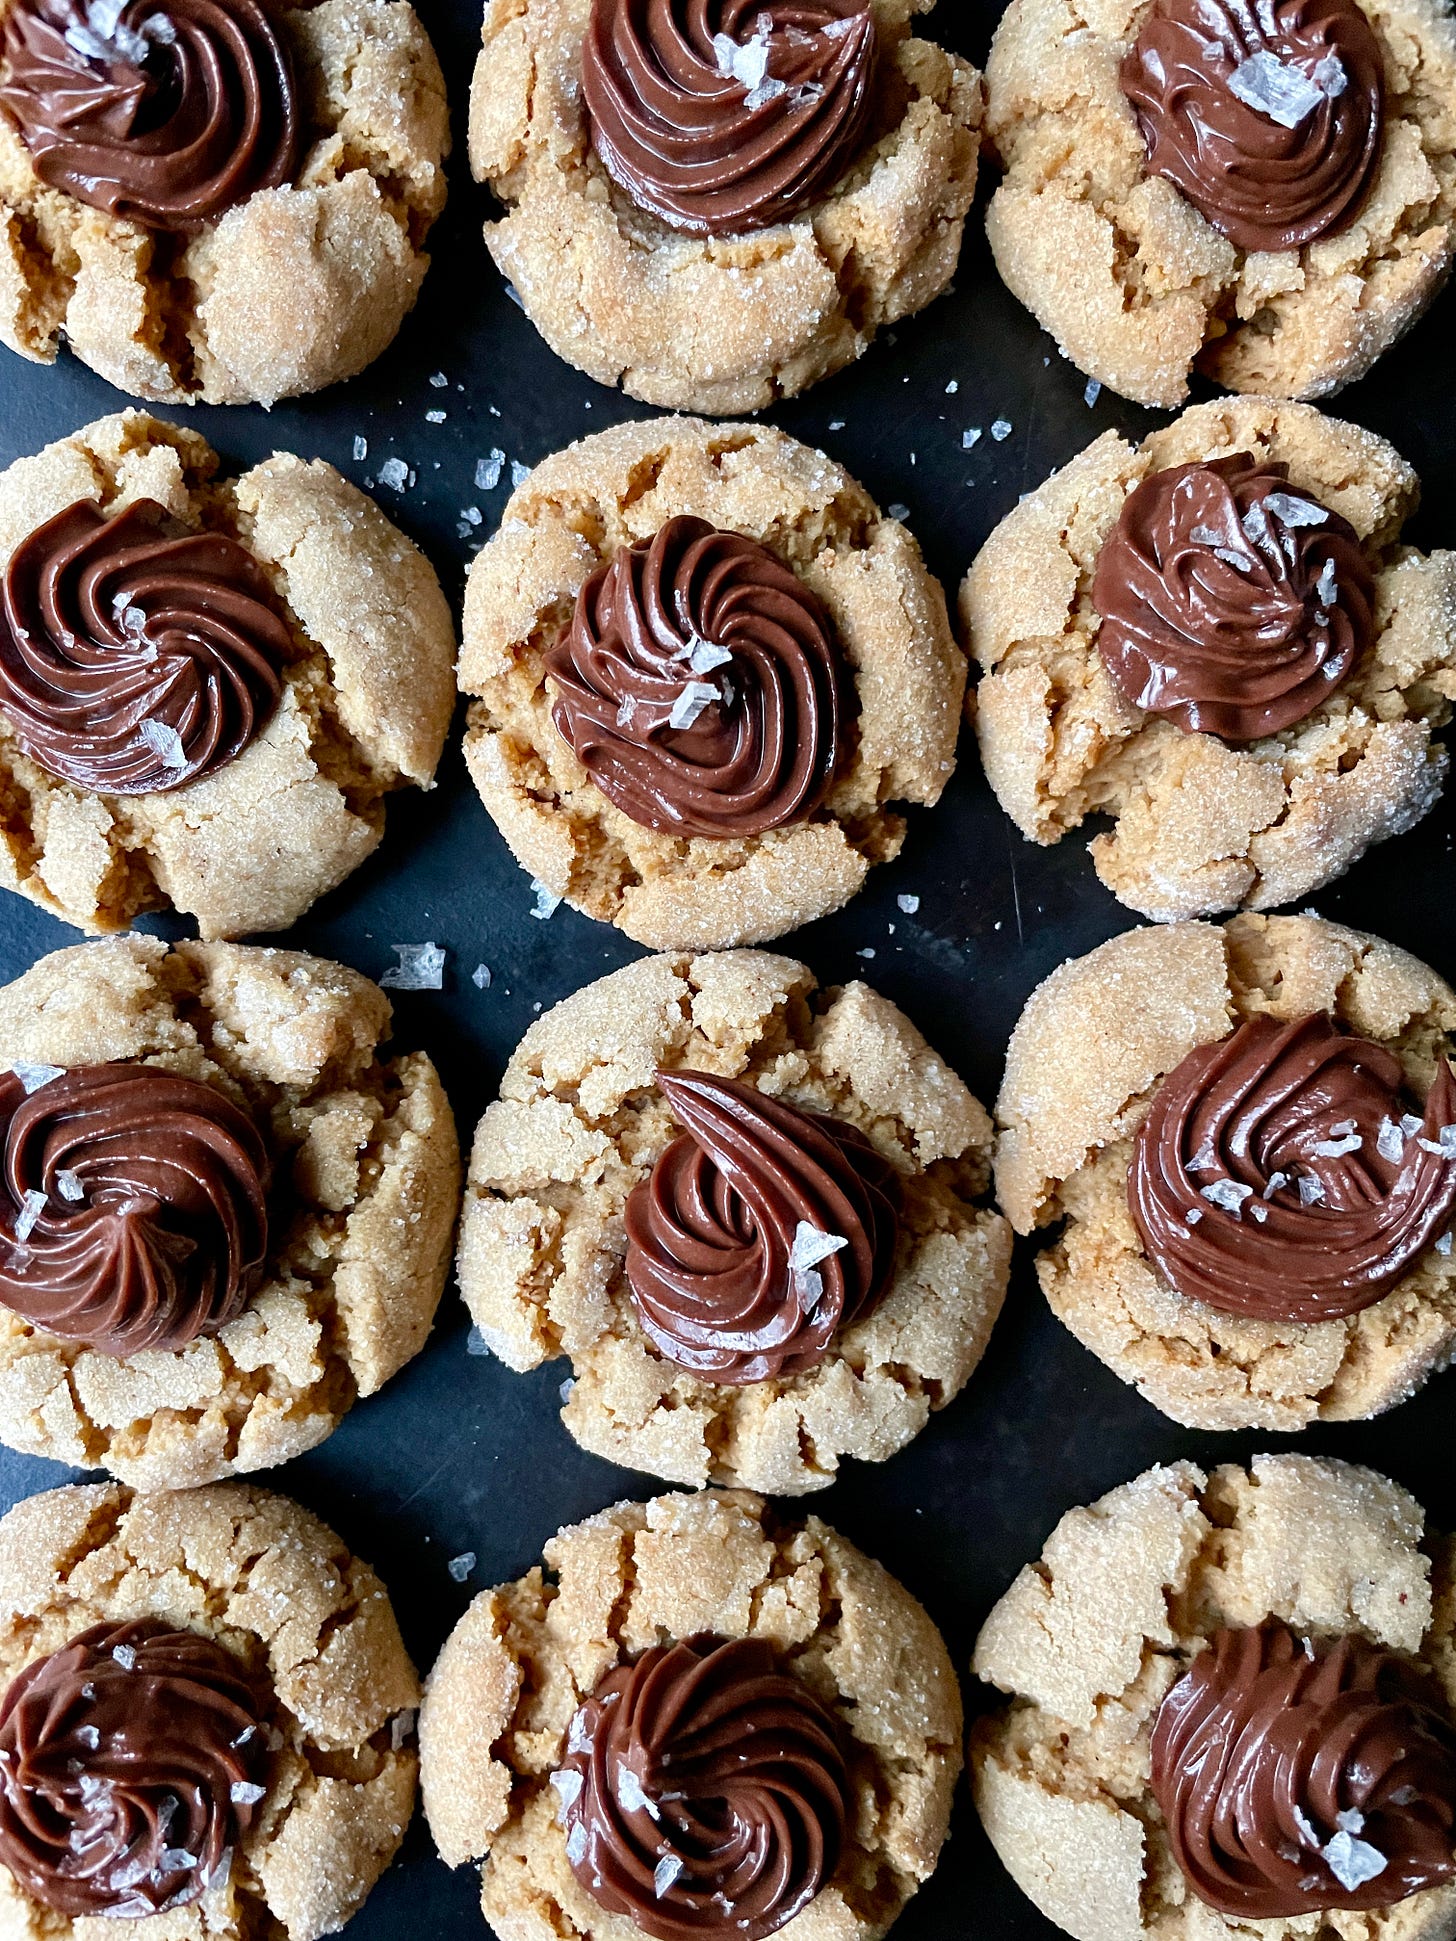
If you’re a free subscriber, you may have noticed that an extra (half!) newsletter from me landed in your inbox this week. Substack, the hosting program for these newsletters, recently added a “free preview” function, which let me give all my free subscribers a partial sneak-peek at content you’d receive if you upgraded to VIP ($5/month or $50/year). As you could see, my paid subscribers received a recipe for Peanut Butter Thumbprints with Sour Cream Ganache (yum!), my top tips for baking perfect cookies (helpful year-round), a list of my tried-and-true cookie baking equipment (essentials any baker needs!), plus a guide to December’s best seasonal produce. I put a lot of work into my paid content (and the free content too, for that matter!), so I enjoyed the opportunity to give you all a taste of it.
If you’d like to access the full post and many others, consider a paid subscription! Each one means so much and helps keep this newsletter going.
Figgy Cornmeal Cookies
Makes about 45 one-inch cookies
For the dough:
1 ½ cups/192g all-purpose flour
1/3 cup/52g fine cornmeal
1/4 teaspoon baking powder
1/4 teaspoon kosher salt
1 ½ sticks / 3/4 cup / 170g unsalted butter
1/2 cup/101g granulated sugar
Zest of 1 orange
1 teaspoon vanilla extract
1 large egg
For the filling:
1 (8- or 9-ounce) package of dried figs, stemmed and halved (about 1 ½ cups)
3 tablespoons honey
1/2 cup dry red wine (optional) or water
Juice of 1 orange (plus enough water to total 1/2 cup)
1/2 teaspoon cinnamon
1/2 teaspoon finely ground black pepper
To finish:
1 egg yolk
2 tablespoons heavy cream or milk
Sanding sugar (AKA sparkling sugar or Sugar in the Raw), for sprinkling
Make the dough: In a medium bowl, whisk together the flour, cornmeal, baking powder, and salt. Set aside.
In the bowl of an electric stand mixer using the paddle attachment (see TIPS below for another mixing method), cream the butter, sugar, and orange zest until light and fluffy, 2 to 3 minutes. Add half of the dry ingredients to the stand mixer bowl and mix until incorporated. Add the vanilla and egg, and beat again until well combined. Add the rest of the dry ingredients, beating until well combined and scraping down the sides of the bowl once or twice as needed.
Wrap the dough up in a roughly rectangular package and chill until firm enough to roll out, for at least 1 hour and as much as 2 or 3 days ahead of time.
Meanwhile, make the filling: Combine the figs, honey, red wine (or water), orange juice (from the orange you zested), cinnamon, and pepper in a small saucepan. Bring to a boil then reduce to a steady simmer over medium-low heat and cook about 10 minutes, stirring occasionally until the liquid looks syrupy. If it doesn’t look syrupy after 10 minutes, turn up the heat and cook 1 to 2 minutes more until it does. Let cool slightly, transfer to the bowl of a food processor, and pulse until fairly smooth (it’s OK if there’s a little texture). Scrape into a bowl, and let cool completely, stirring from time to time to release the heat. If making ahead, refrigerate until about an hour before ready to use.
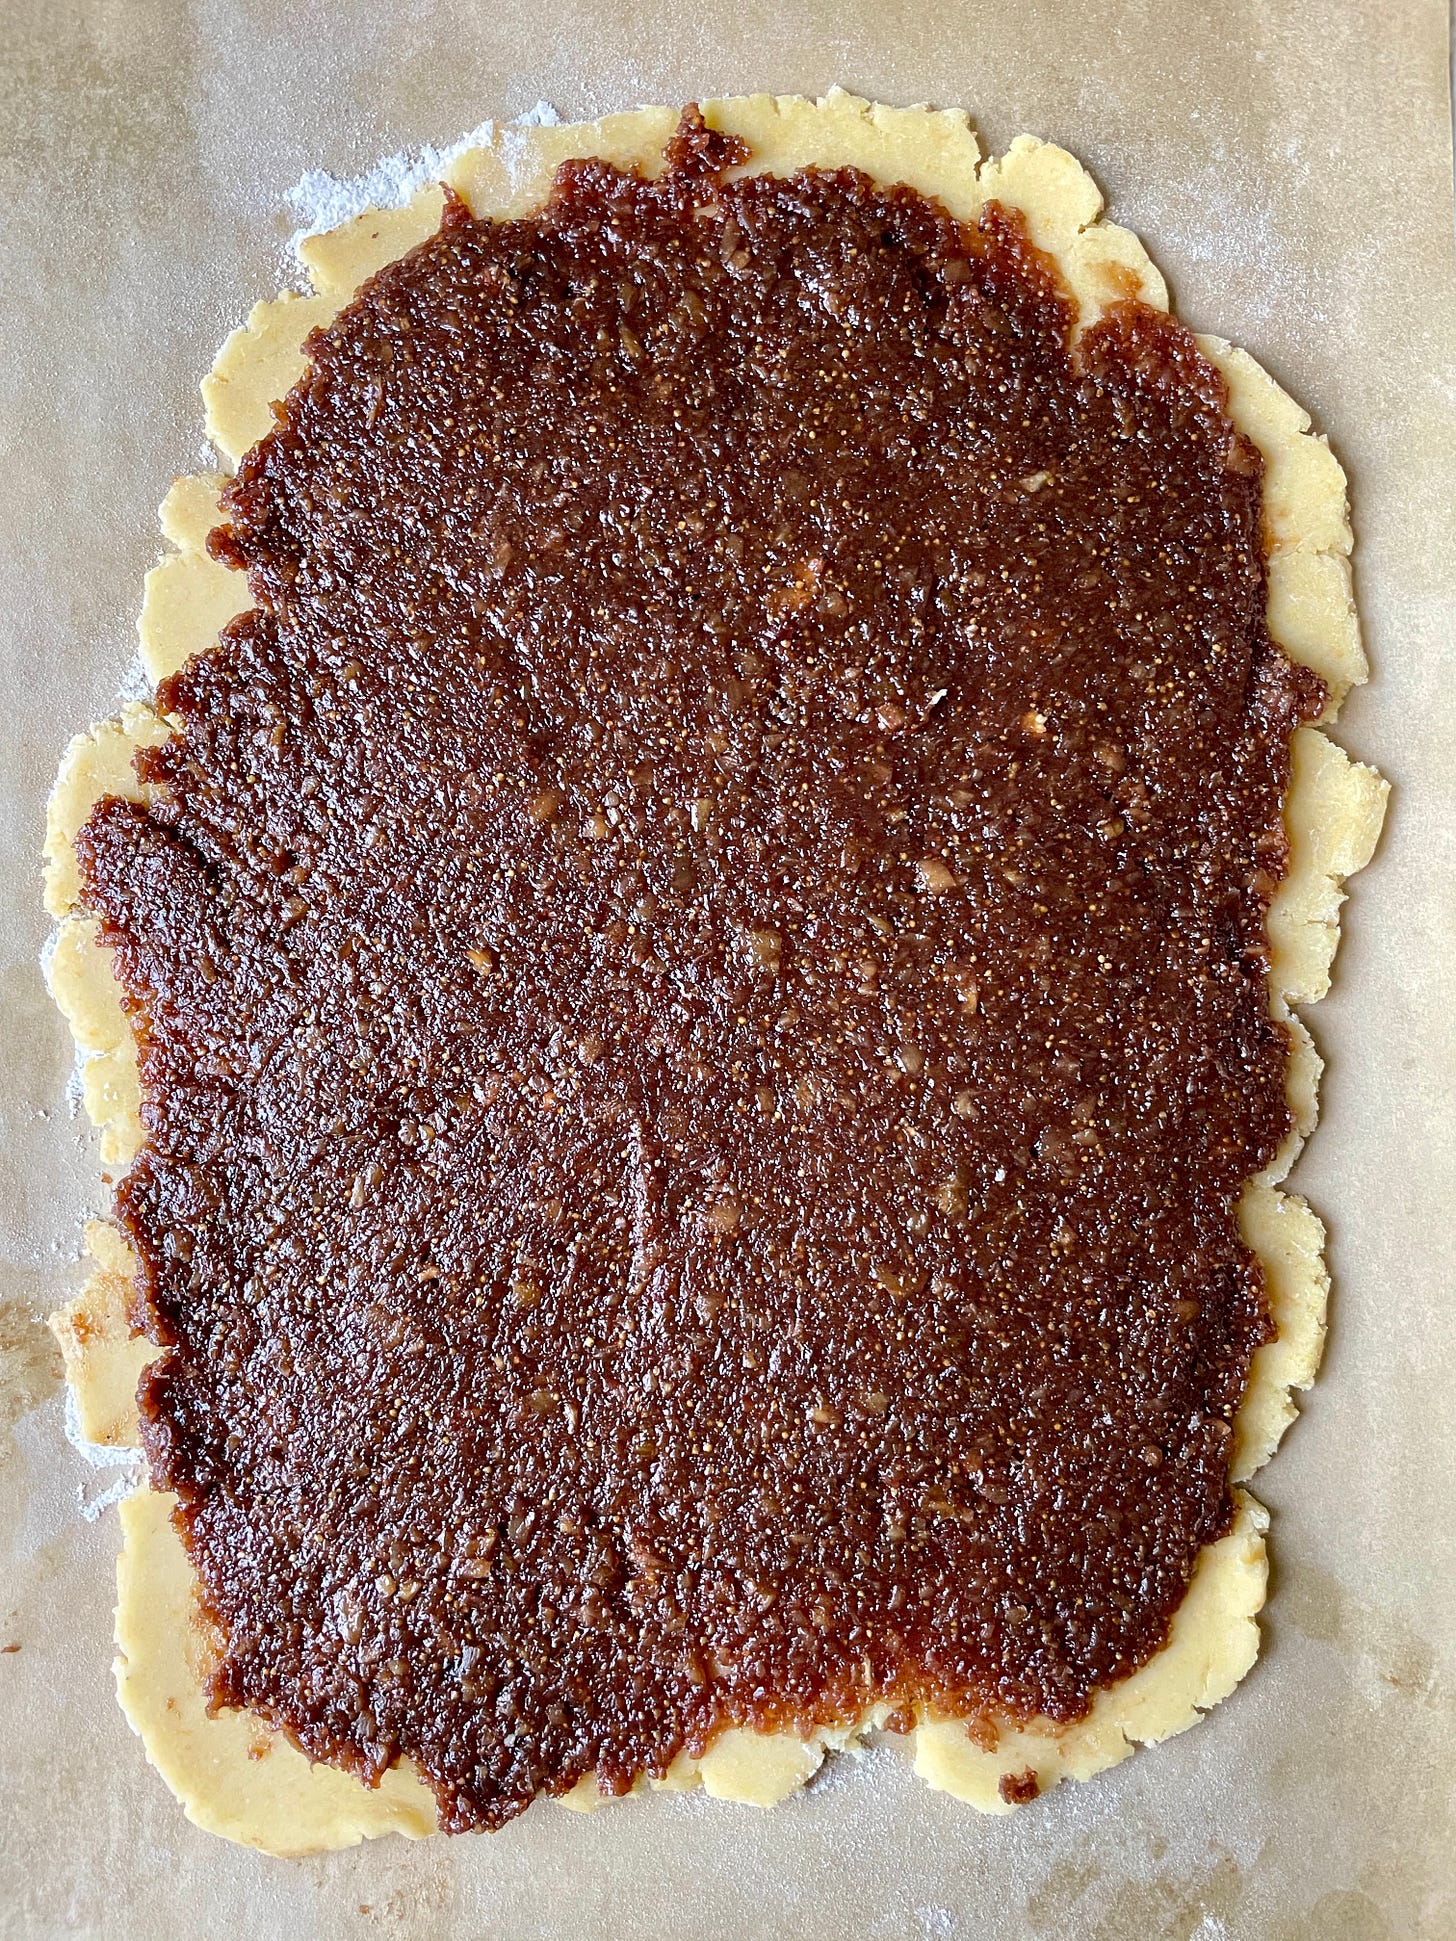
Preheat oven to 375°F. Remove dough from refrigerator to soften slightly. Lightly flour a 10 by 15-inch piece of parchment paper. Divide the dough in half so you have two rectangles. Flour both sides of the dough, and roll out to about 8 by 11 inches, aiming to retain the rectangular shape as much as possible (see TIPS below). The dough should be a little less than 1/4-inch thick. Slide the paper with the dough on it onto a sheet pan and chill while you roll the other half of the dough, using the same procedure.
Spread the fig filling on the first piece of dough, aiming to spread it to an even thickness, leaving a 1-inch border all around. If the dough is too soft, it could tear, so make sure it’s pretty firm, and, if not, return to the freezer or fridge to firm up.
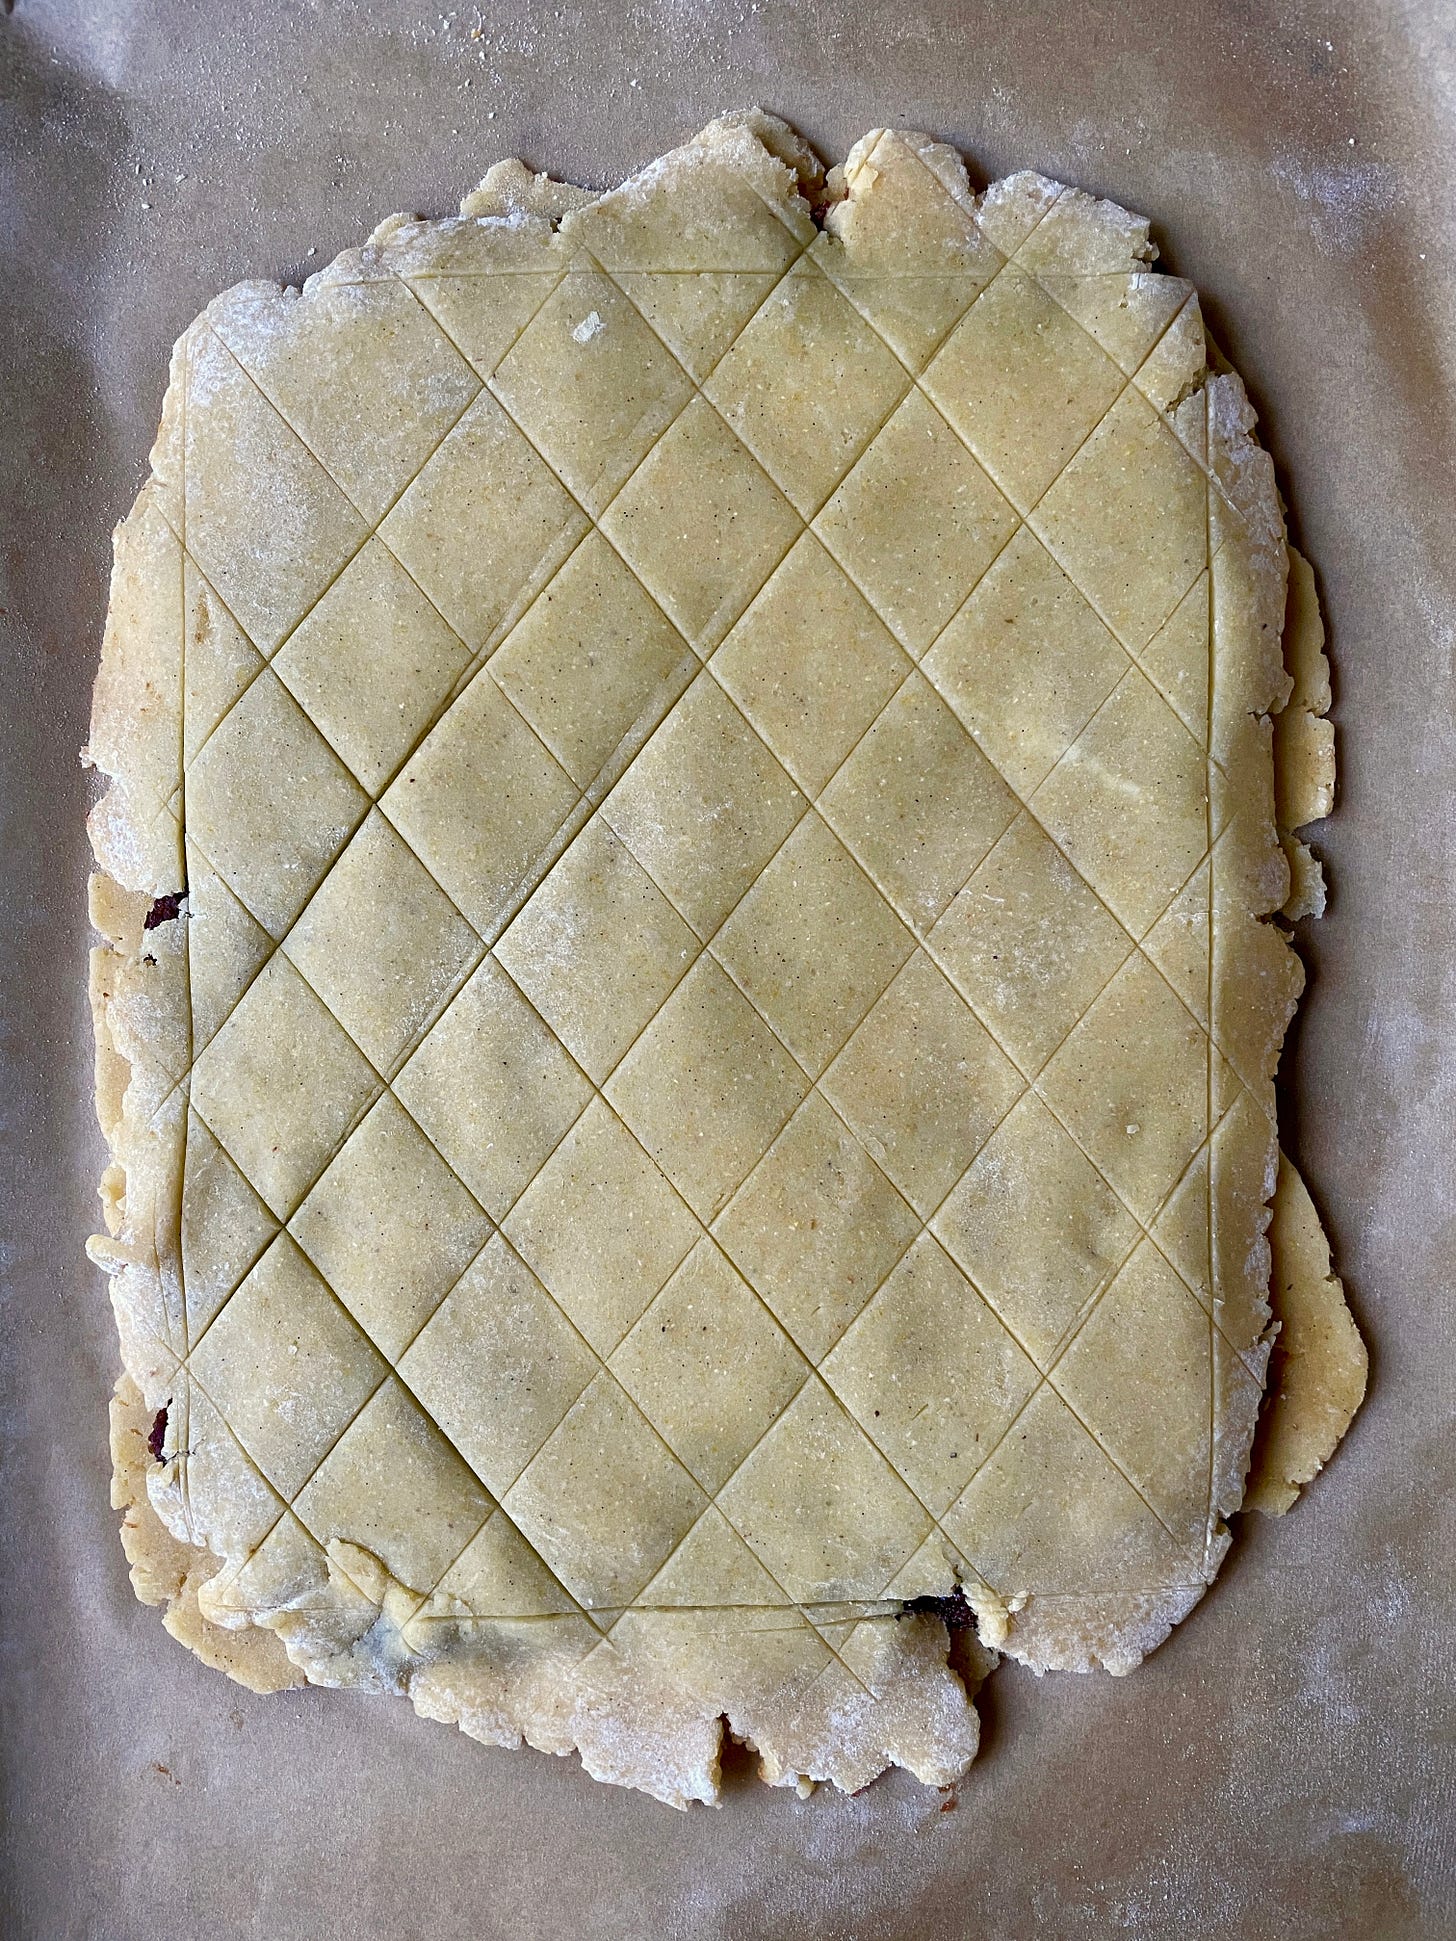
When pretty firm, line up the edges of the two pieces of dough like an open book, and flop the second piece of dough on top. Peel off the parchment paper. Use a pastry or pizza cutter to make score marks on the top of the dough. You can score (and later cut) the dough any way you want, either free-form or orderly. If you want to cut the cookies into diamond shapes, as shown just below, use a ruler to make the score marks. Since the ruler is 1-inch wide, just use the edge as a guide, and continue to move it over to make the next line.
Use a small fork to perforate each piece. Chill if the dough has softened, until firm.
Use a fork to mix the egg yolk and cream (using more cream if needed to achieve a brush-able thickness). Brush it all over the top of the dough, and sprinkle generously with the sugar (you should use 1 to 2 tablespoons).
Immediately place on the center rack of the oven, and bake 35 to 40 minutes, turning the pan around halfway through the baking time, until the top is golden brown all the way to the center. The edges will be getting dark, but that’s OK.
Place on a rack to cool. After about 10 minutes, use a knife or whatever tool you used to make the score marks to cut along the marks. The cookies will keep well for up to a week stored in an airtight container at room temperature, and can also be refrigerated or frozen to last longer.
TIPS:
If you don’t have a stand mixer, you can mix the dough by hand. Use a heavy bowl so you have more leverage, and make sure the butter is softened so it can be easily worked.
I find it easiest to make both the dough and the filling the day before I want to bake, since the dough needs to chill and the filling needs to cool.
Look for brown “Calimyrna” or “Golden California” dried figs. You’ll usually find these in the produce section of your supermarket in tightly packed rectangular or circular packages. These tend to be moister than the loose ones you’ll find in bulk or bulk packages, which could require more liquid. Mission figs are fine too, but the filling will be darker.
Before rolling the dough, use your hands to soften it slightly, especially around the edges. Give it a little massage!
When rolling a large piece of dough, pay careful attention to roll from the center out to the edges. If the edges crack, the dough is too cold, but just push them back together. To control the shape of the dough, push the dough where you want it to go using the rolling pin. You’re in control! Show that dough who’s boss!
In the beginning stages of the rolling process, flip the dough and flour both sides once or twice. This will keep it from sticking to the paper and moving freely.
You can feel the thickness of the dough by sliding one hand under the paper, with the other hand on top.


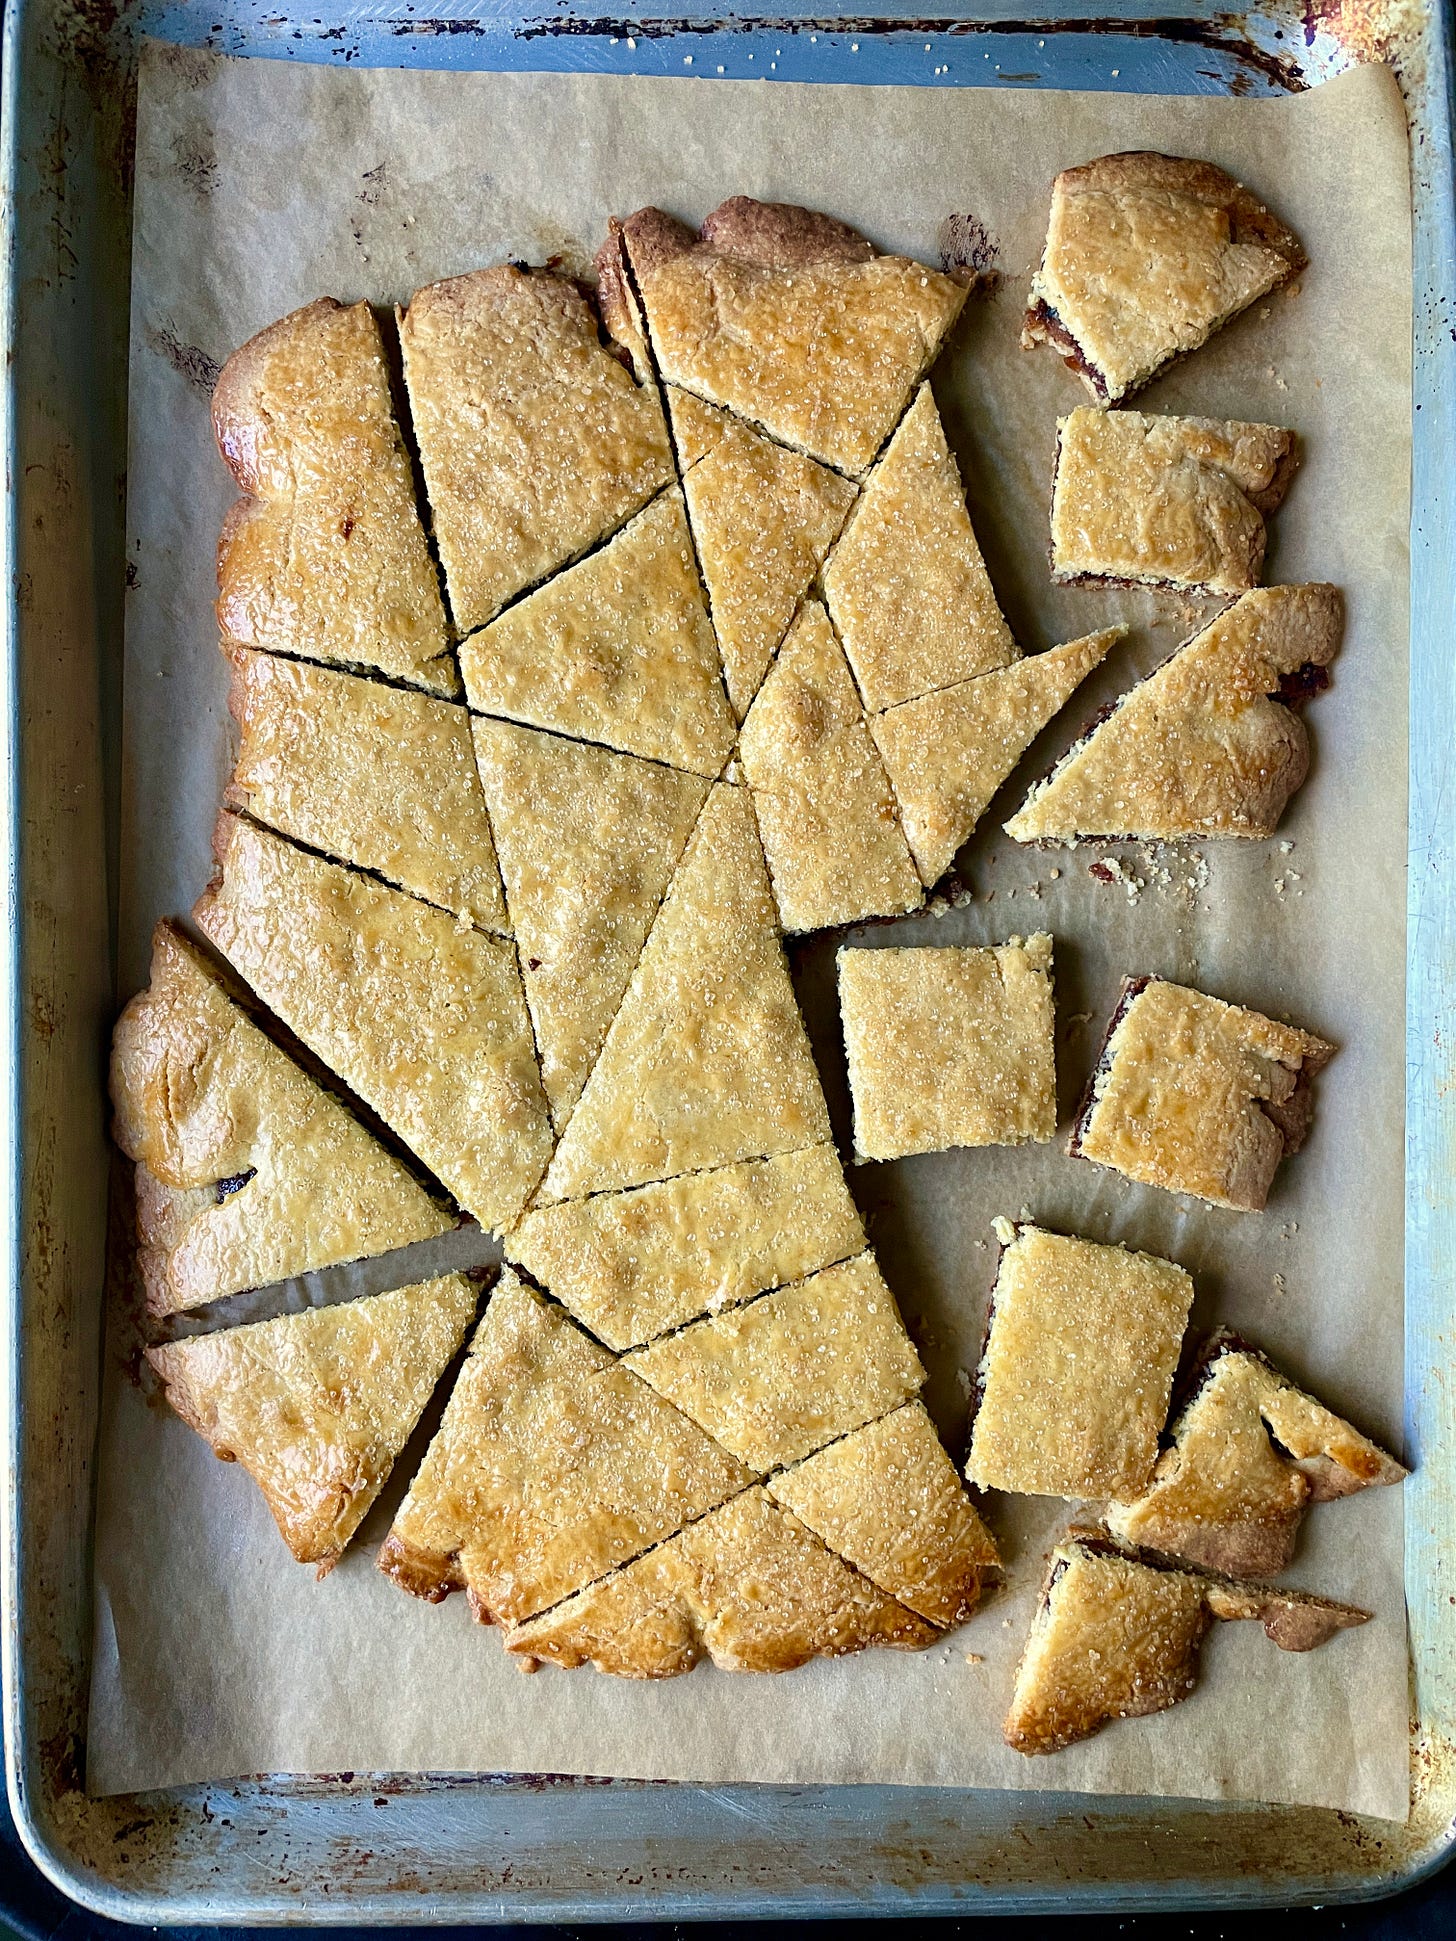
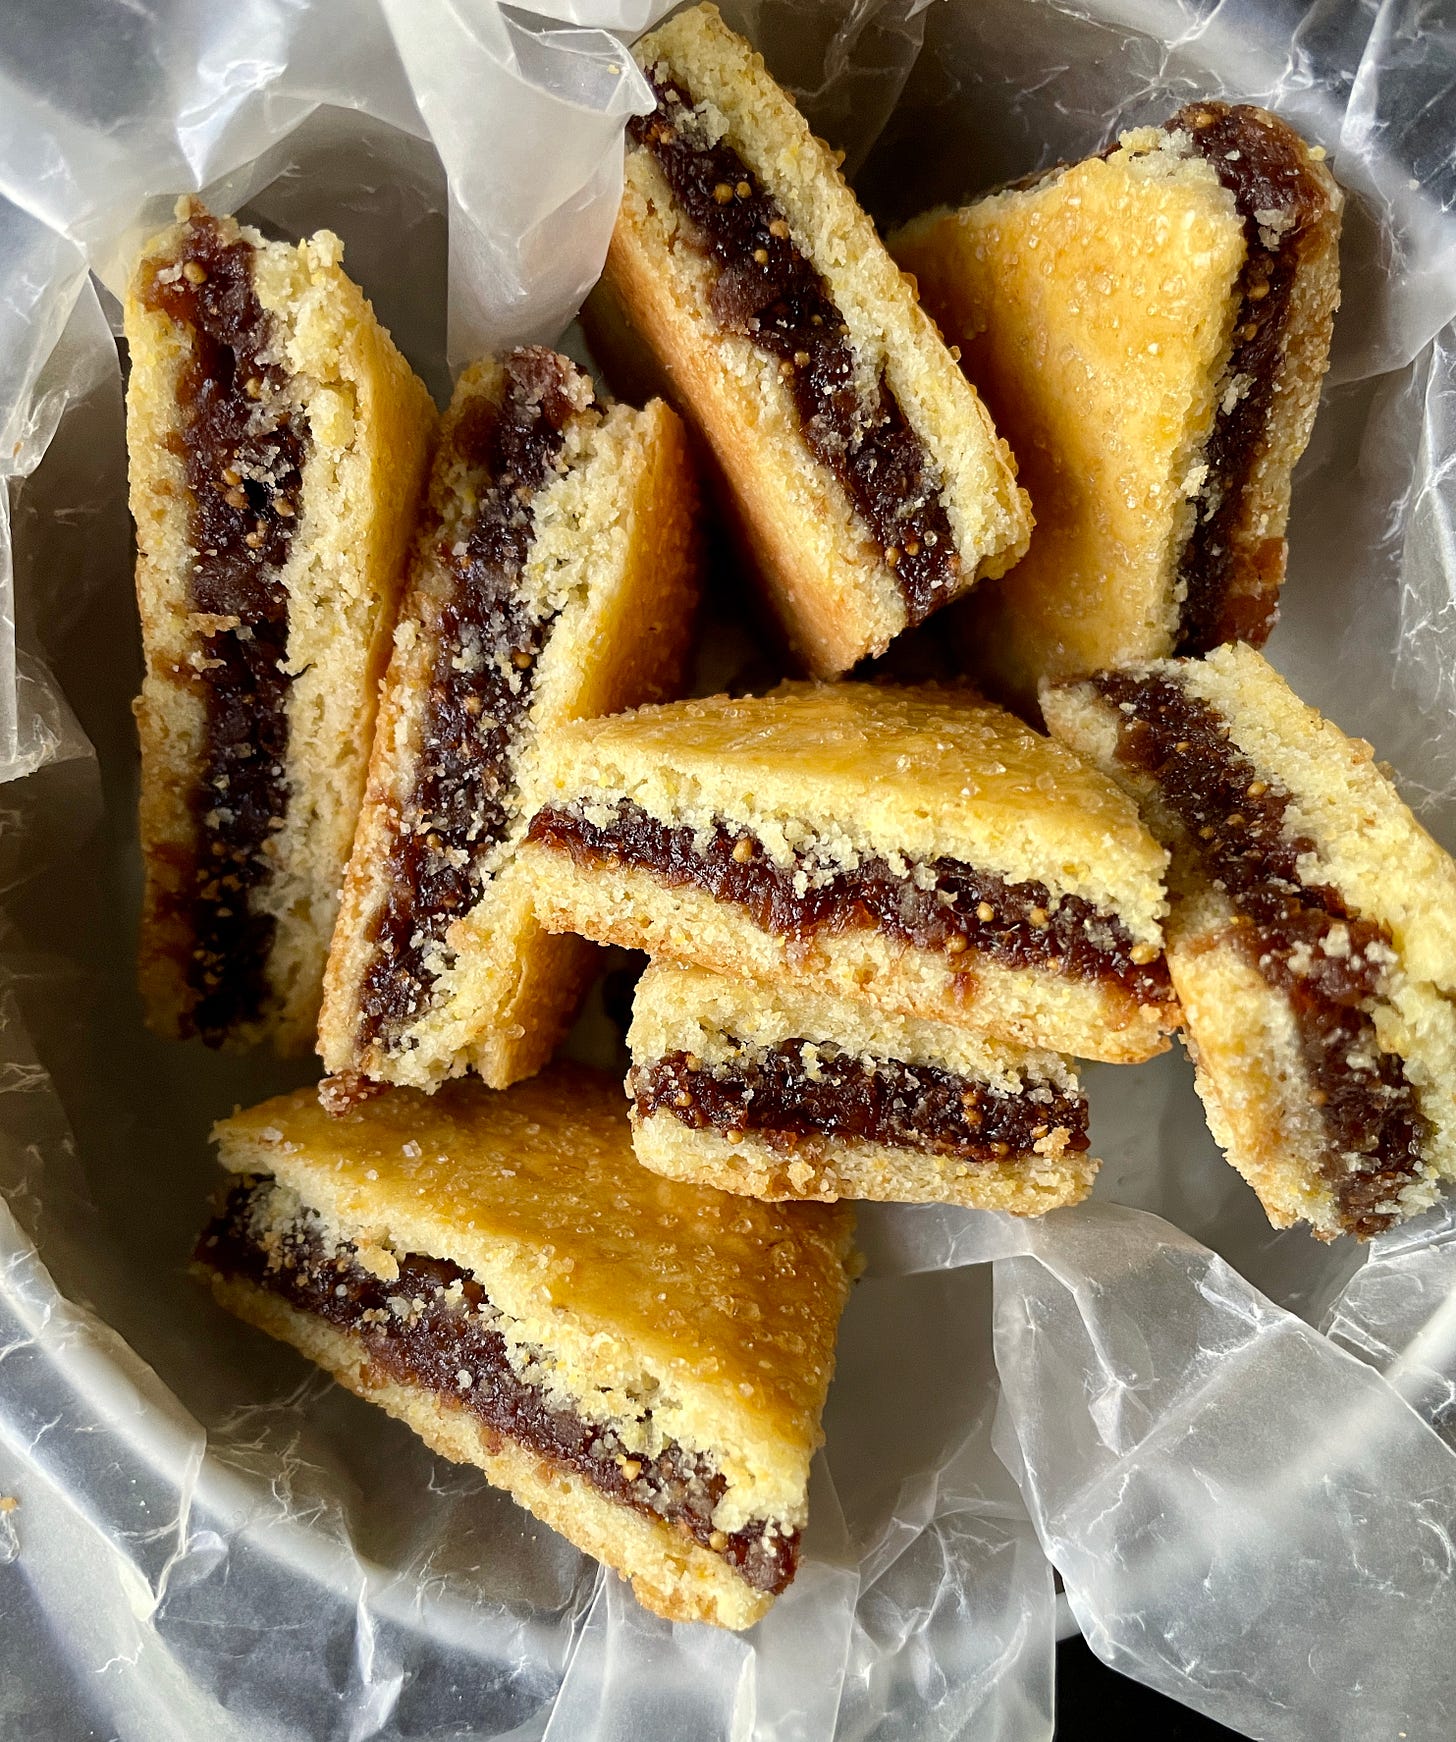
I love that free-form look. Those cookies should be in MoMA.
Hello! I also remember the raisin cookies (and yes, my mother sometimes bought them, too).. A quick Google search directed me to the King Arthur site where I was reminded that they were called Golden Raisin Biscuits, made by a company called Sunshine. Sunshine was bought by Keebler in 1996, at which point they ceased production of these cookies. It looks like they are still made by a company in the UK where they are called Garibaldi Biscuits. Thank you for the memory and the recipe!