


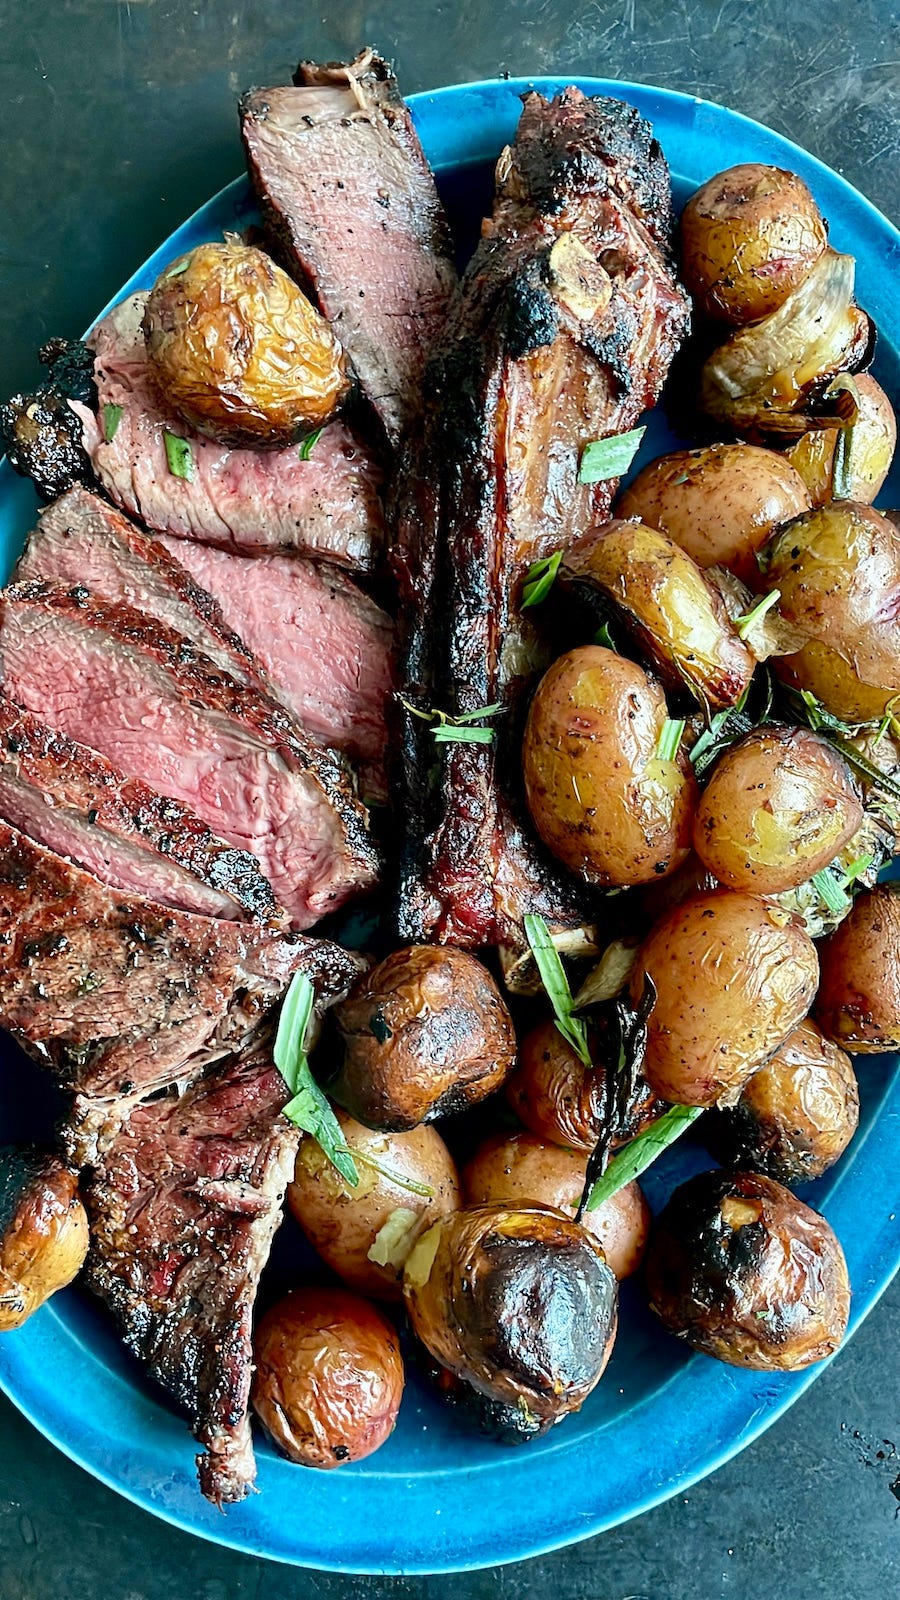
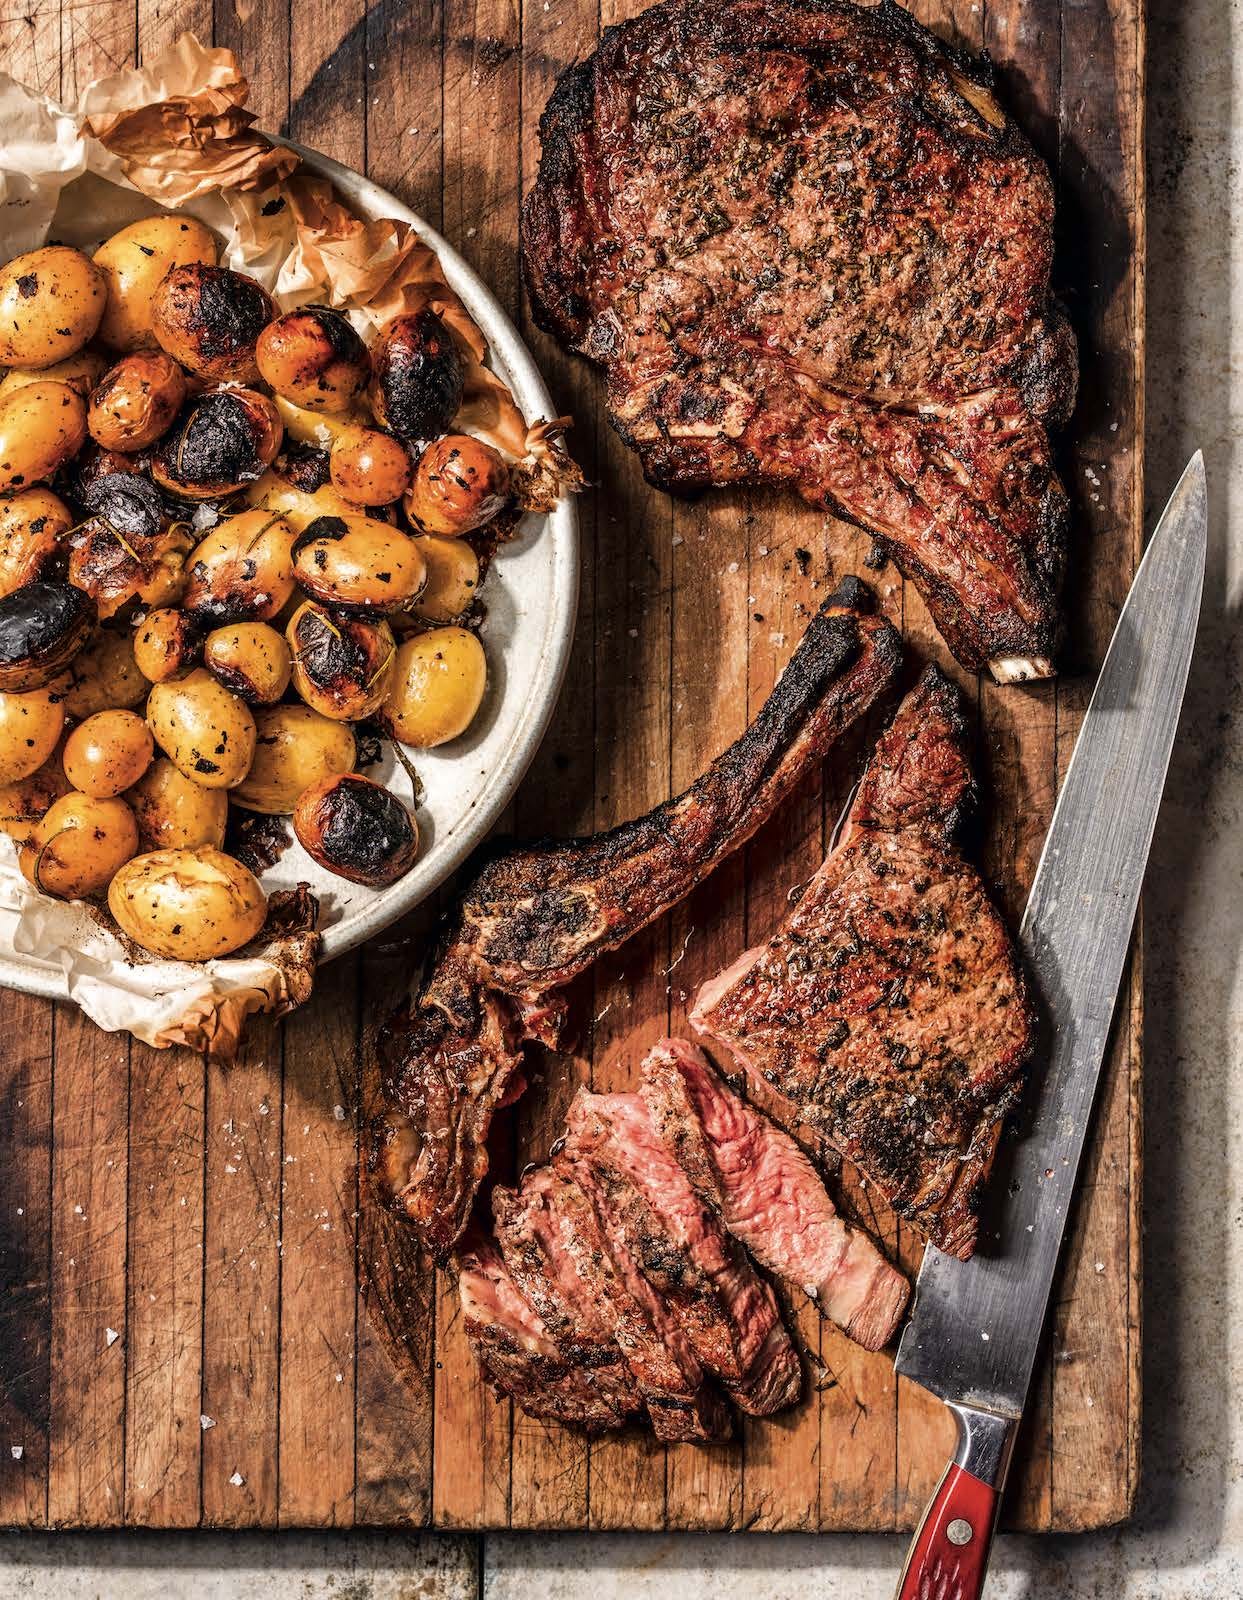
Fire-Pit Steak and Potatoes
A fun way to reverse-sear your steak

Every couple of years I do the food styling for Michael Symon’s next book. I think I’ve done four (or is it five?) now, taking a break only during the pandemic. I love working with Michael (and the rest of the band, Ed Anderson who mans the camera, and Maeve Sheridan who brings the props) and always learn something new with each book. In his latest, Symon’s Dinners Cooking Out, Chef Symon sets out to prove that there is nothing that can’t be cooked on (or in) an outdoor grill or smoker. I happen to be pretty good at tending the fires and have had quite a bit of experience, so I didn’t mind the idea at all of cooking 100 recipes over a live fire.
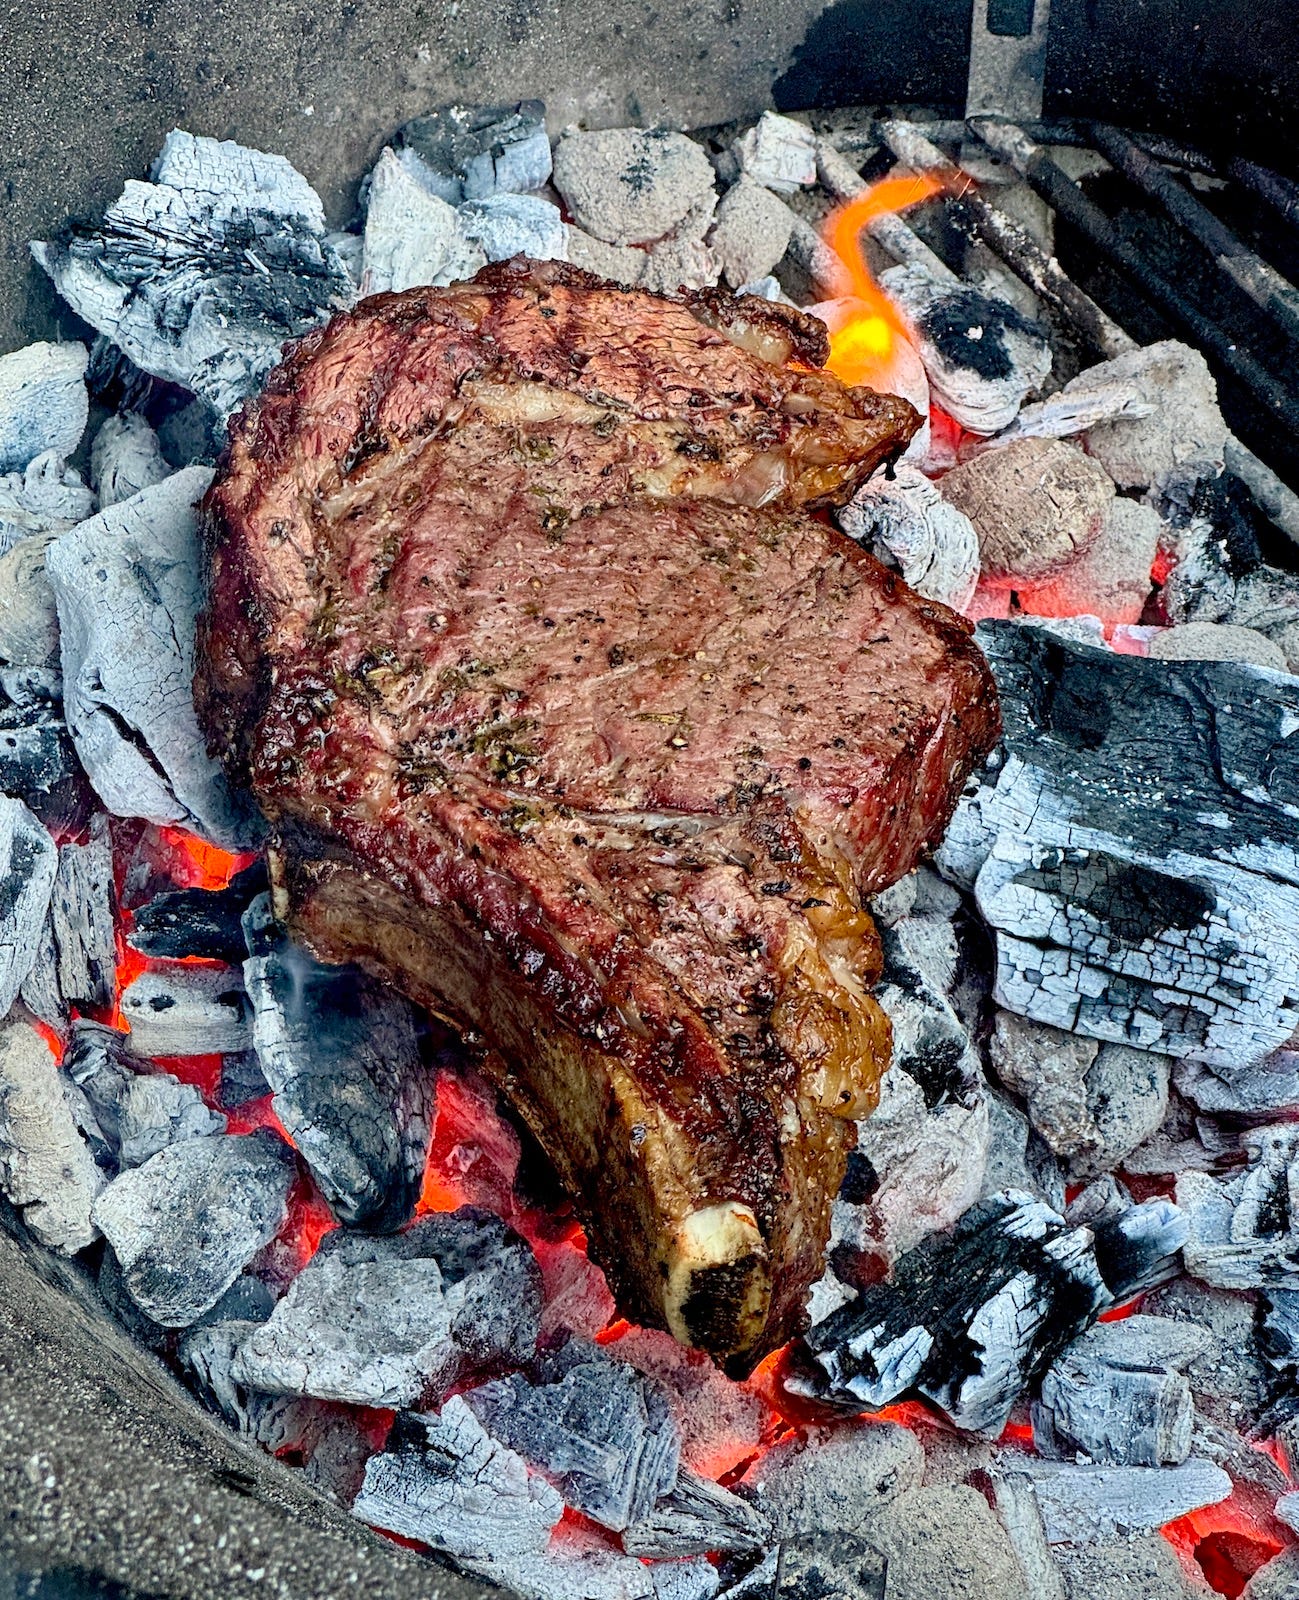
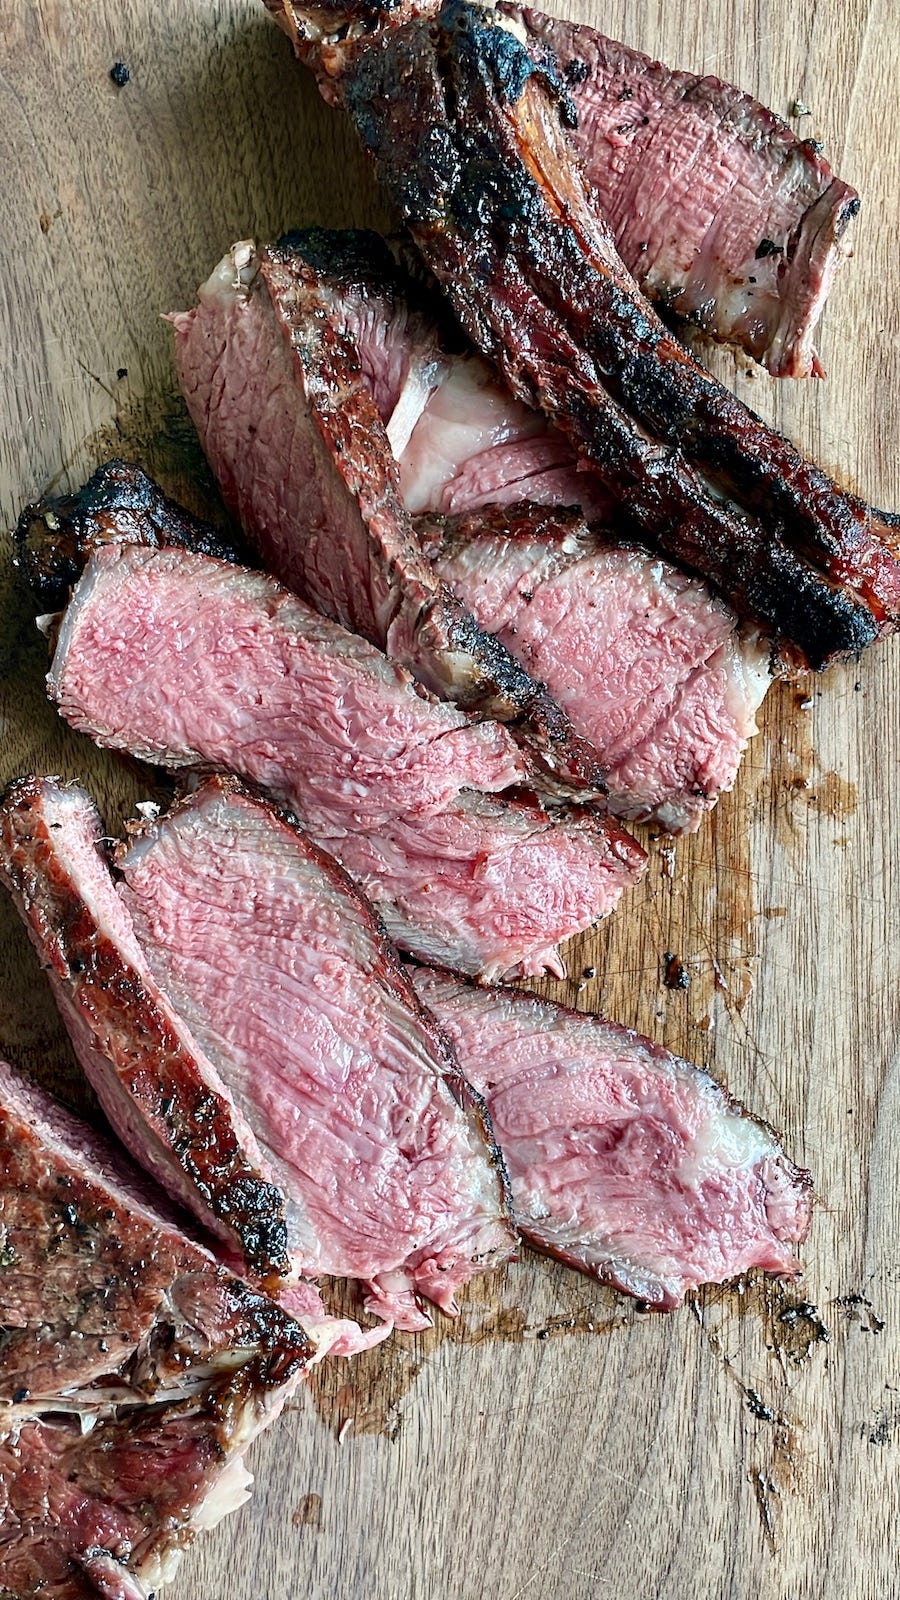
One of my favorites recipes in the book, and the one that gave me a little bit of anxiety when I first read the recipe, was the Fire-Pit Steak and Potatoes. I kept reading it and rereading it before confirming that yes, you actually cook the steak for the final few minutes directly on the hot coals. I thought, “but won’t the steak get all ashy and gritty?” I was assured by Michael that no, it wouldn’t, and I trusted him. I performed this little bit of grilling sorcery for the very first time as I was styling the shot for photography (no pressure!). There was no time to practice, and I didn't want to waste a perfectly good steak on a dry run. Miraculously, the steak came off the fire with nary an ash on it, and it looked beautiful and tasted great too.
In case you’re not familiar, a version of this technique is called “reverse searing,” meaning that you first cook a steak (or any other cut of meat) slowly, not trying to brown the outside, and at the last minute, you sear it either in a pan or on a grill to achieve a nice crust. This turns the traditional technique—searing first, then making sure the meat is cooked to temperature in the middle—on its head. Reverse searing gives you a bit more control over the final temperature of the meat, because you know to cook the meat to about 10 degrees less than what you are ultimately going for. In the final sear, which takes only 1 to 3 minutes per side—depending on the heat of your fire—you can be pretty sure you won’t be overcooking the meat. Because the meat is already warm, the searing is quick and even. That final blast finishes the inside.
When I came home from this shoot at the beginning of last summer, I told Steve about my favorite recipes. I was sorry he wasn't nearby to enjoy the shoot leftovers like he is when I work closer to home. I still have to make the Slow-Grilled Pork Butt Steaks with Cherry BBQ Sauce for him, because I know he’ll love them. They were so good, and cook in much less time than a whole pork butt requires.
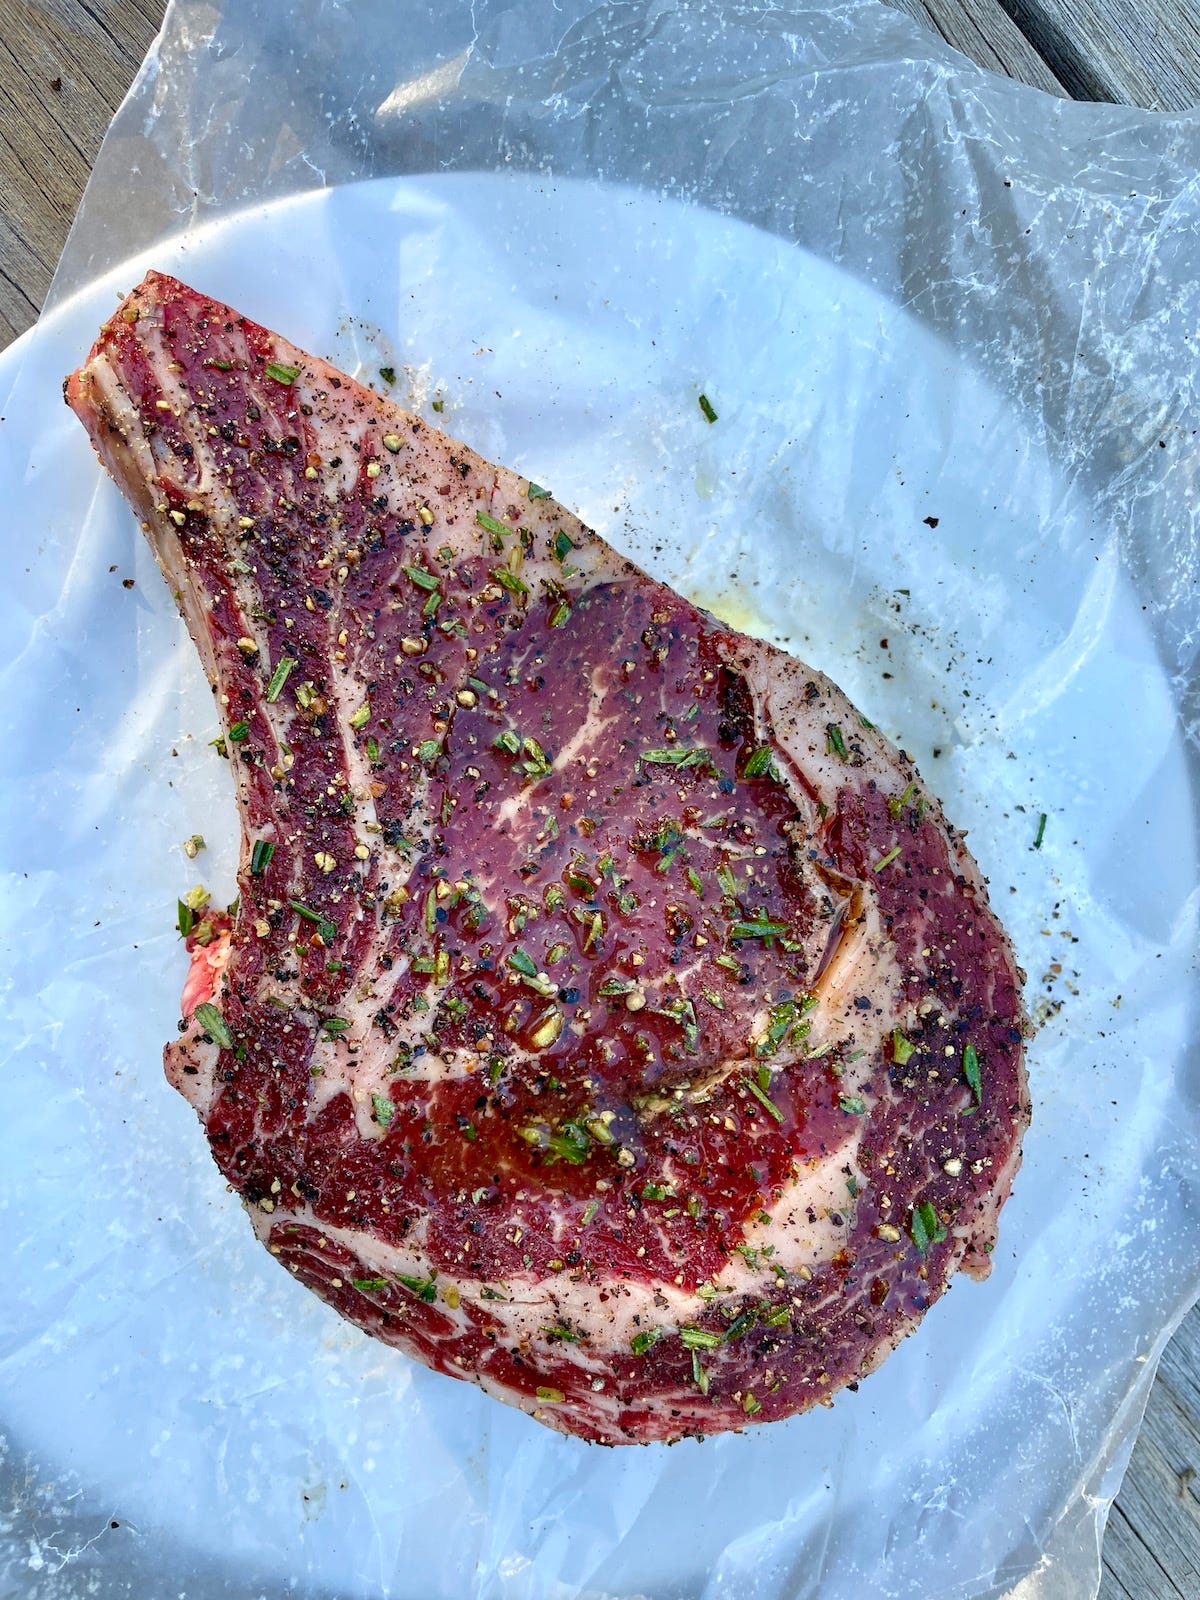
Anyway, Steve wanted me to make this fire-pit steak for him after the shoot, and honestly, I wanted to try it again at home. It worked perfectly, and last week, guess what? He requested it once again. As usual, I obliged. I saw the perfect steak in the butcher’s case at my local supermarket and grabbed it. A dry-aged steak would have been even better, but this was still an excellent steak!
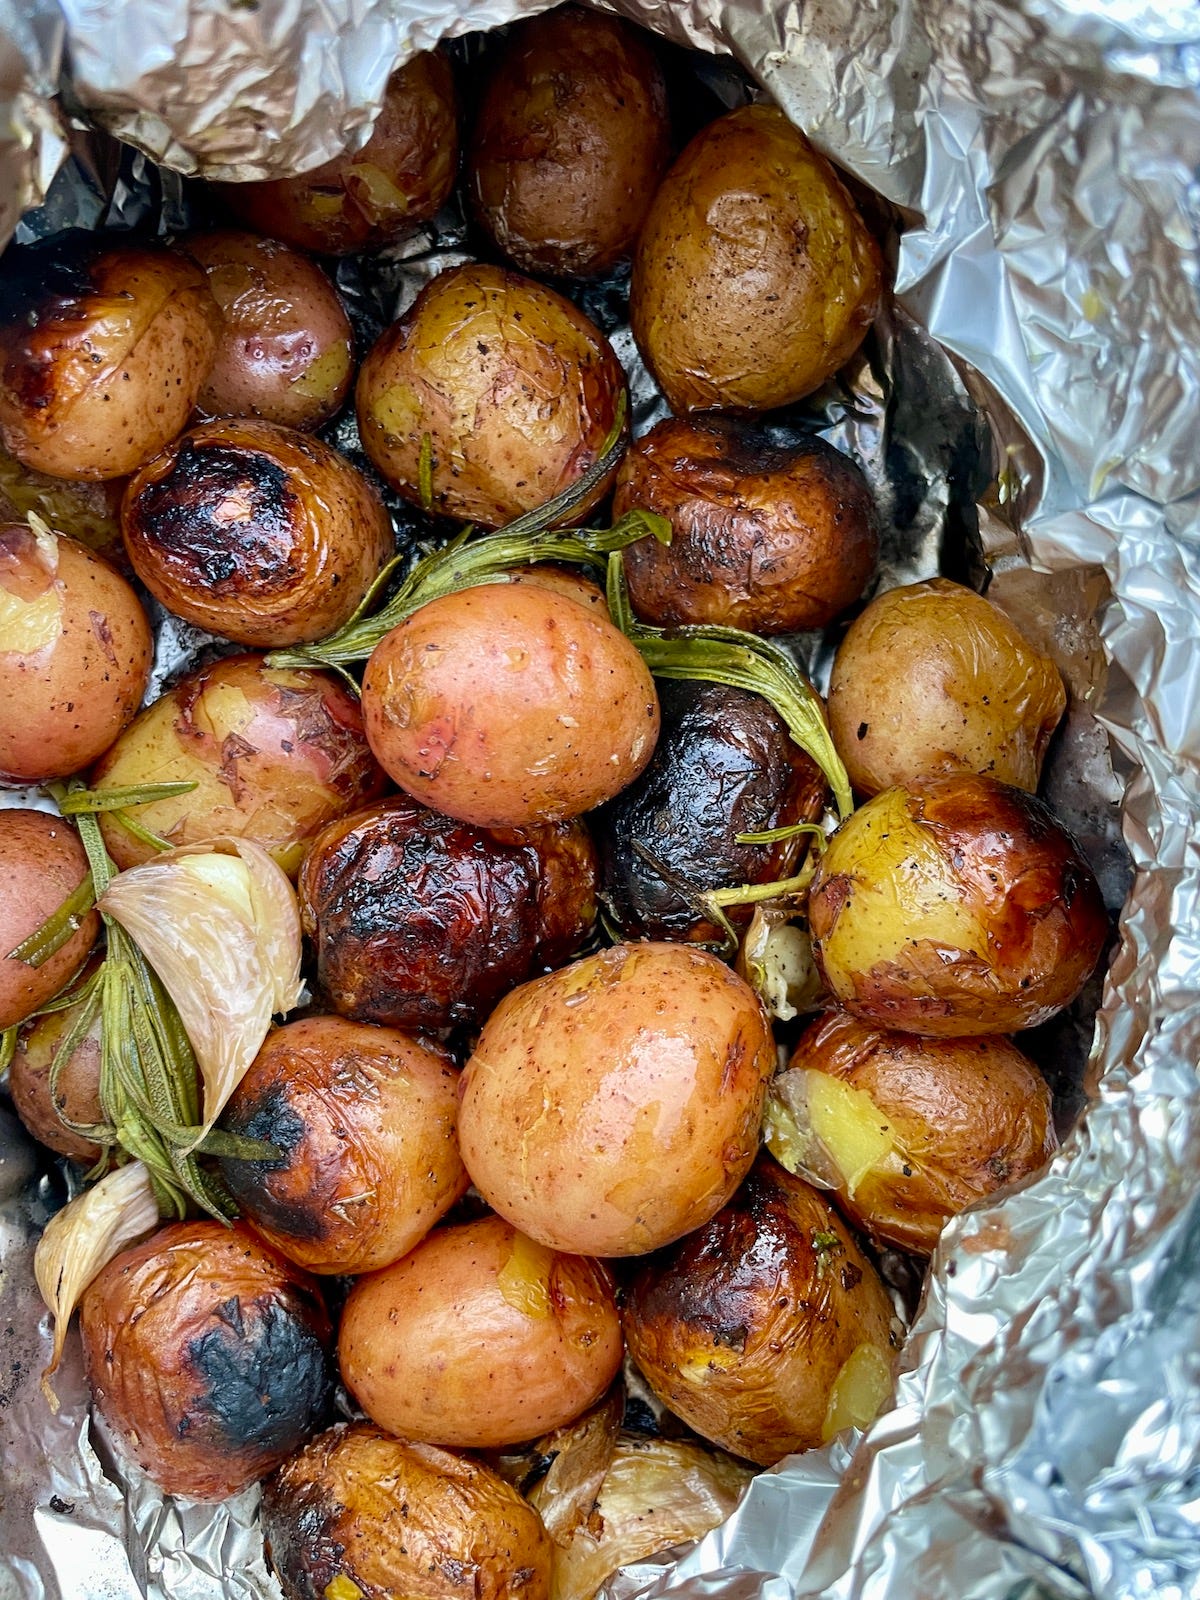
I have hardly mentioned the potatoes, but those are easy! The one thing you need to be aware of is to not burn them, because the heat of each fire can vary so much. The recipe instructs us to leave the foil packet directly on the hot coals for 30 minutes, but I moved mine to the cooler side of the grill after the first 10 minutes or so, and then left them in the (still very hot) area next to the pile of coals for the remainder of the cooking time. Even though they were obscured by foil, my instincts told me they were brown, and had had enough direct heat. They were plenty brown on one side and perfectly steamed from the bit of white wine that goes in the packet. You need to use your judgment a little and if the coals are super hot, put them directly on the fire only intermittently. Michael’s book has lots of info on building and controlling the fire, so for more information, buy the book!
Although you’ll find the full recipe at the bottom of the post, I’m going to bullet out the grilling steps for you here so you don’t have to stop and read in the middle of this delicate operation. I’ve also added a few nuances and tips I’ve learned from doing this a few times.
Grilling directions for Fire-Pit Steak and Potatoes
Build a charcoal fire in a kettle grill. I like to start with briquettes and then add hardwood on top, so I can cook the steaks on those.
Push all the coals to one side so you have a hot side and a cooler side.
Adjust the vents so you can maintain (ideally) a temperature of 300°F. My fire was running hotter than that even with the top and bottom vents closed, so I just checked the internal temp of the steak sooner to make sure I wouldn't overcook it.
Place the packet of potatoes directly on the coals. After 10 minutes, move to the edge of the hot coals, or completely off, keeping them in the bottom of the grill.
Meanwhile, place the grate on top of the grill. Place the steak (or steaks) on the cooler side of the grill. If your steaks are 2 inches thick, which they ideally should be, it will take about 30 minutes to reach 120°F for rare or 130°F for medium. The internal temperature will go up by 5 or 10 degrees after searing. If you like your steak rare, err on the low side, pulling them when the internal temp is 110°F or 115°F, because you can always put them back on the grate for a few minutes to cook more.
Remove the steak from the grill for a moment, carefully remove the grill grate and set it aside in a safe place to cool, and remove the potatoes.
If your coals are not white hot, add some small pieces of hardwood charcoal and turn them until they are covered with white ash. This happens quickly.
Place the steak(s) directly onto the hot coals and cook, adjusting the position slightly, for 1 to 3 minutes per side until well-charred.
Remove from the grill and let rest for 10 minutes before slicing and serving alongside the potatoes.
Fire-Pit Steak and Potatoes
Excerpted from Symon’s Dinners Cooking Out by Michael Symon