Welcome to issue #13 of Susanality, a free weekly newsletter. Thanks for being here! If you’re loving this newsletter, please consider a paid subscription. Having your support would mean a lot to me, as I continue to work hard to bring you fresh content on a weekly basis. Additional posts and recipes will be going out to paid subscribers at least twice a month, with a special post with mymy best galette baking tips and dough making techniques landing in paid subscribers’ inboxes this Sunday.
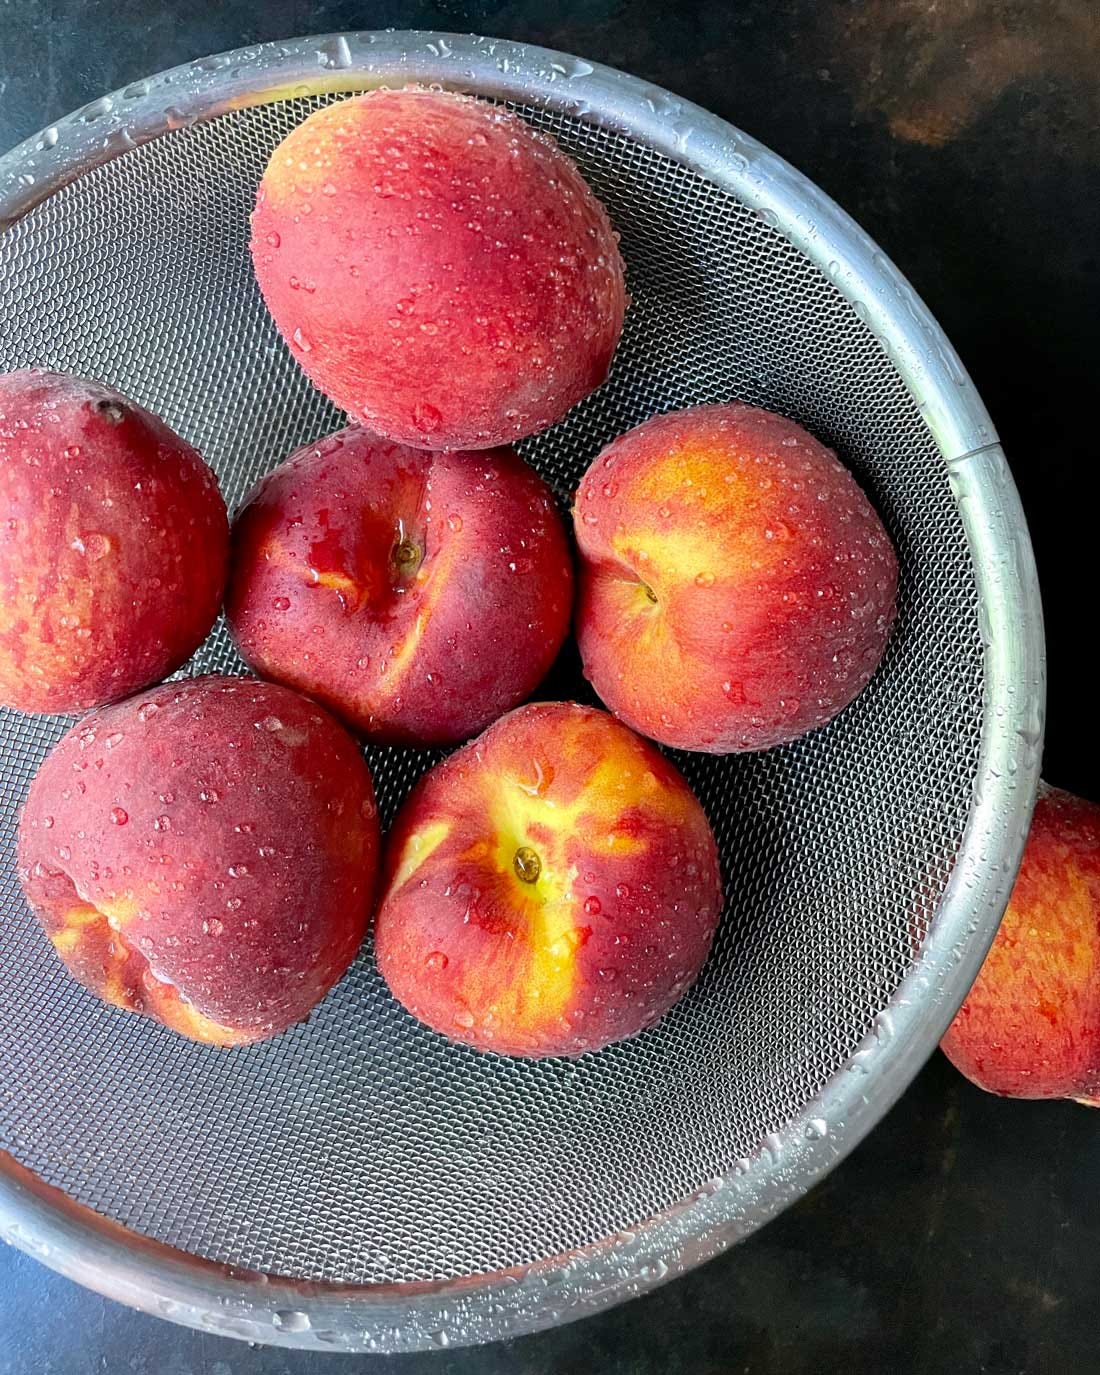
My first galette was a solution to a problem. The problem was a bicycle-basket full of very ripe peaches I had picked up at an orchard in Bridgehampton, New York. After a long and bumpy ride home, they were so banged up that I had to do something with them, and fast.
I threw a simple dough together and baked those bruised but flavorful peaches into a sort of free-form tart. Dessert was sorted out for the day, the problem was solved, and the delicious solution turned into a lifelong love affair.
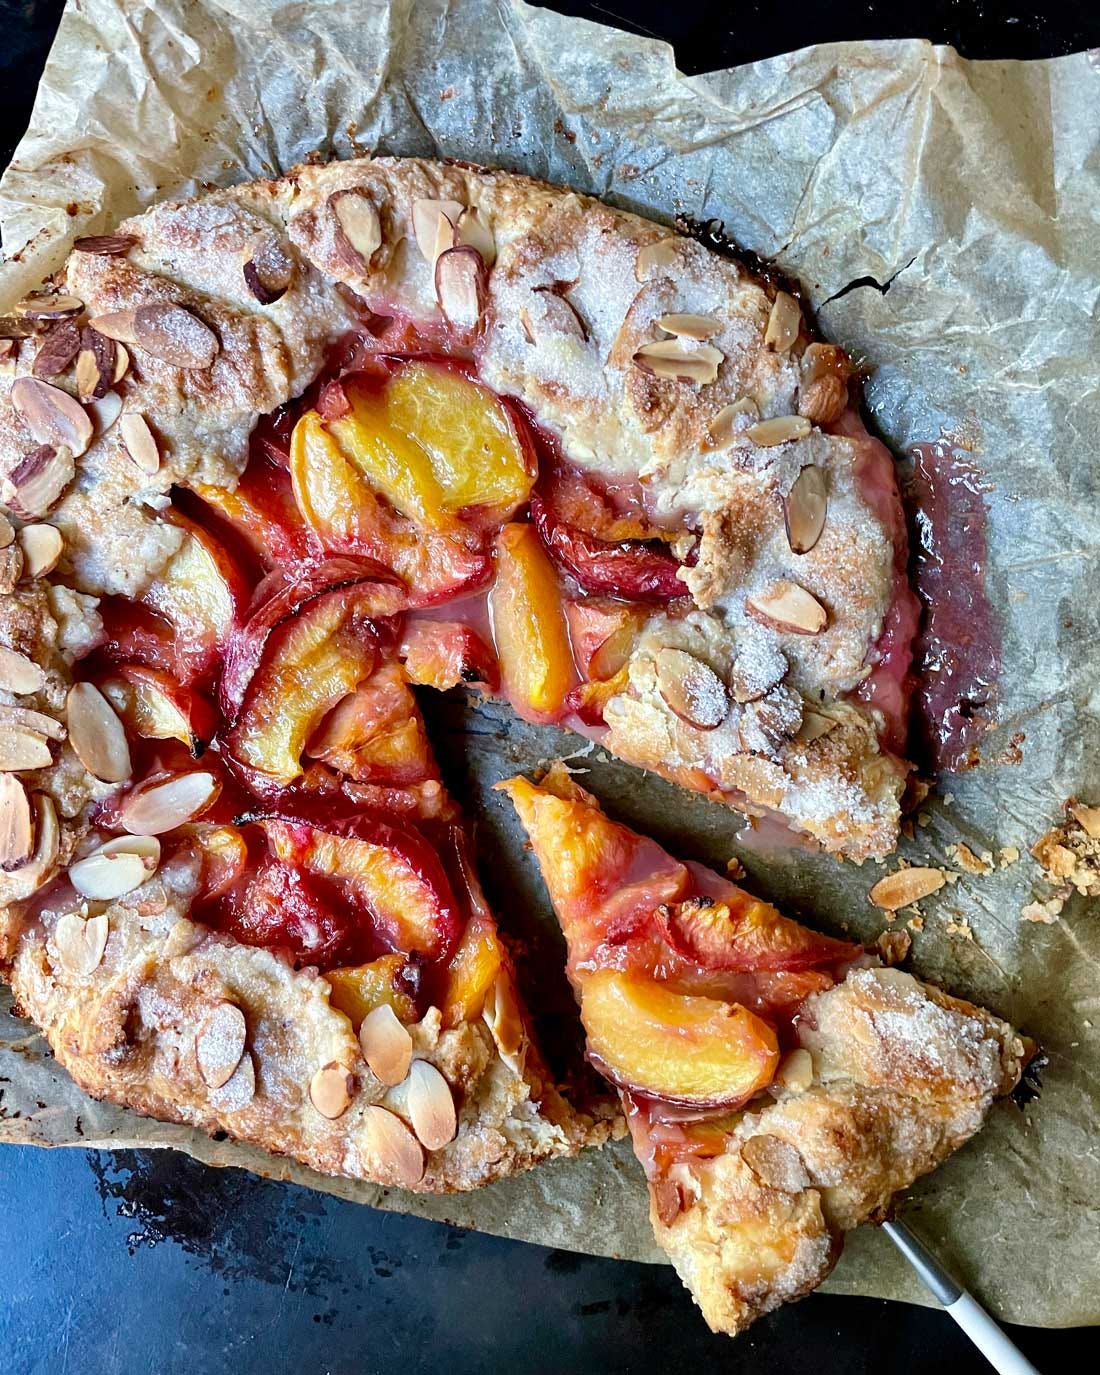
Whether you call them galettes, crostatas, or free-form tarts, these are the easiest and most beautiful way to showcase summer fruit. Less fussy than a pie, they have an open structure that allows the fruit, colorful and juicy, to really shine.
The basic technique is easily mastered and infinitely adaptable. The dough is a snap to make, even for cooks who are intimidated by dough-making. In fact, it’s just about foolproof when you use my hybrid food-processor technique. The look of the tarts is purposefully misshapen, so even unskilled hands can produce an admirably rustic-looking dessert.
With a little practice, you’ll be able to make a galette without any recipe at all. You can use just about any fruit, using about two pounds of whatever looks good or is in season, and adjust the sugar according to your taste and the sweetness of the fruit. I find three to four tablespoons of flour is usually about right for thickening the fruit juices, but if the raw fruit seems extra juicy, just add a little more. Remember: if it looks soupy in the oven, don’t worry. It will thicken as it cools.
Most people (including me) will tell you, “Just make the galette right on a parchment-lined sheet pan, and don’t worry about all the juices that escape and burn on parchment”. I have made dozens, if not hundreds, of galettes this way, and it is fine, even great. But I do worry. When the unpredictable torrent happens, not only are you losing all those delicious juicy juices, they might burn by the time the tart is done. The galette then sticks to the paper. If you don’t move it off of the burnt juices right away it will taste… burnt.
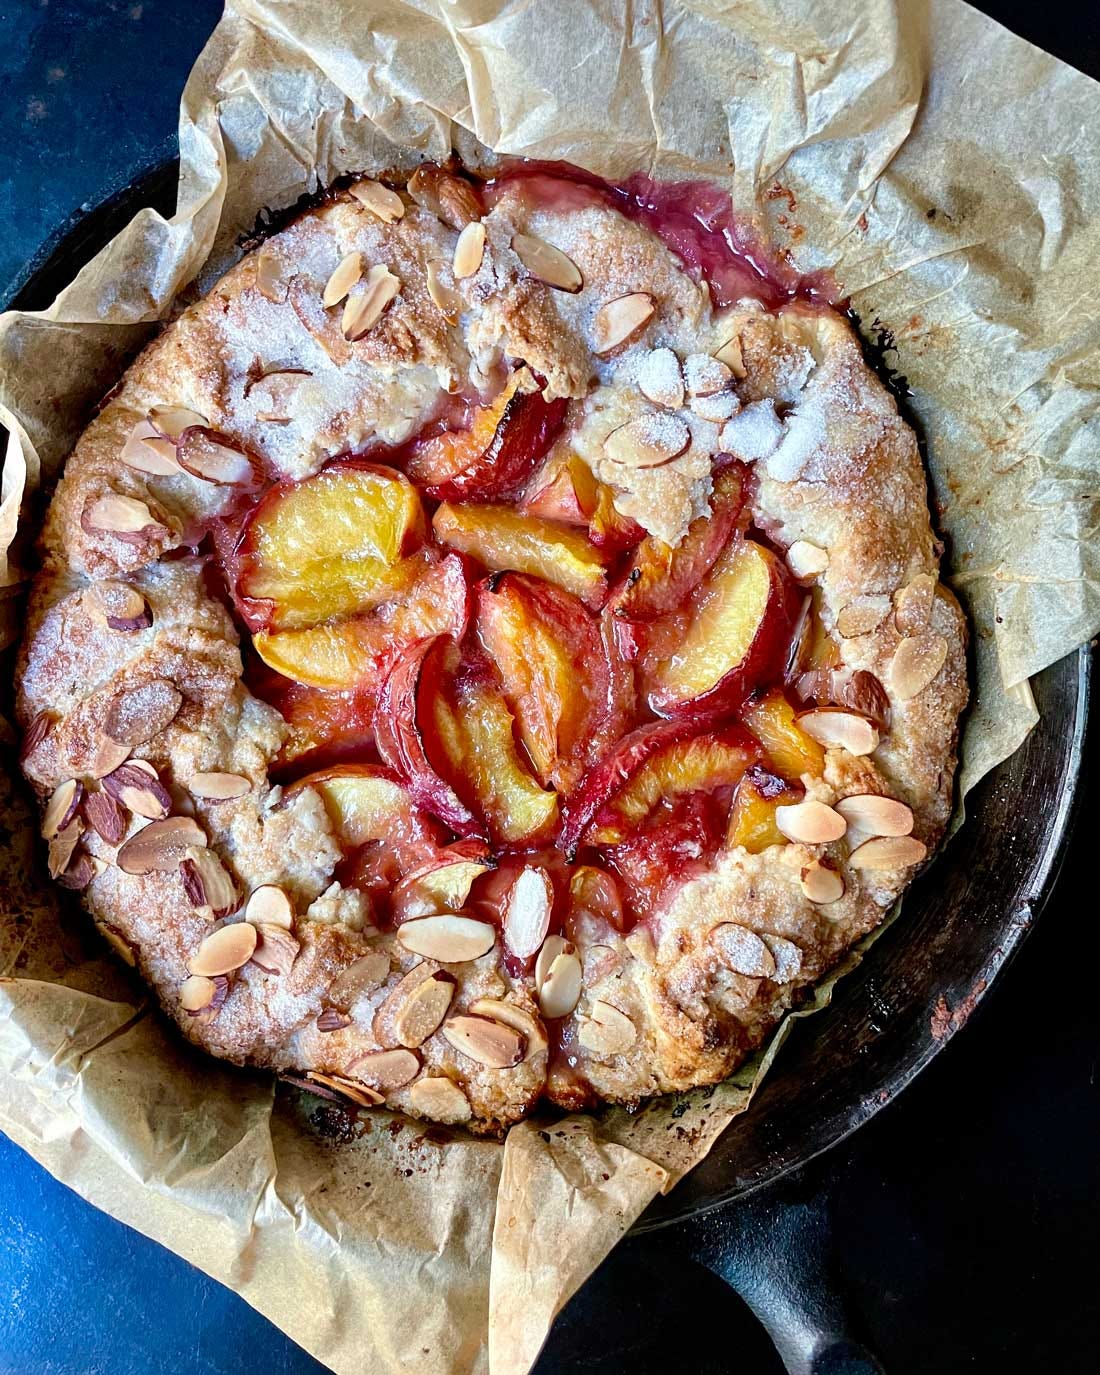
I’ve added a little twist here to my usual technique, which amounts to a big improvement. I like this way much better, and I think you will too. By rolling the dough on a sheet of parchment (which will be easier for less experienced bakers), and transferring it to a cast-iron skillet, all the juices will be contained within the pan when the tart bakes. Those that do break through the dough will caramelize but not burn, making the edges something to fight over. And the galette won’t stick— the parchment will peel off easily once you lift it out of the pan, making the whole operation a bit more foolproof, and better-tasting too. The bottom crust is extra crunchy and flaky (and never soggy) thanks to the extra bottom heat the cast-iron skillet provides. You have a 12-inch cast-iron skillet, right?
The dough freezes well. I keep batches on hand for whenever I come home with more fruit than I can possibly eat fresh. The baked galettes also freeze well. When I want to indulge in a favorite fruit a few weeks after its season has passed, I simply take a premade galette (or slices thereof) out of the freezer and warm it in the oven. There I am again, back in strawberry or plum or blackberry season for a few luscious moments. I’m reminded of my favorite way to describe a galette: A pastry frame around nature’s masterpieces.
If you want my best tips for making dough, and for making galettes, they will be going out to my paid subscribers on Sunday morning!
PS - I wanted to remind you that all of the recipes in my newsletters live permanently here. You can also scroll through public recipes on my site or keep up with me on Instagram. Or better yet, you can support me by ordering my book, Open Kitchen.
Peach and Almond Galette
Click here for a printable version
Makes one 12" galette
Apricots work well here too, and will have a tarter flavor, so you might want to add a smidge more sugar if you prefer a sweeter dessert. If you don’t have a suitable 12-inch skillet, you can certainly bake the galette right on a parchment-lined sheet pan, just make sure you slide the galette off of any spilled juices using a spatula, so it doesn’t stick. You can leave the almonds out of the dough for a plain pastry dough.
For the crust:
2 cups/256 g all-purpose flour
¾ teaspoon kosher salt
1 tablespoon/13 g granulated sugar
¼ cup/24 g sliced almonds
14 tablespoons/198 g (1¾ sticks) ice-cold unsalted butter, cut into ½ inch slices
¼ cup ice water, plus more if needed
For the filling:
2 pounds (6 to 8) peaches, ripe but firm
½ cup/101g granulated sugar
¼ cup/32g all-purpose flour
For baking:
¼ cup/24 g sliced almonds
2 tablespoons/26 g granulated sugar
1 teaspoon unsalted butter
Make the crust: In a food processor, combine flour, salt, sugar, and almonds; pulse until combined. Add butter and pulse until largest pieces of butter are the size of walnut halves. Transfer to a wide bowl, and squeeze the butter pieces, flattening them between your fingers. Sprinkle ¼ cup ice water over flour mixture and mix it in evenly, tossing with a fork. If there are a lot of loose, dry, crumbs at the bottom of the bowl, and it won’t hold together when squeezed, add more ice water, one tablespoon at a time.
Press the dough together, gathering up any dry bits until the dough forms a shaggy, cohesive, mass. Transfer to a sheet of plastic wrap. Wrap tightly and press into a flat, round, disk. Shape the edges with your hands so they are not crumbly. Chill until firm, at least one hour and preferably two, and as long as two days ahead (or freeze for up to three months).
Assemble the galette: Heat oven to 400°F. Let dough soften slightly at room temperature until malleable enough to roll out. On a lightly floured piece of parchment paper about 18 inches long, roll the dough out into a circle roughly 15 inches in diameter and 1/8"–1/4" thick. It may hang over on the short sides.
Lift the parchment by opposite corners and transfer a 12-inch iron skillet (or another oven-proof skillet), fitting the parchment and dough into the pan. Chill about 15 minutes.
Meanwhile, cut the peaches into 6 or 8 wedges each and toss with the sugar. Sprinkle flour on the dough, evenly covering the bottom of the dough-lined pan. Tumble peaches into the dough and fold dough over to enclose the filling. Chill again until firm, 15–30 minutes.
Brush crust with cold water and sprinkle with almonds. Sprinkle sugar over fruit and crust. Dot filling with butter and bake for 55 to 65 minutes, or until filling is furiously bubbling and crust is deep golden brown.
Place skillet on cooling rack (or cool stove burner grate) and let cool at least 30 minutes to let the juices thicken. Carefully pick up parchment by opposite corners, transfer to a serving plate, and pull out the paper (or don’t!). Serve galette warm or at room temperature.


I'm sorry it's not to your taste. Did you use kosher salt? Table salt would be way saltier at that amount.
Fabulous recipe—-easy and sensational!!!