Welcome to issue #35 of Susanality, my free weekly newsletter. This month and next I’m focusing on festive food for your holiday meals. Paying subscribers of Susanality (my VIPs!) can expect bonus recipes, how-to videos, and styling ideas in the coming weeks — all meant to make cooking with each season (including holiday season) more approachable and delicious. If you’re not yet a paying subscriber, now is a perfect time. And if you are: THANK YOU! I’m so grateful for your support, which helps me keep this newsletter going.
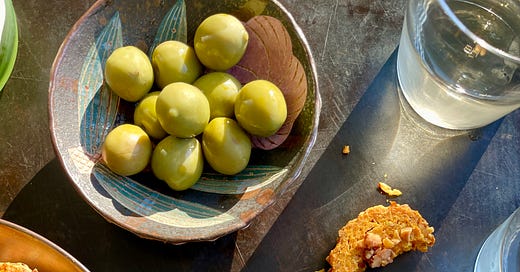
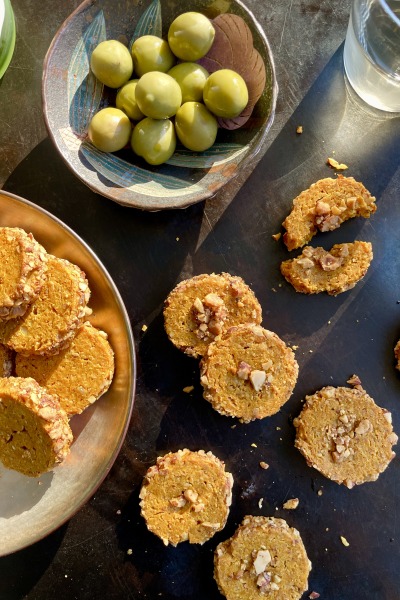
I think it’s nice to have a little something to nibble on before the big feast, but I never want it to be too filling (no cheese boards, please!) so that everyone still has a good appetite for the main event. Few things are better than a cheesy, salty, buttery (homemade!) cracker with a chilled glass of white wine. Well, maybe gougères, but that’s a subject for another day and another newsletter!
These tasty crackers are all that — plus, they help me accomplish my goal of getting as much done as possible for the big meal ahead of time.
There are a couple of ways to get ahead with these:
You can make the logs to slice and bake later, storing them in the fridge for 3 days or in the freezer for longer.
You can bake them the day before or morning of and store in an airtight container until you’re ready to serve.
You could even freeze the baked crackers for a week or so, then pop them in a warm oven to freshen them up before serving. They’ll be just fine! Though if you have the oven space, do bake them fresh — you won’t be sorry!
This recipe is one of the sleepers from my cookbook Open Kitchen, but as I am wont to do, I have made a few changes (dare I say improvements?) from the original. If you have my book, follow these new and improved directions instead.
Sometimes I look back at a recipe I’ve written and scratch my head about a few things. When you’re writing a cookbook, there are so many moving parts and so many different people who read and edit, and somehow things still get missed. When you’re in the final throes of editing a manuscript, mostly you are looking for mistakes. This recipe did not have any mistakes, but I’ve rewritten it with a little more clarity, I think. I’ve also added an egg yolk to the dough. You were already using the egg white to adhere the nuts to the outside, and I decided the dough could use a tad more moisture, so now we are using the egg yolk too, so there’s no waste!
I hope you enjoy these and Happy Menu Planning!
P.S. Next week I’ll be sending you the recipe for my famous Butternut Squash Tart with Pomegranate-Cranberry Glaze, but with some tips to make it EASY. Yum!
JULIA debuts today! (Did you know that I’m a food stylist too?)
If you are new here, you may not know that, in addition to cookbook-writing and recipe developing, I am a professional food stylist as well. I’ve worked in the magazine world (I was the founding food editor of Martha Stewart Living Omnimedia) as well as on movie sets like Eat, Pray, Love and Julie & Julia.
Most recently, I revisited Julia Child’s incredible work by serving as food stylist for Julie Cohen and Betsy West’s new documentary JULIA.
Julia wrote her recipes with such detail and precision; it is a treat and honor to recreate them. Last week, I cooked her famous Poached Pear and Almond Tart on the Today Show. I whipped it up in just about three minutes flat (ha!). In real life, it takes roughly an hour and a half to cook the tart from start to finish, but the finished product is well worth the time investment. (In fact — like we chatted about with Hoda and Jenna — rumor has it that this was the dish Julia would fix if she was trying to seduce her husband!)
This was a fun segment to film! Find it here — along with the recipe — if you didn’t catch it when it aired.
A gift for the food lover in your life!
Substack makes it very easy to give the paid version of this newsletter as a gift. I fill my paid posts with cooking and styling tips, bonus recipes, videos that touch on technique, and more. It’d make for a fun and unexpected gift for any food lover or fervent home chef in your life, and I promise this supply chain will be uninterrupted!
A note to my paying subscribers
Starting next week, I will be sending my paid newsletters every other Wednesday rather than Sunday. Why the change? I know that many of you like to cook new dishes over the weekend, so I want to be sure all my recipes are delivered in time for that. Also, some of the bonus material pertains to or elaborates on the same week’s free content, so I want the supplementary information to be available beforehand.
Keep an eye out for your next paid post Wednesday, 11/17, at 9 a.m. EST!
Smoky Cheddar Crackers
Makes 20 to 25 crackers
(See the bottom of this post for a downloadable PDF of the printer version)
1 cup smoked almonds (like Blue Diamond Smokehouse almonds)
3/4 cup/96g all-purpose flour
1/4 teaspoon kosher salt
1/4 teaspoon cayenne pepper
1/2 teaspoon turmeric
1/4 teaspoon freshly ground black pepper
1½ teaspoons smoked paprika
1/4 teaspoon baking powder
3 tablespoons cold unsalted butter, cubed
4 ounces/113 g sharpest cheddar cheese, grated (about 1¾ cups)
1/3 cup plain Greek yogurt (any fat content)
1 large egg, separated
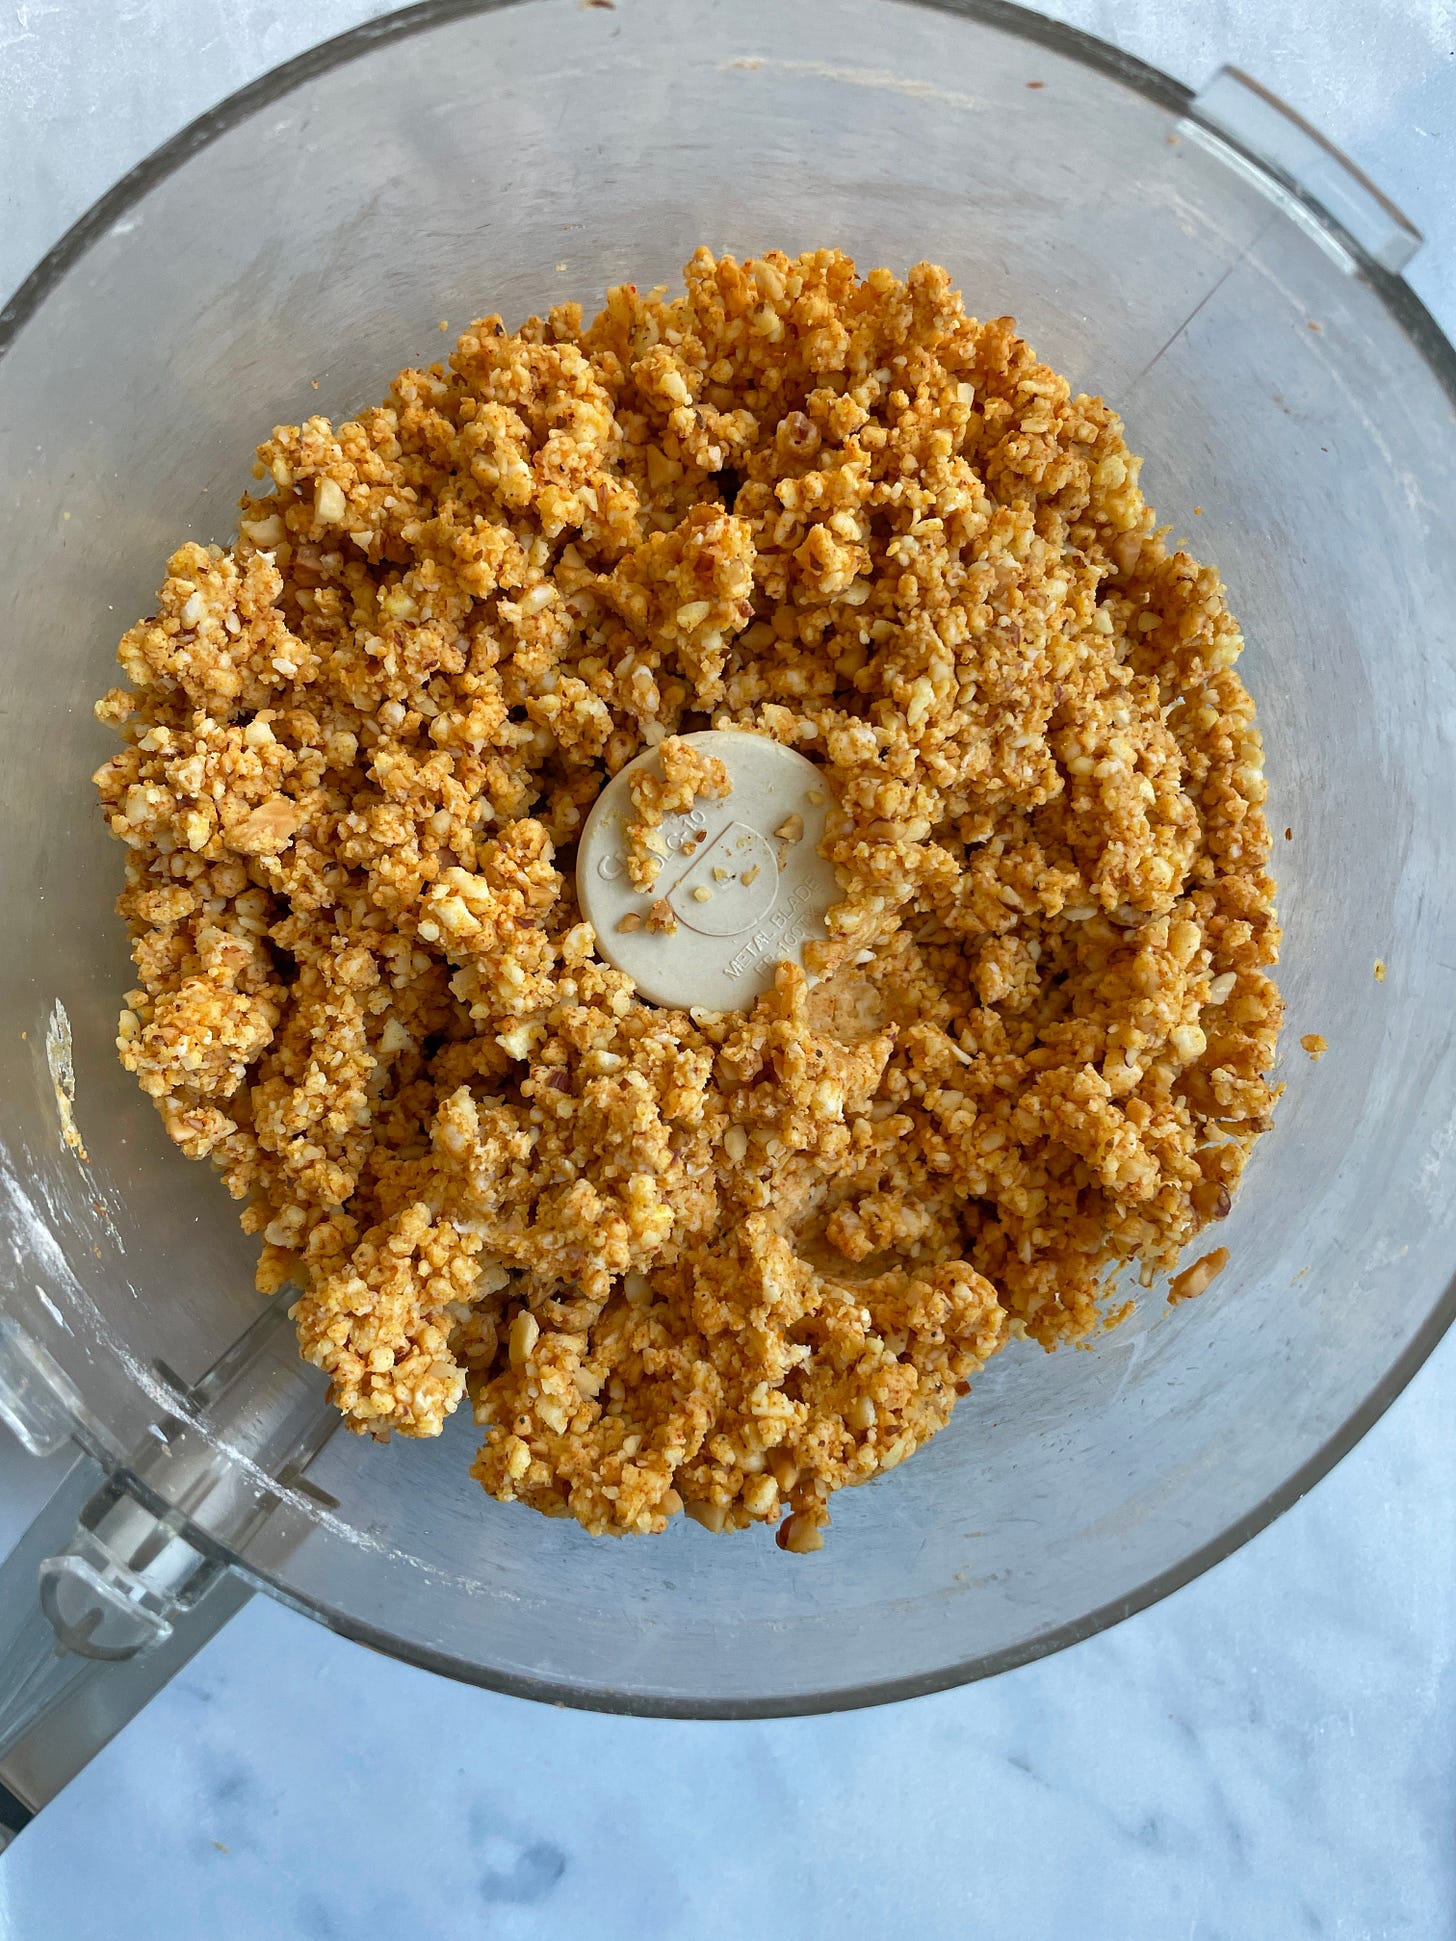
In a food processor, pulse the almonds until they are fairly finely ground, but still have some larger pieces. Reserve half of the pulsed nuts, keeping the rest in the food processor.
Add the flour, salt, cayenne, turmeric, pepper, paprika, and baking powder to the food processor. Pulse a few times to mix thoroughly. Add the butter and cheese and pulse until crumbly and combined. Add the yogurt and egg yolk and pulse until the dough comes together.
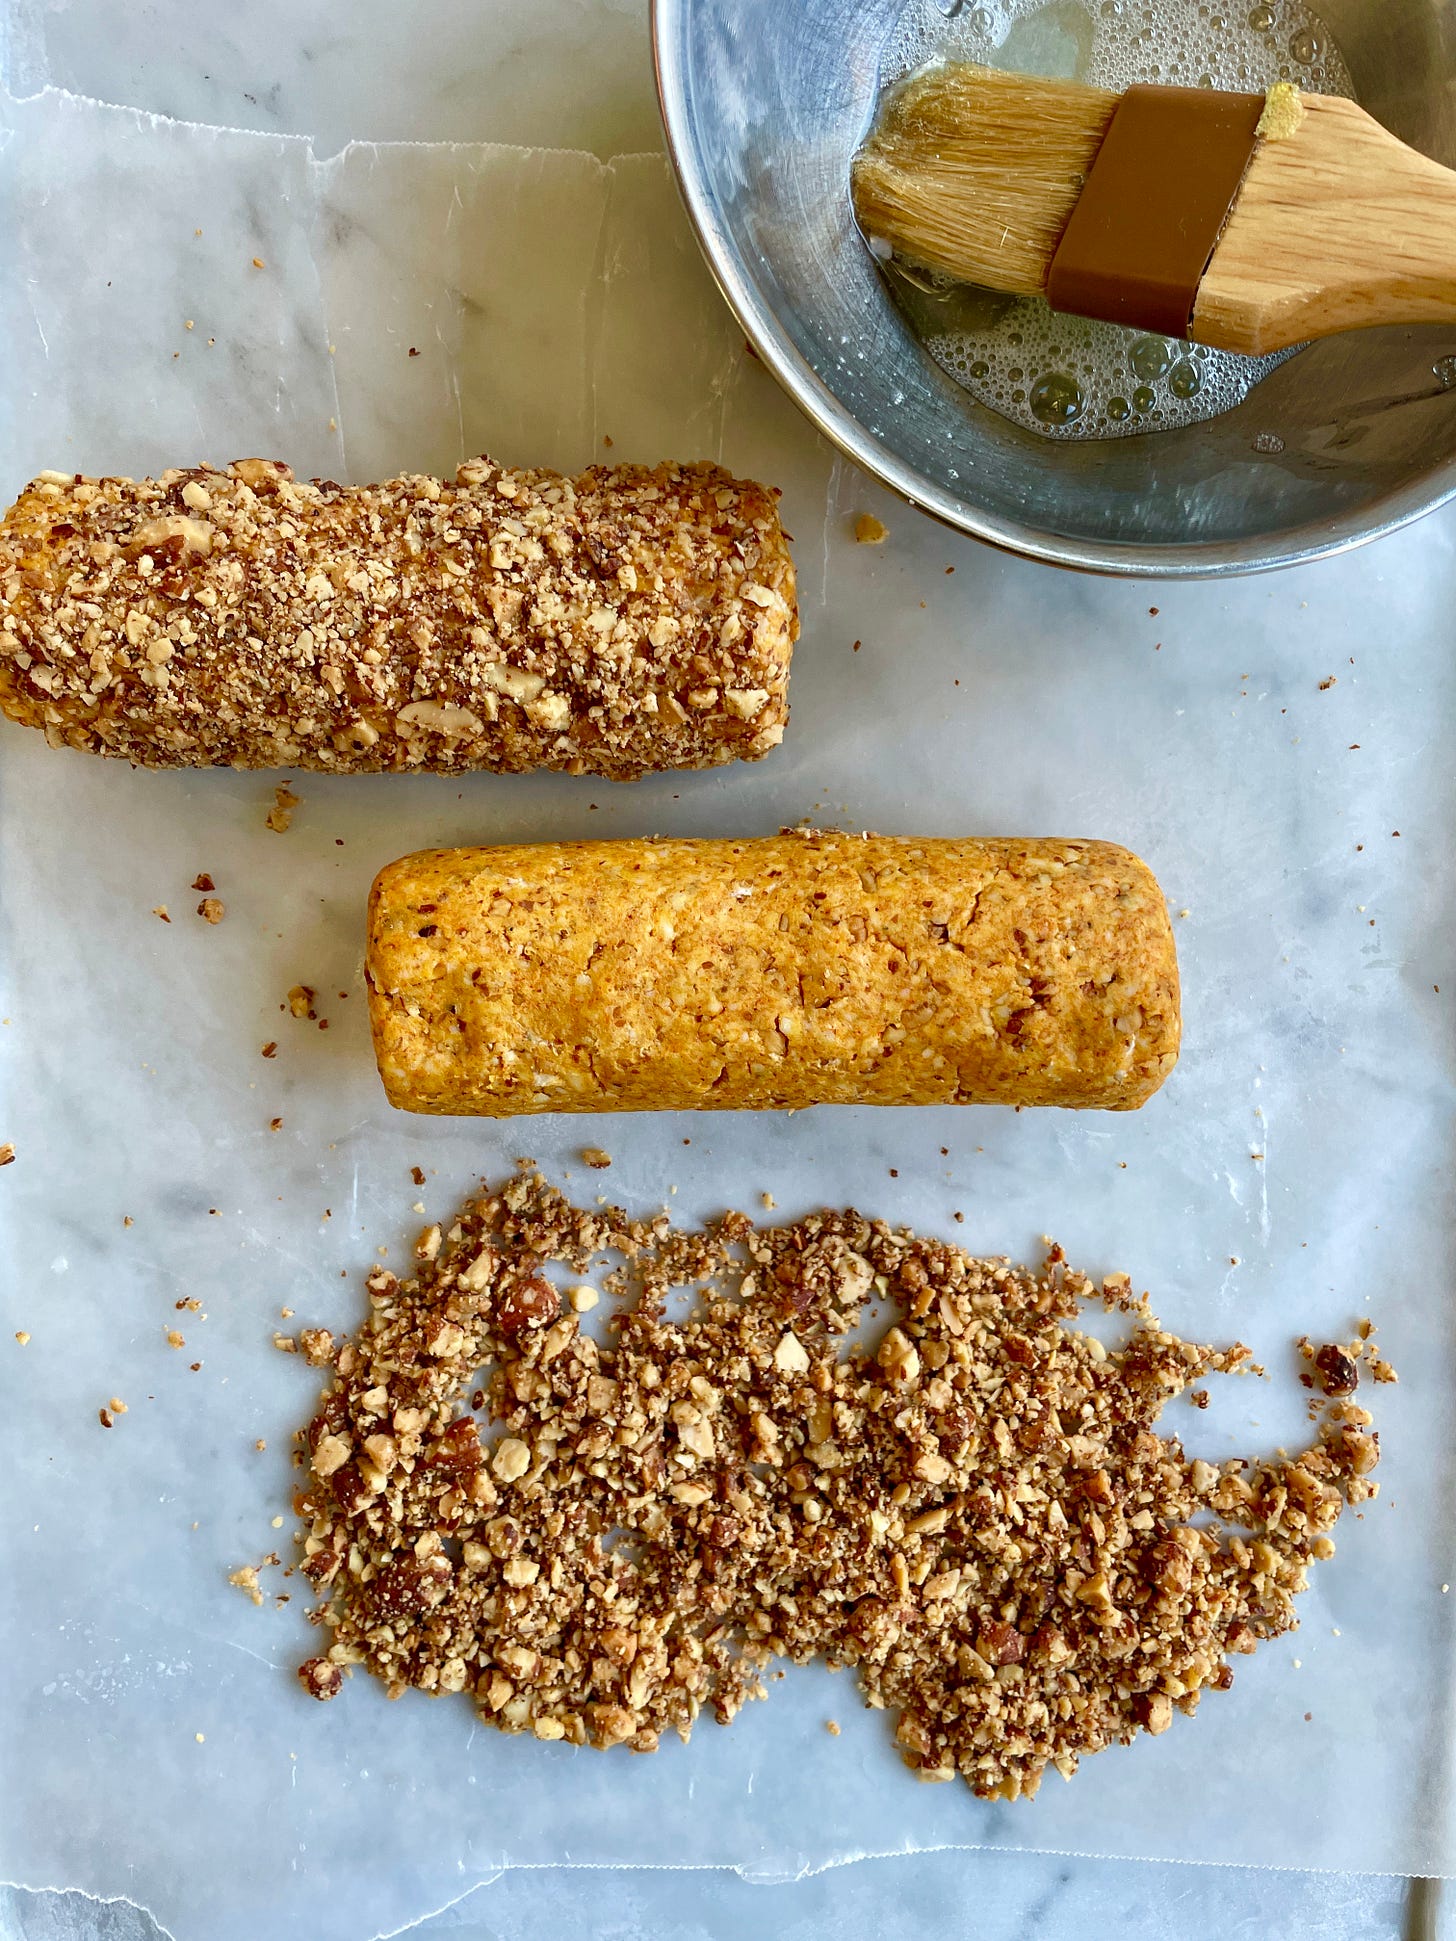
Transfer the dough to a lightly floured countertop or a sheet of parchment or wax paper (see tip below) and knead lightly to bring together. Divide the dough into two equal pieces. Roll each into a log about 5 inches long and 1½ inches in diameter. Gently tap the ends to flatten them and roll lightly again until you have perfect cylinders.
Spread the remaining almonds onto a small sheet pan or dinner plate. Lightly beat the egg white using a fork and lightly brush one of the logs with it. Roll in the nuts, coating it evenly and well, pressing the nuts in to adhere. Wrap in a sheet of wax paper, twisting the ends to seal, and chill until firm, at least 3 hours (and up to 3 days ahead of time). Repeat with the second log.
When ready to bake, heat your oven to 375°F. Line two baking sheets with parchment paper. Cut the logs into scant 1/4 inch-thick slices and arrange them on the prepared baking sheets a few inches apart (they won’t spread). You can press any nuts that fall off onto the surface of the crackers. Bake for 17 to 19 minutes until golden brown on the bottoms and edges and firm in the center, swapping the positions of the sheet pans halfway through the baking time. For a crispier texture, bake a few minutes longer, but watch them carefully so they don’t burn. Transfer to a cooling rack. Serve warm or at room temperature.
A few cooking tips
You can roll the logs out right on a lightly floured countertop, but if you are worried about the turmeric staining your counter, use a piece of parchment or wax paper to work on.
For the best flavor, look for “seriously sharp” or 5-year-old cheddar.
If baking only one sheet pan full of crackers, bake for 15 to 17 minutes.
Don’t forget to swap the positions of the sheet pans halfway through cooking!
And a suggested timeline for preparing these in advance
Like I said, these are handy for a holiday like Thanksgiving because you can make them well ahead of time. You also have flexibility on when they bake — a big perk when you’re juggling one oven between multiple dishes. If you want to make them in advance, here is a timeline you can use for when to do what:
Up to two weeks ahead: Make the logs and store them in the freezer (or store them for up to 3 days in the fridge).
1 day ahead: Transfer the frozen logs to the fridge to thaw.
Up to 4 hours ahead: Slice the crackers and lay them out on the baking sheet (or bake them right away).
Up to 1 hour ahead: Bake the crackers.


