Hi and welcome to Susanality, a newsletter by me, Susan Spungen, that celebrates seasonal cooking. If you enjoy today’s recipe, please help spread the word by forwarding this email to others who may like it too. And if you want additional recipes, technique + styling tips, and video tutorials to land in your inbox, consider investing in a paid subscription (for less than the cost of a latte per month!). Either way—thank you so much for being here.
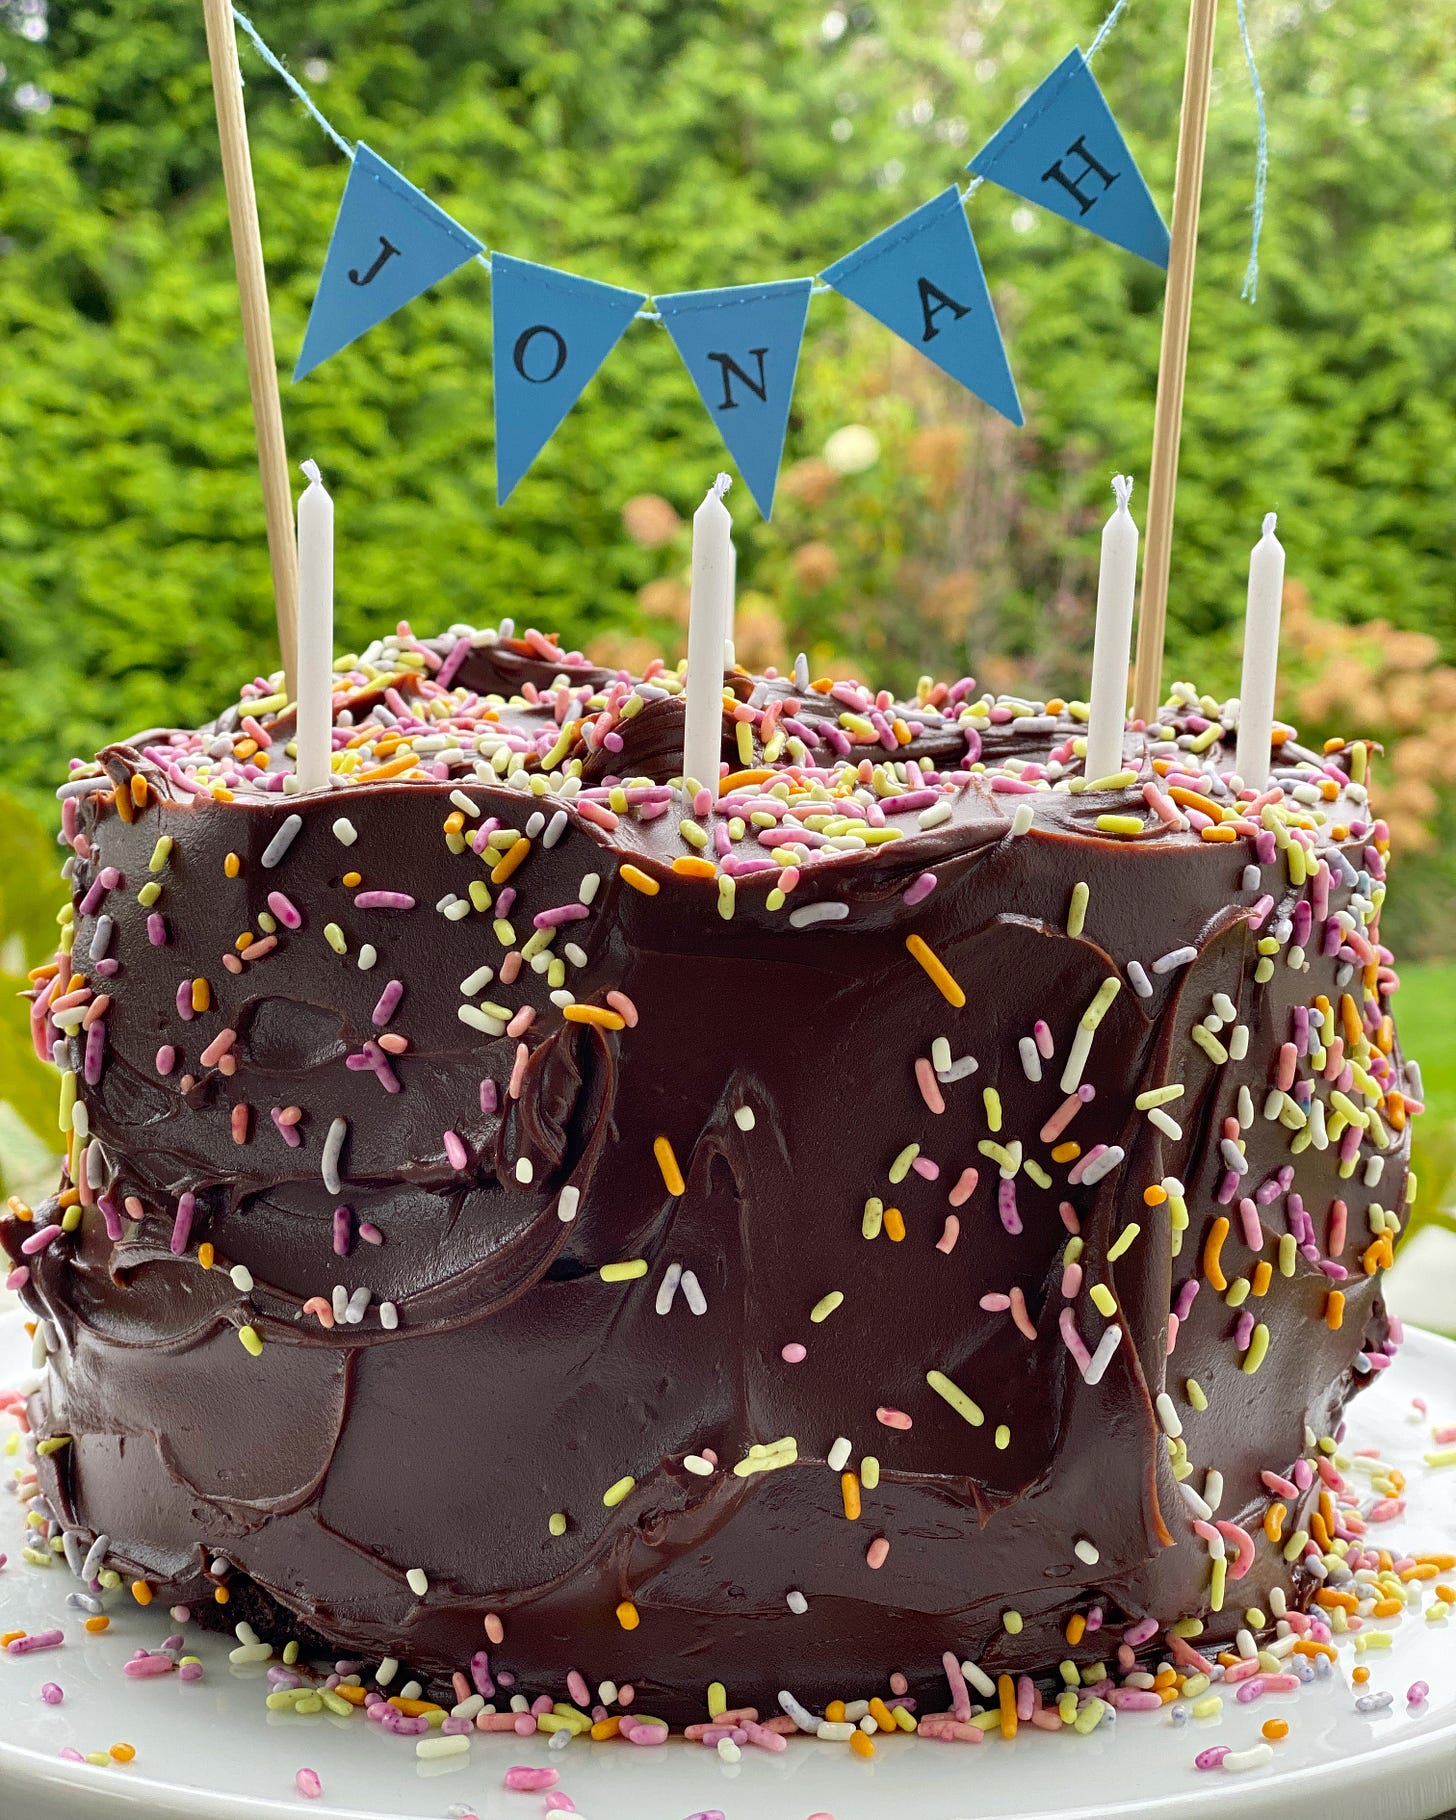
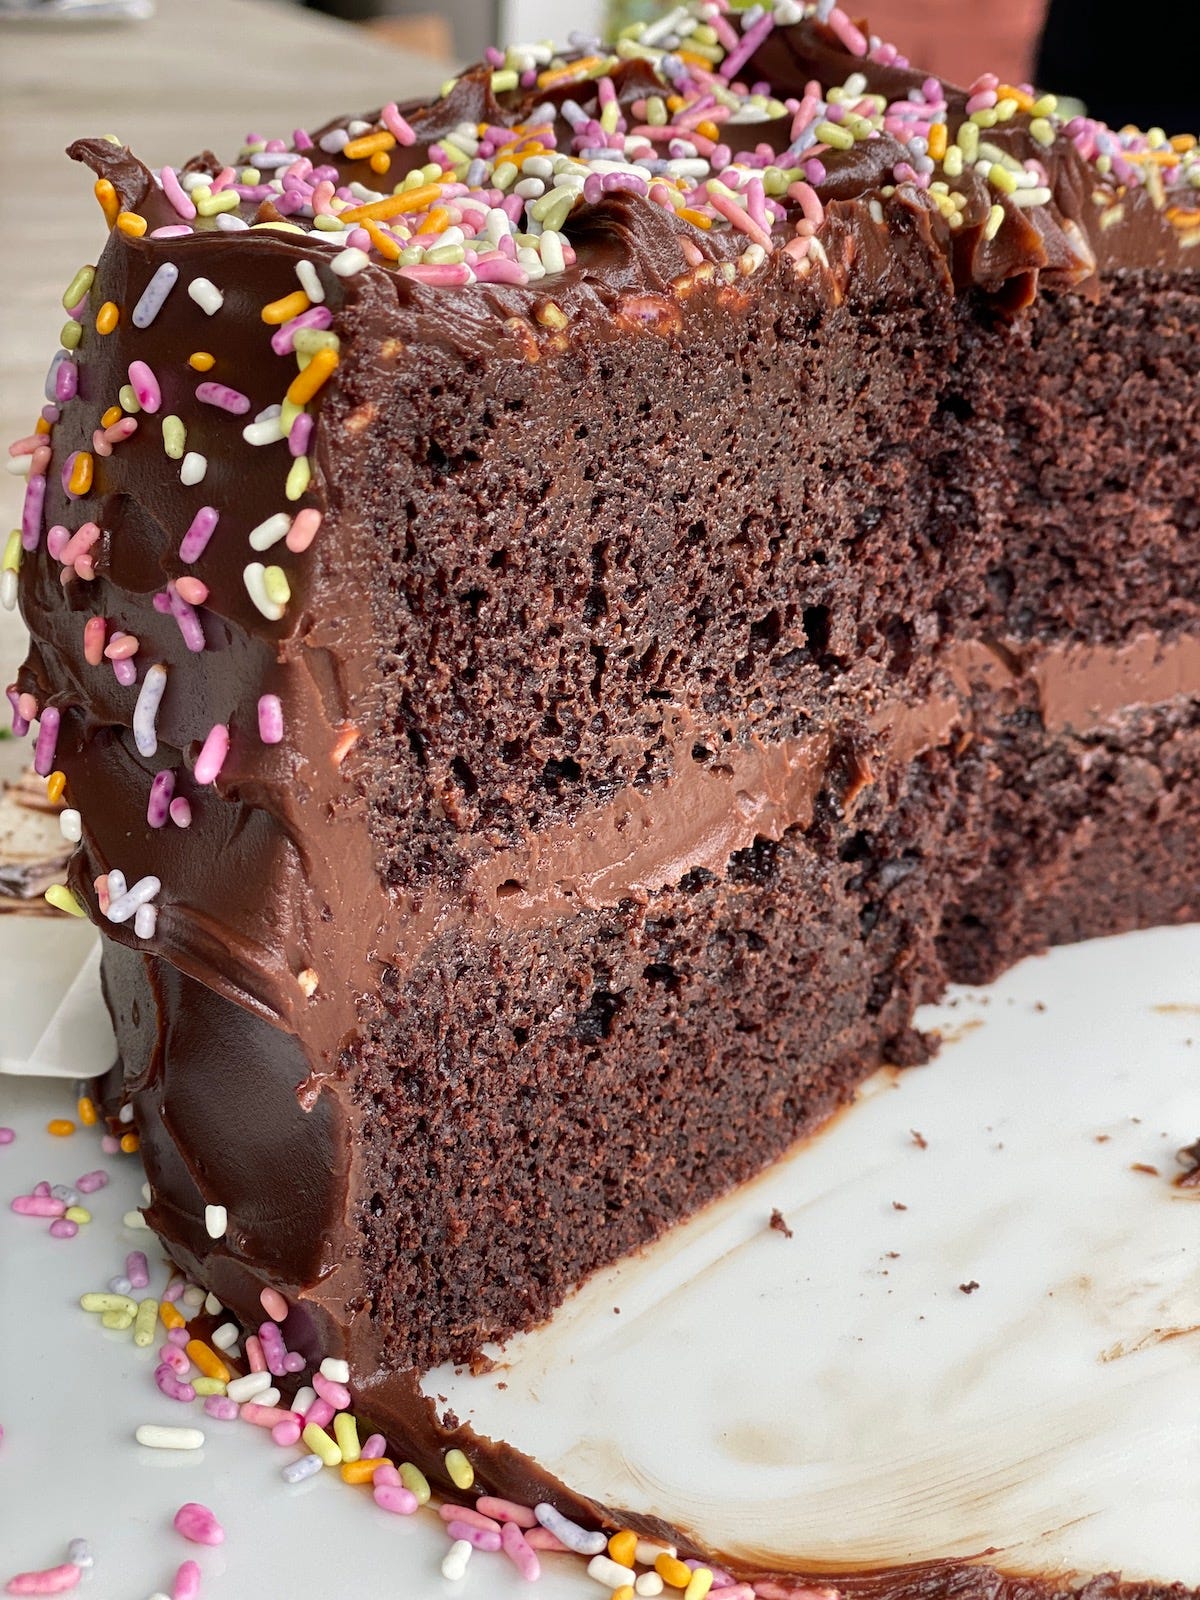
For me, a birthday cake should be a tall, moist, two-layer affair with plenty of creamy icing that slices like a dream, whether into big wedges or tiny slivers (for that person). Personally, I love chocolate, and I think the majority of people do too, so a chocolate-on-chocolate cake is usually a safe choice.
In the early fall of 2020, my grandson Jonah was about to turn four, but because we were still in the darker days of the pandemic, what should have been a big birthday party with all his little friends was a pizza and cake party with a bunch of grownups. Fun!
Of course I wanted to make him the best cake possible so he’d have a birthday to remember. He’s already a dedicated chocoholic, so it was an easy choice to go in this direction. Although I hadn't made it in years, I decided to make my all-time favorite chocolate frosting that was memorialized in the pages of Martha Stewart Living when I was food editor there. One of my colleagues, Hannah Milman, told me about her Mom’s famous chocolate frosting, so I knew I had to try it for a layer cake story I was working on at the time (May ‘97 if you have archived your MSL magazines). It’s called ”Mrs. Milman’s Chocolate Frosting.”
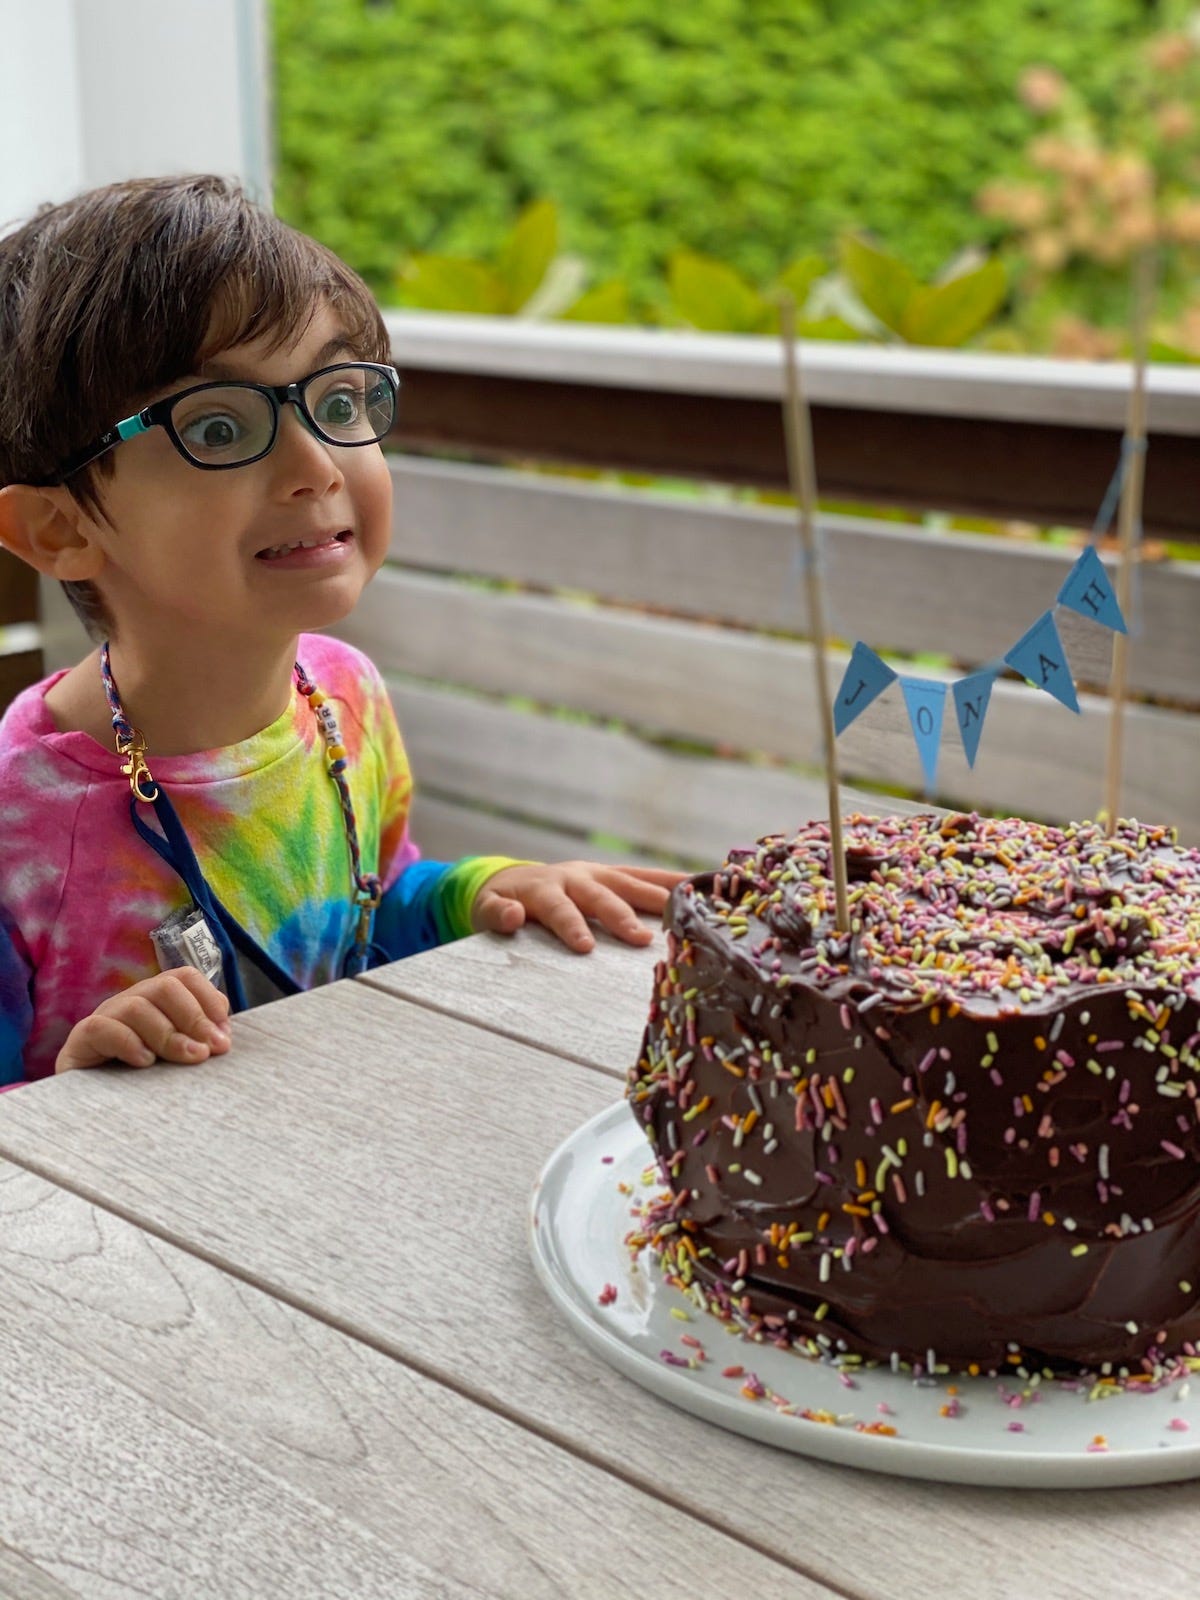
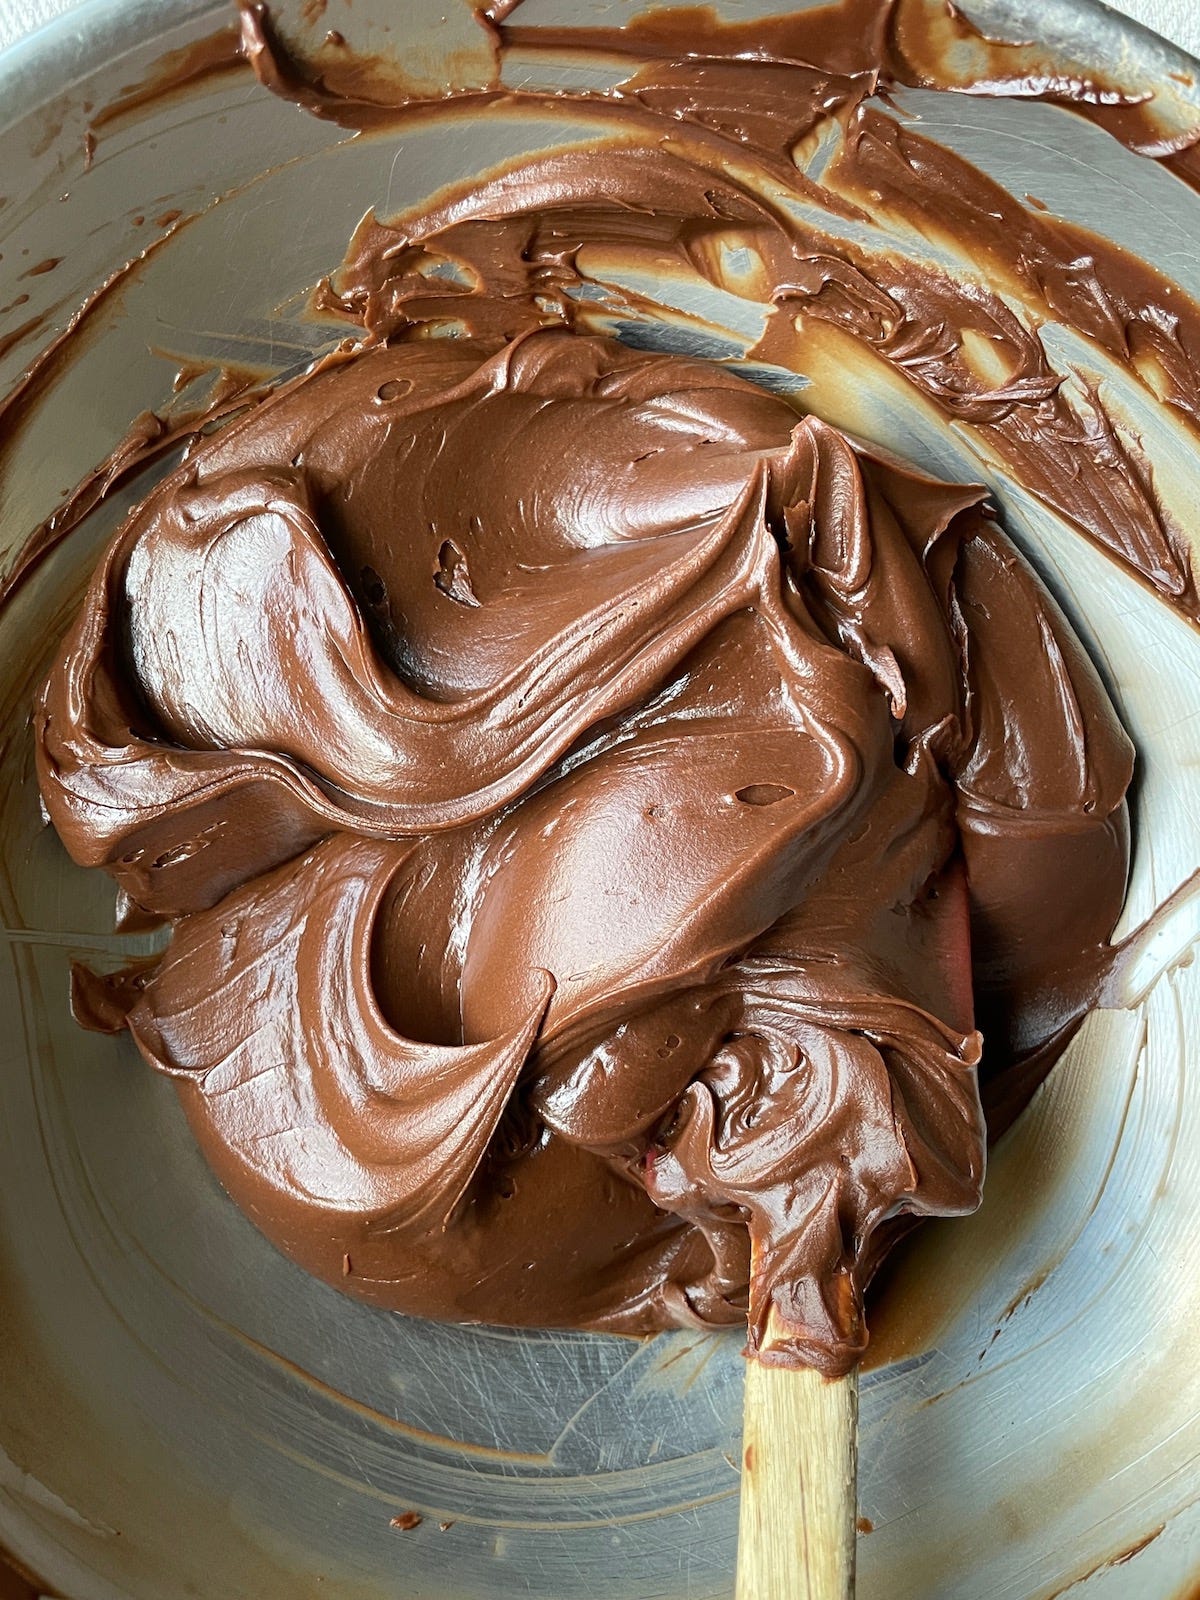
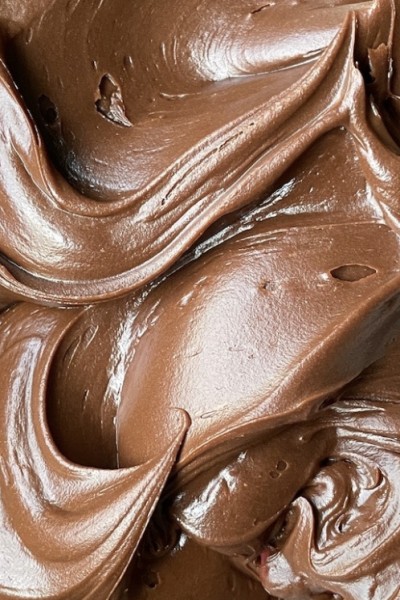
It turned out to be the dreamiest, creamiest frosting I’d ever made, so fun and easy to manipulate into swoops and swirls. I suspect it might have originally been one of those “back of the pack” recipes on the Toll House bag because it has just a few simple ingredients and prominently features the product, but no matter. It doesn't melt in hot weather and doesn't require refrigeration for a day or two, so it’s perfect to travel with too—provided you have a cake carrier.
Because of this frosting’s swoopiness—and by that I mean the way an offset spatula just glides through it—and the fact that you can go over it again and again, I chose it for a scene in “It’s Complicated.” You only see it for a moment in the movie, but it made a fairly big impression and it took many hours to film, of course. So many that I’m not sure to this day if those are my hands in the scene or my assistant’s. I had an appointment and had to leave early that day, so at some point Maria took over. It’s in the scene where Meryl Streep is making a nice home-cooked meal (roast chicken, etc.) for her ex, Alec Baldwin, but he stands her up. Do you remember it?
Anyway, one of the advantages of this particular frosting on that particular day was that I could keep artfully swirling and swooping the same cake for hours! This frosting is basically a cooked ganache, and the one catch is: you MUST use chocolate morsels—they can be any brand, semisweet or bittersweet—but get those creative thoughts out of your mind and don't try to use regular chocolate. The frosting will separate and be grainy. The same stabilizers (soy or sunflower lecithin) that are in chocolate morsels to help them keep their shape and stay creamy when baked into cookies have a magical effect on this cooked frosting.
You will be cooking the morsels and cream together over low heat for about 25 minutes, stirring frequently, but not constantly. It won't look much different at the end of the cooking time, so you’re just going to have to take my word for this. Once it’s cooked, you’ll be stirring it over ice until it’s getting cold and starting to solidify. Then you put it in the fridge, stirring once or twice until it becomes spreadable, which won’t take long. One of the main changes I made to the original printed recipe (along with adding vanilla and omitting corn syrup) was to add the step of stirring over ice to cool it down quickly. Mrs. Milman had you put it in the fridge for many hours, stirring occasionally. You’re achieving the same thing here in a fraction of the time.
Once it’s set up, you can store it at room temperature for a while if you’re not ready to frost your cake yet. You shouldn't store it in the refrigerator, because it will get too firm to spread. It’s totally fine to leave the frosting (stored airtight) or the frosted cake—especially under a cake dome—out for a day or two. It’s the kind of cake you can leave out, letting people slice off what they want when they want.
But the very best way to enjoy it is with sprinkles and candles on top and immediately shared.

And Now for the Cake….
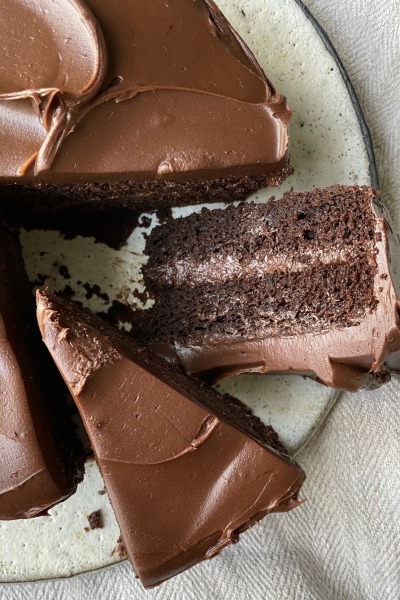
When I made this for Jonah’s 4th, I wanted a cake that was easy and chocolate-y, and I chose a recipe from my friend Yossy Arefi’s wonderfully simple book, Snacking Cakes. If you happen to have the book, it’s the Cocoa Yogurt Cake on page 135 (and the cover!). Yossy’s book is full of one-bowl wonders and this cake is no exception. It’s very quick and simple to put together, and it’s the perfect texture for this frosting. Filling, frosting, and cake meld together seamlessly.
One of the great things about Yossy’s book is that she gives you many variations for both flavors and sizes and shapes. For Jonah’s party, I doubled the recipe and made two 8-inch round cakes so I would have a really tall, classic birthday cake shape that would feed a lot of people. When testing the recipe today, I made just one 8-inch cake, split it in half, and filled it and frosted it for a lower profile cake. A 9-inch pan works fine too, just shorten the baking time to the lower end of the range.

Mrs. Milman’s Chocolate Frosting
Makes enough to fill and frost one 8-inch double-layer cake
Ingredients:
1 (12-ounce) bag semi-sweet chocolate morsels (don’t use chopped chocolate instead of morsels, but you can upgrade to Guittard or Ghirardelli)
2 cups (1 pint) heavy cream
1/2 teaspoon vanilla extract
Combine the chocolate morsels and cream in a heavy, wide saucepan. Heat over medium heat, stirring with a whisk, until the chocolate is melted and smooth, about 5 minutes. Turn the heat to low and cook 20 to 25 minutes, stirring very frequently with a rubber spatula, scraping the sides as you do. It won't look much different at the end of the cooking time.
Meanwhile, fill a large bowl with ice and a little water. Set a medium metal bowl in the larger bowl. Set aside.
Increase the heat to medium-low and cook 3 minutes longer, stirring even more frequently, and then pour the mixture into the metal bowl set over ice. Add the vanilla. Stir frequently until frosting is cold to the touch and starting to solidify, 3 to 5 minutes.
Transfer frosting to the refrigerator until it firms up to a spreadable consistency, about 10 minutes more. Stir well and store at room temperature for up to 2 days.
Cocoa Yogurt Cake
By Yossy Arefi / from Snacking Cakes (adapted slightly)
Serves 8-10
Ingredients:
Butter or nonstick spray, for the pan
1 cup (200g) lightly packed light brown sugar
2 large eggs
1 cup (220g) plain whole-milk yogurt
1/2 cup (120ml) neutral oil, such as canola or grapeseed
1 teaspoon vanilla extract
3/4 teaspoon kosher salt
3/4 cup (68g) unsweetened Dutch-process cocoa powder
1 cup (128g) all-purpose flour
1 teaspoon baking powder
1/2 teaspoon baking soda
Position a rack in the middle of the oven and preheat to 350°F. Butter or spray the bottom and sides of an 8 -or 9-inch round baking pan and line the pan with a circle of parchment paper.
In a large bowl, whisk the brown sugar and eggs until pale and foamy, about 1 minute. Add the yogurt, oil, vanilla, and salt. Whisk until smooth and emulsified. Add the cocoa powder and whisk until well-combined and smooth.
Add the flour, baking powder, and baking soda and whisk until well-combined and smooth.
Pour the batter into the prepared pan, tap the pan gently on the counter to release any air bubbles, and smooth the top of the batter with an offset spatula. Bake for 35 to 45 minutes, or until a cake tester or toothpick inserted into the center comes out clean. Transfer the cake to a wire rack and let cool for about 15 minutes. Then, run a butter knife around the edges and invert onto the cooling rack to cool completely.
Use Another Pan
Bundt: Double the ingredients and bake in a prepared 15-cup Bundt pan until puffed and a skewer inserted into the center comes out clean, 50 to 60 minutes. Let the cake cool in the pan for 10 minutes and then invert it onto a rack to cool completely.
Cupcakes: Bake in a cupcake tin lined with paper liners, filling them no more than halfway full, until puffed and a tester inserted into the center comes out clean, 12 to 18 minutes. Makes 12 to 18 cupcakes.
Loaf: Bake in a 9 x 5 x 3-inch loaf pan until puffed and a skewer inserted into the center comes out clean, 55 to 65 minutes.
Round: Bake in a 9-inch round pan until puffed and a tester inserted into the center comes out clean, 35 to 45 minutes.
Tips
Always put a sheet pan lined with foil or parchment under your cake pans in case of overflow.
If using 8-inch pans, make sure they are at least 2 inches deep with straight sides like these or these. Shallower pans could overflow.
If you only have shallow pans, opt for a 9-inch pan, and bake for closer to 35 minutes.
Always test with a toothpick starting at the low end of the baking time range given, and keep checking every 5 minutes to avoid over-baking.
If you want to transport a cake or cupcakes, it’s worth investing in a cake carrier like this one.
The recipe can be easily doubled if you want to make a taller cake.
This saucepan is ideal for cooking the frosting. It’s my go-to for most things. The sloping sides make it easy to stir and scrape, but the shape is perfect for many uses. I’ve had mine for at least 20 years!
If you want a less sweet frosting, use bittersweet morsels instead of semisweet, but I recommend semisweet for most uses, especially for kids!
This frosting recipe yields enough to fill and frost an 8-inch 2-layer cake. If you want more frosting for a bigger cake, use 18 ounces of chocolate and 3 cups of cream.
You could also use a little extra frosting for the filling and on top, leaving the sides “naked.”
This cake flattens perfectly as it cools, so there’s no domed top to trim off.
Use a large mixing bowl turned upside down to cover the cake if you don't have a cake dome.

Edited by Molly Ramsey


Hi I remember making the MLS cake with Mrs Milman's frosting too. Wow, now this seems even better. But the photo of your grandson looking at the cake is priceless. I am sure he will remember it. Thanks for another great recipe. Xo
This looks so delicious and so versatile! Thanks for the freezer tips too, they will come in handy with all the new recipes to try!