Welcome to issue #39 of Susanality. Thank you for being here! If you’re still holiday shopping for your loved ones, consider a paid subscription to this newsletter. You’d be giving them weekly recipes that inspire them to cook with the seasons and have fun in the kitchen, plus access to all past and future paywalled content, which includes how-to videos, technique tutorials, equipment recommendations, and more.
And if you haven’t yet subscribed—gift it to yourself for the price of one latte a month!
Hello, my little cookie bakers! I hope you’re still in your kitchens baking cookies, because I have a couple more great recipes headed your way before Christmas—this beauty included! Save your egg whites by the way, because I have a fun and easy Christmas Eve recipe for you that will use up all the baking bits and bobs that you have left over. Stay tuned for that surprise.
I hope you saved a spot in your lineup for these guys, because they are really easy, super beautiful, and of course, totally delicious. I also hope you have a food processor, because this small-batch dough comes together really quickly and easily using one. If you don’t have one, I have some good workarounds for you in the intro to the recipe (just before the ingredients), so make sure you read them.
I like to make my recipes as precise as possible, especially my cookie recipes. As I’ve said before, the most minor fluctuations in ingredients or technique can throw off the results of the final product (have I mentioned this before? Use a scale!). That said, this particular cookie recipe is very forgiving. In fact, in one of my many tests, I accidentally doubled the sugar, and they were still super delicious! Sweeter, of course, thinner, and crunchier. A completely different cookie, but I still couldn’t stop eating them! I’m not recommending you do that, but you can relax a bit knowing that this one has some wiggle room. And if you’re still intimidated by baking cookies from scratch, this recipe is a perfect one for you to try first!
I’m happy to tell you that I had time to ask my friend Sami, who used to assist me (including on that big NYT Cooking cookie shoot a few years ago) to cross-test this recipe for me. Even though she couldn’t find blood oranges where she lived, used raw sugar instead of black sanding sugar, and sliced them a little thinner than mine, they still turned out great!
While we’re on the subject of cross-testing, it seems like a good time to tell you a little more about what goes into the recipe development process. When I share a new recipe with you—whether it’s in the free or the paid version of this newsletter—it’s a brand new recipe that I’m creating just for you, my loyal readers. I know there are a lot of places you can get recipes, many of them free (including this one!), so I appreciate you sticking with me.
You should know that I am creating new recipes FROM SCRATCH, and that I spend a lot of time coming up with the concept, then a lot more time in the kitchen actually creating the recipe. I spend hours and days developing a single recipe, making it as many as FIVE separate times (or more if necessary!), because I want your results to come as close as possible to mine—a process that is especially important with cookies and other baking recipes. I don’t want you to waste time and ingredients on a recipe that doesn’t work for you. That’s why when I have time and a willing tester, I go one step further and hand the recipe off to a cross-tester who is walking in blind, just like you are. This gives me a chance to see what happens in someone else’s kitchen, in someone else’s oven, and in someone else’s hands.
This isn’t meant to be a sales pitch, but I do want you to understand why I am always asking you to become a paying reader. Creating this newsletter has become a full-time job for me, and I treat it as such. If you are enjoying reading Susanality as much as I enjoy making it for you, I hope you’ll consider investing in a paid subscription, which will enable me to sustain—and continue to strengthen!—this newsletter in the long run.
I also mention this as context for some changes in the coming year. To better balance the workload of this newsletter with another major project—developing and writing a new cookbook, due out in spring 2023!—I will be adjusting the ratio of free vs. paid content in the new year. (Don’t worry, paying subscribers, you’ll still receive everything you signed up for!)
I hope you understand where I’m coming from! And in the meantime, I hope you enjoy today’s recipe—I think it’s a really good one! Let me know how you like it in the comments, and, as always, feel free to ask any questions you may have!
xx
Susan
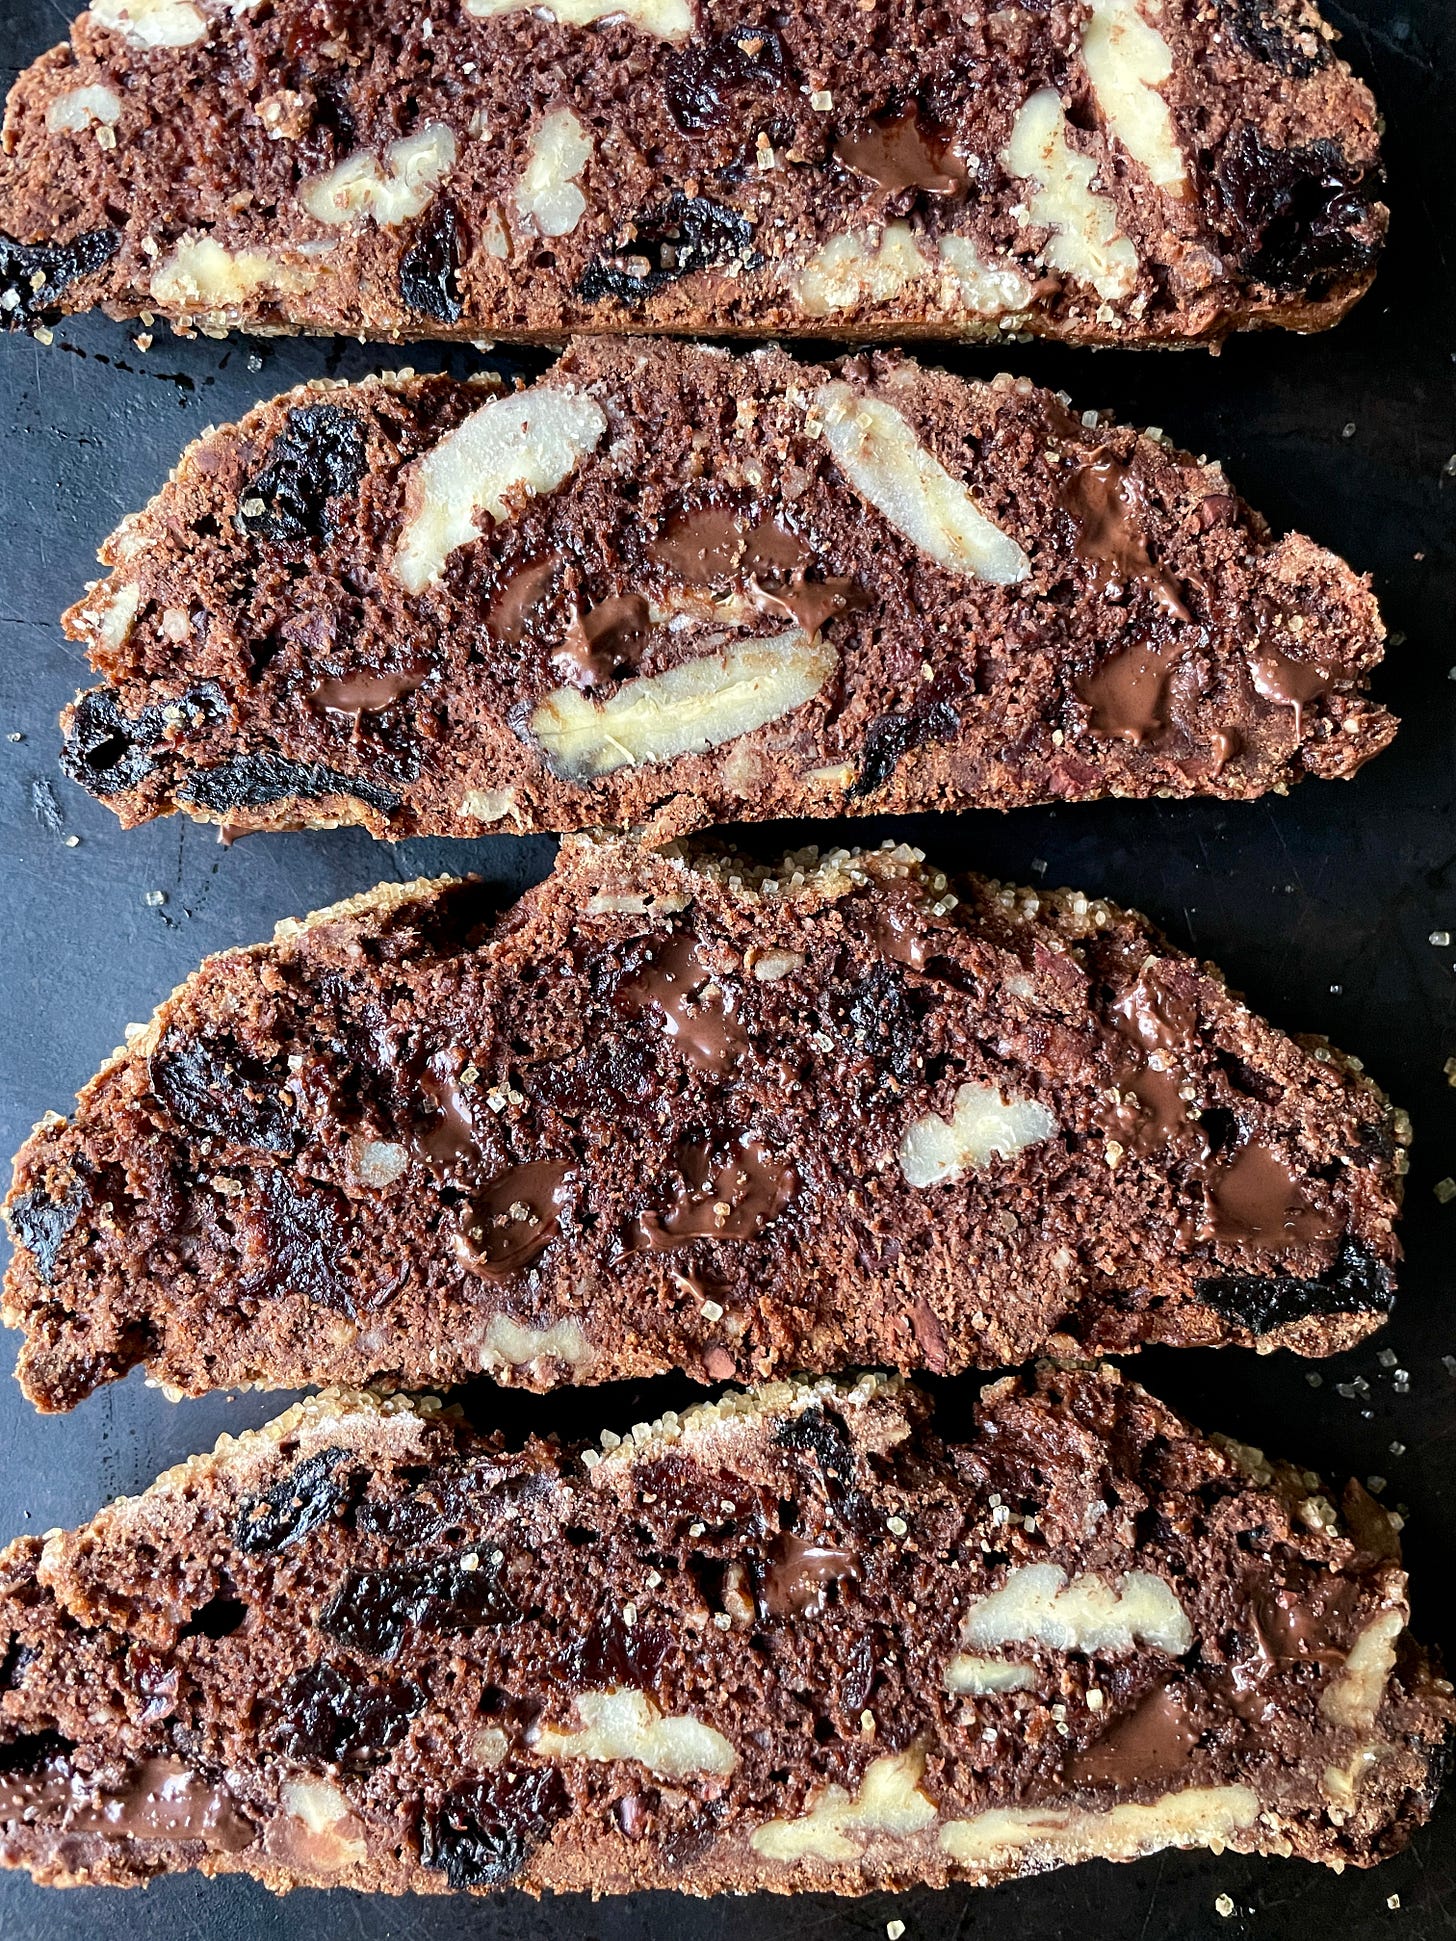
P.S. If you do subscribe, you’ll gain access to the recipe for this cookie, my Chocolate-Cherry Pecan Biscotti, which went out to my paid subscribers on Wednesday. Also in the post you get a step-by-step breakdown of my tried-and-true process for packing a cookie tin to ship or hand deliver (and ensure the cookies stay fresh and intact!). AND you will find tips for approaching a multi-recipe bake.
If you, like me, find a tin of homemade cookies to be one of the most thoughtful and delightful gifts of the holiday season, it’s a must read!
Earl Grey Shortbread with Blood Orange Glaze
Makes about 2 dozen
This dough comes together easily in a food processor. If you don’t have a full-size food processor, you can do step 2 in a mini food processor, and, lacking that, grind the tea finely in a spice grinder, zest the orange using a microplane, and continue the recipe by creaming with the butter by hand or using a stand mixer. It’s a small batch, so it’s easy to mix by hand, as long as your butter is nice and soft. The tea is the only part you need a machine for, so if you don’t own any of these, the tea can be omitted. The citrus zest is the dominant flavor, and they will still be delicious without it!
For the cookies:
1 cup/128g all-purpose flour
2 tablespoons cornstarch
1/4 to 1/2 teaspoon kosher salt (as you like it!)
3 Lady Grey or Earl Grey teabags, or 1 tablespoon loose Earl Grey tea
1/4 cup/50g granulated sugar
Zest of 2 blood oranges, or 1 large navel orange
1/2 teaspoon vanilla paste or extract
1/2 cup/1 stick/113g unsalted butter, at room temperature, cut into pieces
Black sanding sugar, white sanding sugar, or Sugar in the Raw
For the glaze:
3/4 cup/92g unsifted confectioners’ sugar
Juice of 2 blood oranges or 1 navel orange (about 1/4 cup; see TIPS if using a navel orange)
1 teaspoon melted butter
Lemon juice, as needed
In a medium bowl, whisk together flour, cornstarch, and salt. Set aside.
Cut open the tea bags and transfer the contents to the bowl of a food processor. Add the sugar and the orange zest (see TIPS), and pulse until everything is finely ground.
Add vanilla and butter and pulse again until well combined, about 30 seconds, scraping the bowl once.
Add flour mixture and pulse until the dough forms a ball.
Scrape once and turn mixture out onto a floured surface using the spatula. With lightly floured hands, work the dough into a cylinder 7 inches long and 2 inches in diameter, patting the ends in a few times and rolling it out again to make it as round as possible while retaining those dimensions.
Roll in the sanding sugar or Sugar in the Raw to lightly coat the cylinder (you’ll need about 2 tablespoons). Pat the ends in one more time and round the cylinder. Wrap in wax or parchment paper, twisting the ends gently, and chill for at least 2 hours in the fridge, until firm. (The dough can be made up to 3 days in advance.)
Meanwhile, make the icing: Place the confectioners’ sugar in a small bowl. Pour the orange juice into a small saucepan and bring to a boil. Cook at a steady simmer until reduced to a syrupy 1 tablespoon, 2 to 3 minutes. This time will vary, especially if your oranges yield more juice, so watch it carefully, and scrape it immediately into the bowl of confectioners’ sugar. Add the melted butter. Stir with a fork, and add a teaspoon of lemon juice if needed to liquefy. Continue stirring and adding more lemon juice (or water, to taste) until the icing is smooth and passes the globby stage; it should fall smoothly from the fork back into the bowl of icing. If not using right away, transfer to a small airtight container. (See TIPS for more on this process.)
Heat oven to 350°F. Slice the dough into scant 1/4-inch slices and arrange on a parchment-lined sheet pan, spaced evenly apart (they should all fit on one sheet pan and should only spread a little). Bake on the center rack of the oven, rotating pan once, for 15 to 17 minutes until deep golden on the bottom. Let cool on the pan for 5 minutes, and then transfer to a cooling rack to cool completely.
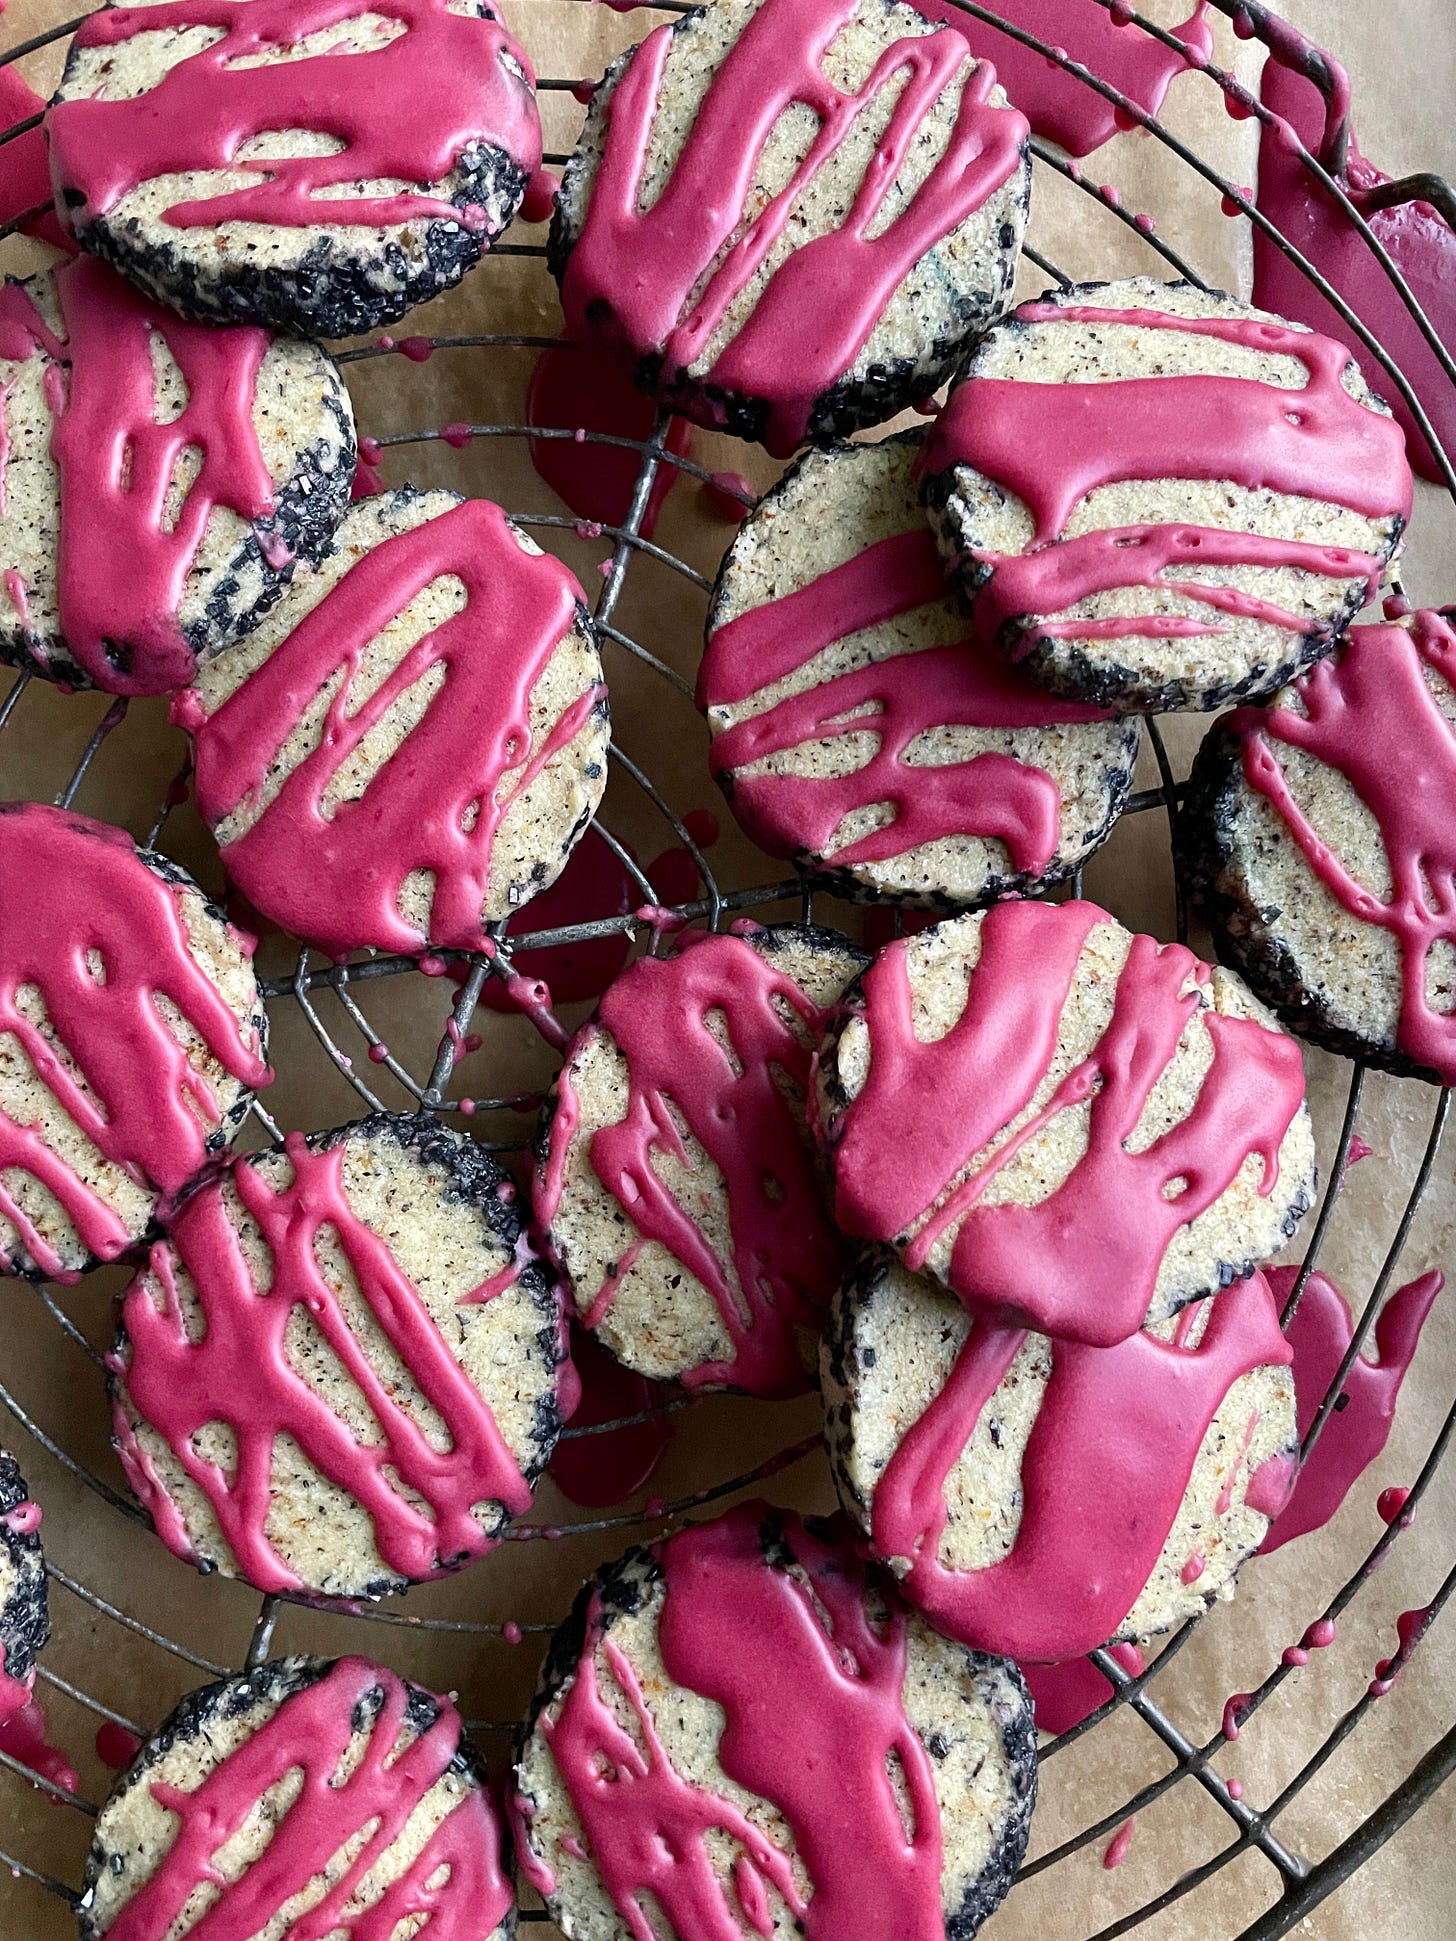
Set the cooling rack back onto the parchment-lined sheet pan you baked them on and drizzle with the icing. It will dry to a smooth glossy finish.
TIPS:
Zest the oranges directly into the food processor so you can capture all the flavorful oils from the skin of the orange.
If you don’t have blood oranges, it’s fine to use one navel orange instead. It will yield more juice, but you can still boil it down to 1 tablespoon.
If using a navel orange, you can add a few drops of red food coloring to the glaze to achieve a nice shade of pinky-orange.
You can also try beet juice or pomegranate juice added to the navel orange juice before boiling it down to add color if you don’t have blood oranges.
This recipe can easily be doubled if you want a bigger batch.
You can roll and cut this dough with cookie cutters if you want.
You can roll the cylinder in any kind of coarse sugar, and you don’t have to crust it heavily. Just try to get a light but even coating, pressing it in to adhere.
The glaze can be made ahead and stored in a small airtight container for one day at room temperature and longer, refrigerated. Not only is this convenient, but the color deepens a bit too.
The icing will thicken a bit as it sits and as the melted butter sets up. If making ahead, you can adjust the consistency as needed by adding more liquid just before using.
It’s easier to add liquid slowly to the icing until you reach the right consistency, rather than making it too thin and having to add more sugar to thicken (which you can always do if needed to thicken it back up).


