Hi and welcome to Susanality, a newsletter by me, Susan Spungen, that celebrates seasonal cooking. If you enjoy today’s recipes, please help spread the word by forwarding this email to others who may like it too!
I hope you all had a lovely and delicious Thanksgiving and didn’t work too hard! The cookie lab is going full throttle over here! I’m dreaming up all kinds of fun and creative treats, which I’ll be rolling out all month. If you’ve been thinking about upgrading to a full-access subscription but haven’t yet, now would be a good time to do it so that you don’t miss out on any of the awesome cookies and cookie advice I’ll be sending to my paid subscribers over the next few weeks. Please remember that Susanality is 100% reader supported, and I need your help to keep buying butter! (I’m joking about the cookie lab — it’s just me!)
The idea for this cookie is one I’ve been playing with for a few years now. I originally had a spiral version of it in the lineup for my New York Times cookie feature a few years ago, but they didn’t make the cut. The editors really wanted a spiral cookie, and I wanted to oblige, but the directions for the assembly of the doughs made the recipe way too long and unwieldy, so I wasn’t sorry that it went.
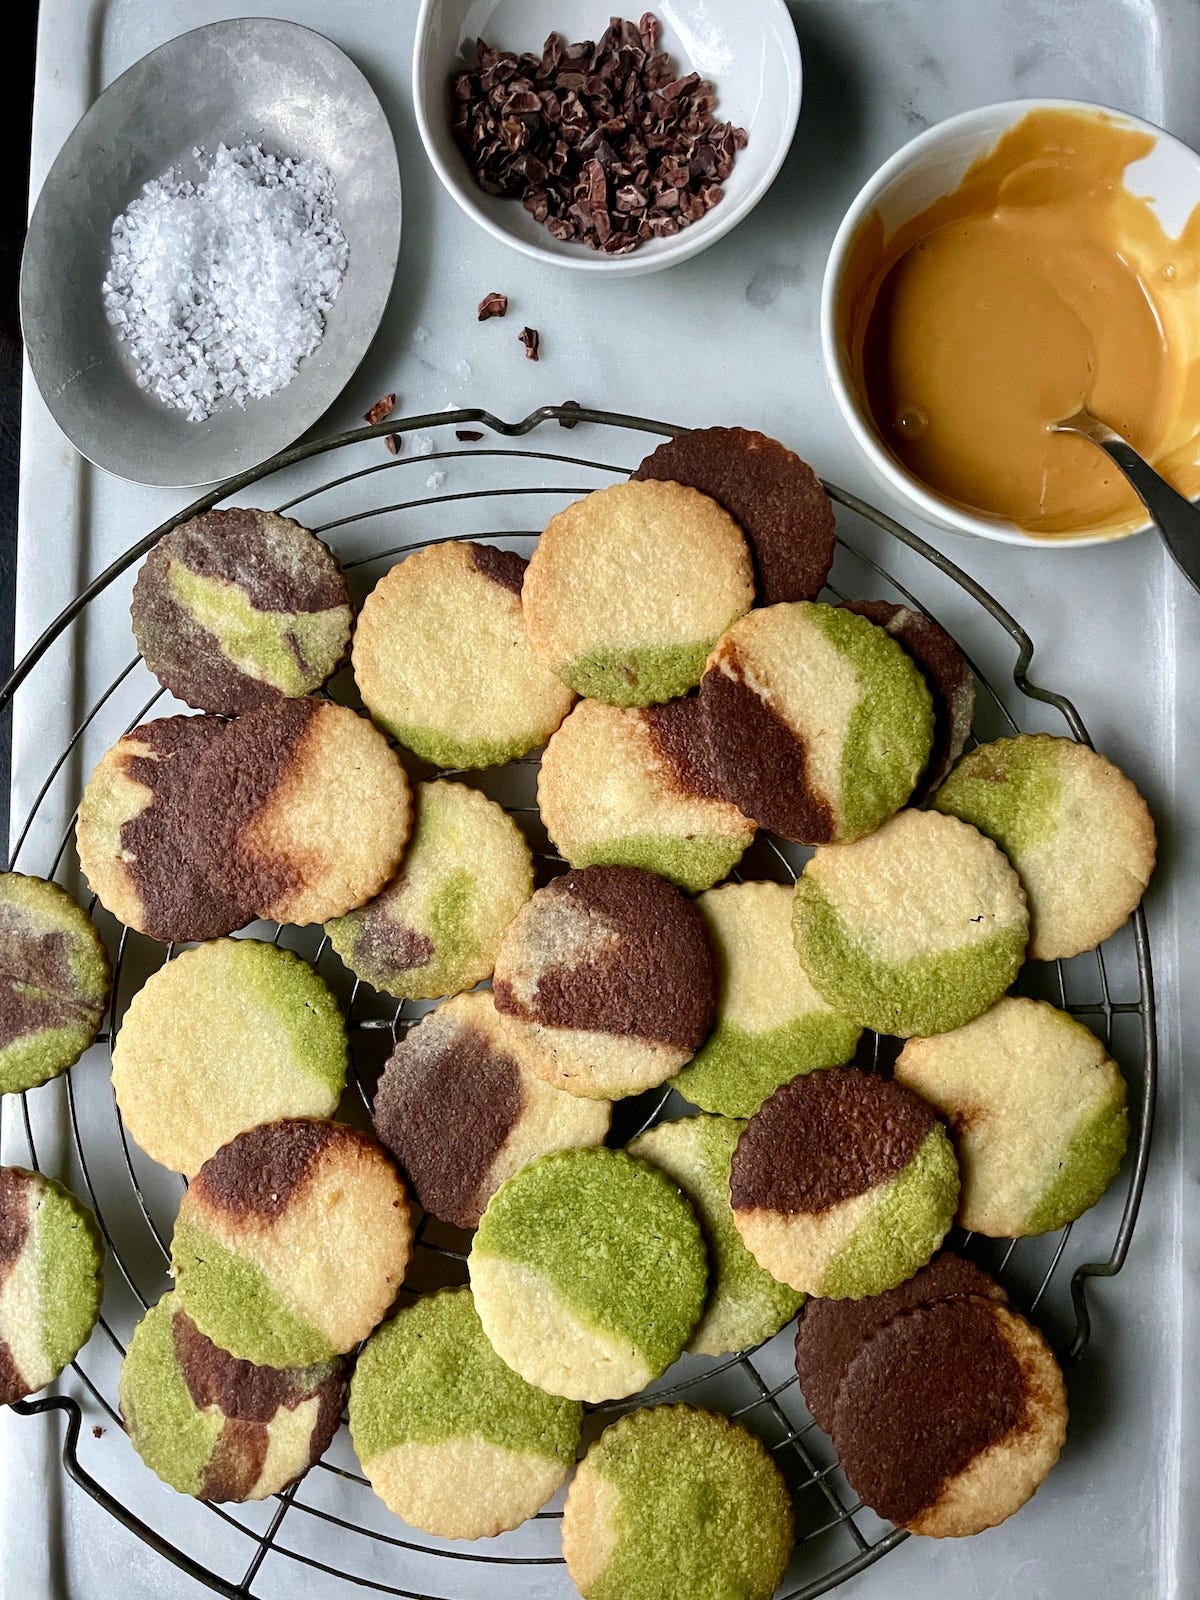
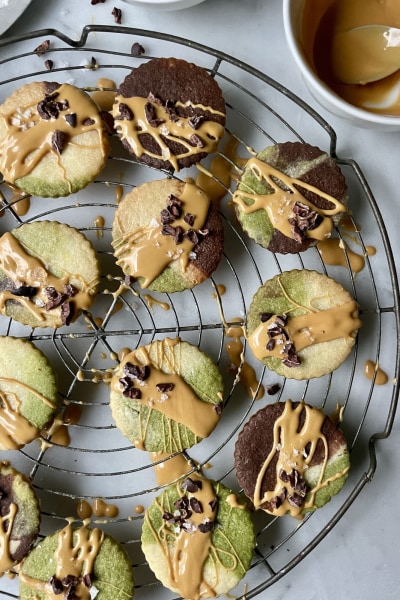
But, I’m really happy that it’s back! I’ve streamlined the recipe and the process, and, despite the fact that they may look “hard” to make, they are really quite easy and kind of impossible to mess up. Unless you burn them. Don’t burn them! They are really fun to make, and every cookie looks different. Just like snowflakes! No two are alike.
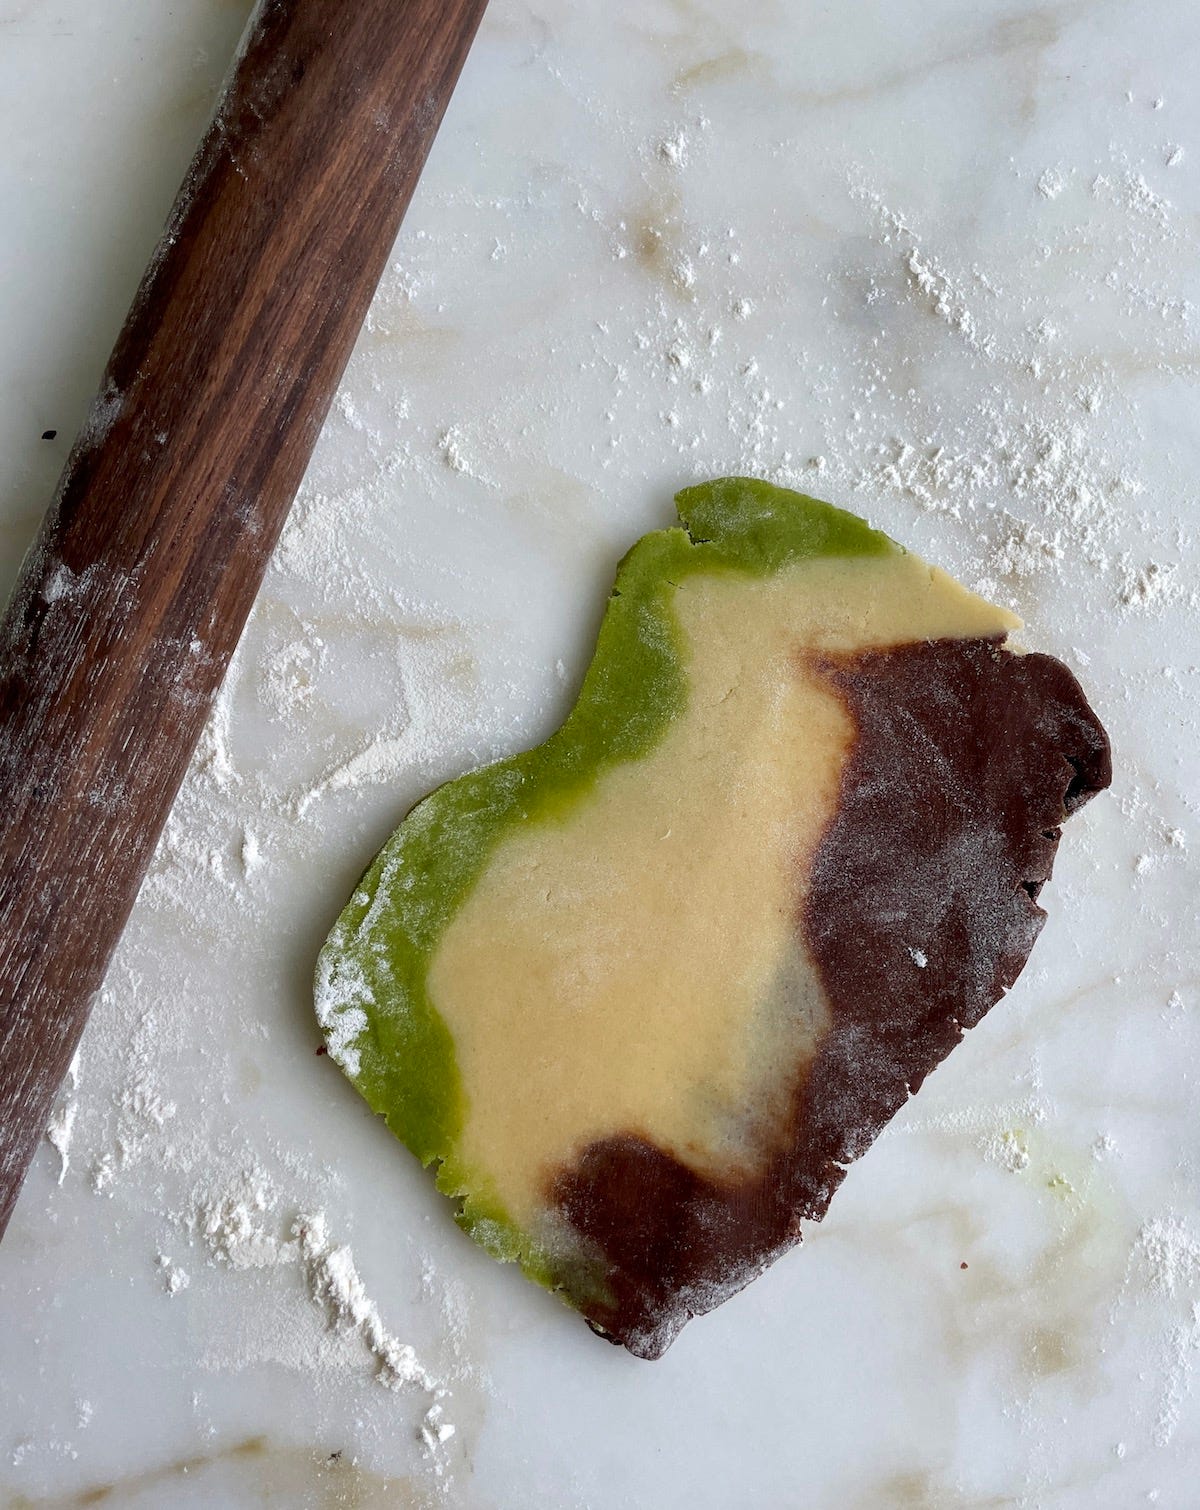
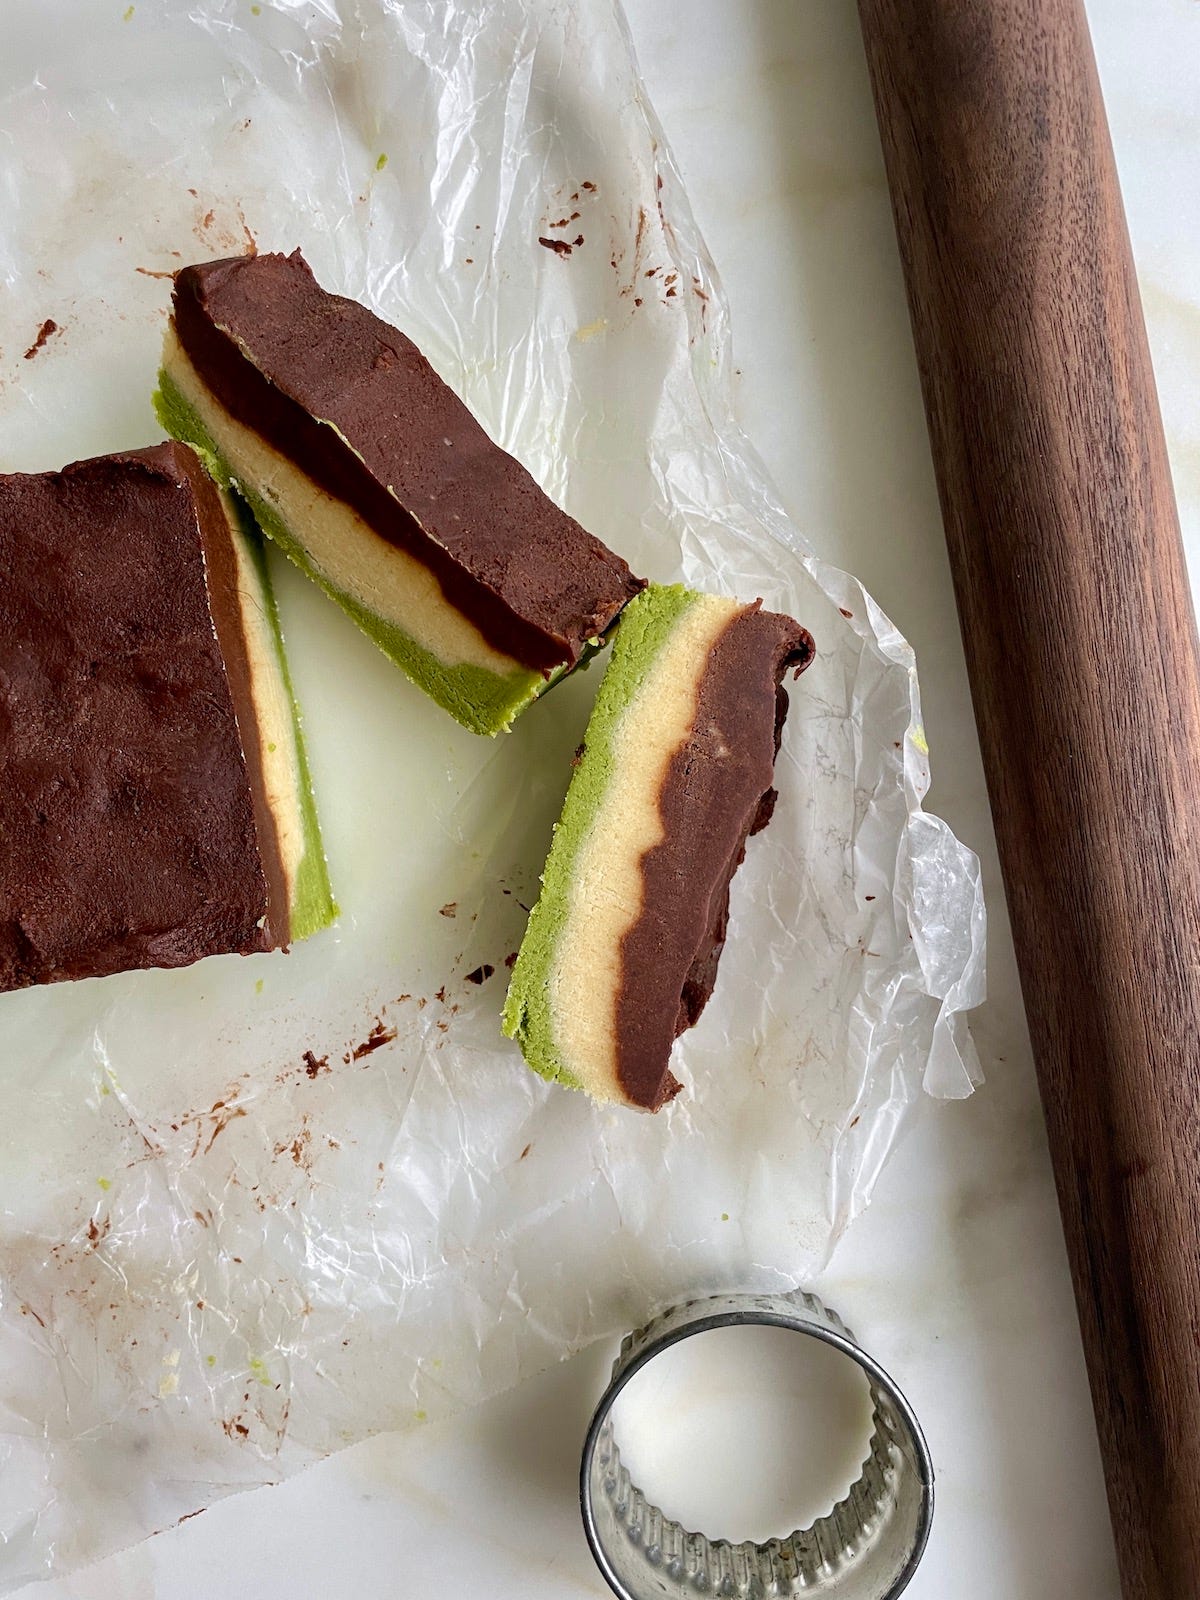
I love watching what happens when you roll the dough, but if rolling pins are not your thing, you can still make these cookies. Because you form the block of dough in a loaf pan, it makes for easy slicing. Just smooth out the top layer (I didn’t do that here, because I knew I’d be rolling it), slice the chilled dough into 1/8 inch-thick slices, cut those slices in half so you have two squares, and bake as directed. They might take a few minutes longer than the times given in the recipe below because they tend to come out a little thicker. This was how I tried them in the first round, and they were great! I just really liked how they looked rolled and cut with a cookie cutter. Either way, the garnish, if you choose to use it, hides a multitude of sins.
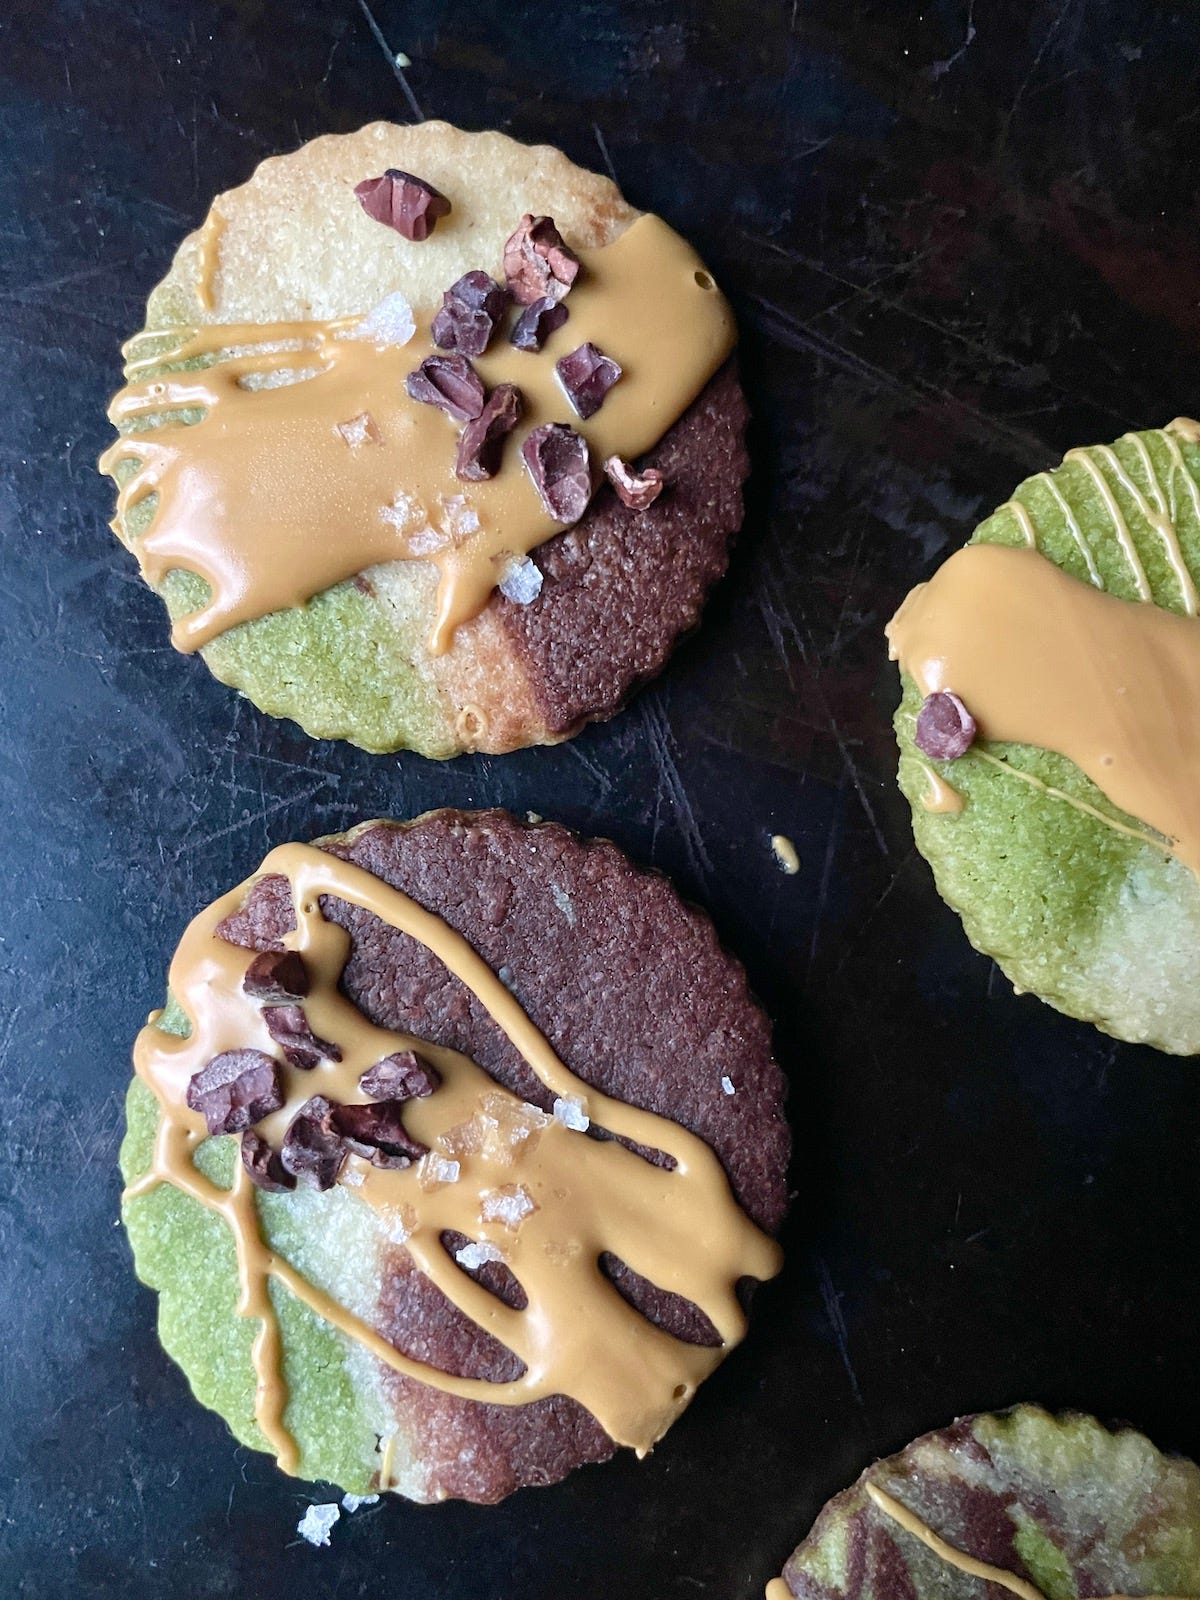
Ah, the garnish! I had ordered some Dulcey chocolate for this cookie, but it wasn’t going to arrive in time, and then I realized that I could just make it! I had never attempted caramelized white chocolate before, but it was extremely easy and fun to make. It’s so good and kind of magical as it transforms in the oven. The one thing you have to be really careful about is introducing any water, which will make the chocolate seize.
Here’s how you make the Caramelized White Chocolate for the glaze:
Buy 2 bars (it doesn’t matter exactly how big they are, but around 4 ounces each, give or take) of good white chocolate (it needs to be at least 30% cocoa butter). The brands you’ll find in the candy aisle will more than likely fit the bill. I got Lindt and it worked well. Ghirardelli is only 20% cocoa butter so it may not work. Green & Black’s would be another good choice.
Heat the oven to 250℉. Chop the chocolate and spread it out on a very clean and totally dry sheet pan. I used a silpat to line my baking sheet, which worked well.
Put the chocolate in the oven, and take it out after 5 minutes. The chocolate should be melted. Spread it out into an even layer using a bench scraper or spatula and return to the oven.
Every 10 minutes, take it out, scrape up the chocolate, moving it around and chopping it up with the bench scraper until it goes from hard and dry to smooth and silky, spreading it out flat again each time. Cook for a total of 30 to 60 minutes, until it reaches the desired shade, which should be similar to peanut butter. For me, it took 60 minutes.
Scrape it into a microwave-safe bowl. It will harden just like regular chocolate, and you can melt it in the microwave when you want to use it.
To make the glaze for the cookies, I used about 1/3 of the caramelized chocolate and added a dab of coconut oil so the chocolate wouldn’t turn streaky. You can also use vegetable shortening, but the coconut oil dries to a harder sheen at room temperature, making it perfect for cookies you want to stack or pack.
I highly recommend this pan for forming cookie doughs for slicing like in my Marbled Tahini Cookies (possible paywall), because of the square shape and straight sides. I used it to mold the dough in this recipe and it was perfect!

More Cookies!
I’ll be back in everyone’s inbox on December 16 with another new cookie recipe (and paid subscribers, you’ll get two emails from me next week with cookie content). But I wanted to remind you of these sweets that I shared last December, if you want to bake more in the meantime:
Peanut Butter Thumbprints (paywall)
Chocolate-Cherry Pecan Biscotti (paywall)
And if you haven’t already seen it (or even if you have!), here’s a video of that NYT cookie feature I mentioned above. Even if you aren’t a subscriber to NYT Cooking you can watch it — I promise it will get you in the mood to bake.
Marbled Matcha and Chocolate Sablés with Caramelized White Chocolate
Makes about 50 cookies (or even more if you re-roll the dough a second time)
You won’t find matcha powder in your supermarket (unless your supermarket is Whole Foods, and then you might). I usually order it online to use for baking. Order the smallest container available since it can be expensive and doesn’t have a super long shelf life.
1 cup/226 g unsalted butter, at room temperature
1/2 cup plus 2 tablespoons/130 g granulated sugar
1 teaspoon vanilla
2 egg yolks
2 cups/256 g all-purpose flour
1/2 teaspoon baking powder
1/2 teaspoon kosher salt
2 teaspoons matcha green tea powder
3 tablespoons Dutch-process cocoa
To garnish:
Caramelized white chocolate (see ingredients and process above)
Cacao nibs
Flaky sea salt
In the bowl of a stand mixer, and using the paddle attachment, cream the butter and sugar on medium-high speed until fluffy and light, 2-3 minutes, scraping the bowl once or twice. Add the vanilla and egg yolk, and beat again until well combined, scraping as needed, about 1 minute.
Meanwhile, in a medium bowl, whisk together the flour, baking powder, and salt.
Add the dry ingredients all at once and beat on low speed until the flour is moistened, then raise the speed to medium-high and beat until the dough comes together, about 1 minute. Scrape well, and give it a few kneads in the bowl.
Divide the dough into 3 equal pieces (I use my scale to help me do this but you can eyeball it), and set 2 of them on pieces of wax or parchment paper. Return the third one to the bowl, and add the matcha powder, Beat on medium speed until incorporated and scrape out onto a piece of wax or parchment.
Put another third of dough in the mixer bowl and add the cocoa powder and beat on medium speed until incorporated.
Line a loaf pan with wax or parchment paper (if you’re going to slice the cookies, you’ll want to do this neatly, trimming the paper to fit; you just need a sling to go under the dough) and press in the matcha dough in an even layer. Top with the plain dough, doing the same thing, and top with the chocolate dough. If you’re going to slice the cookies (rather than roll them out), make sure this is as smooth as possible. Chill the dough until firm, at least 2 hours, and as long as a day or two ahead of time.
Heat oven to 350℉. Turn the dough block out of the pan and cut off a 1-inch slice. Roll the dough to about 1/8-inch thick on a well-floured surface, using a bench scraper to lift and flip the dough, and making sure it’s well-floured so it doesn’t stick. Cut into rounds using a 2-inch cookie cutter and transfer to a parchment-lined baking sheet, leaving a little space between the cookies. Repeat until the tray is full. Chill again until firm. (You can pop them in the freezer if you have space! If not, chill in the fridge.)
Continue in this way until you’ve rolled all the dough. Gently press the scraps together, and chill until firm. Re-roll to make more cookies.
Bake for 10 to 12 minutes until turning golden on the edges. Cool on the baking sheets for a few minutes and transfer to a cooling rack to cool completely.
Melt the caramelized white chocolate and add a dab of coconut oil. Drizzle it over the cookies on the cooling rack, letting the excess drip onto a piece of wax or parchment. While the chocolate is still wet, sprinkle with cacao nibs and salt, if desired.





Super excited for your cookie recipes!
They look amazing and loved seeing the video again. Beautiful (and delicious) works of art!